The 515 Bathroom Remodel-Cabinets

All remodels require many steps and, the different trades involved are separately working on their particular specialty, just waiting for their turn to do the installation.  This is where and why our bathroom remodel took the 515 days to complete.  There was only one very handy, engineer husband doing virtually all the work.  That is, he was demolition guy, plumber, cabinet maker, tile and stone mason, electrician, flooring installer, along with ordering all the parts for every one of the above tasks.  My engineer wears many hats.

One of the engineer’s favorite mediums to work in is wood.  I offered that we could have the cabinet maker I’ve used before make the vanity and linen cabinet for the bathroom, but he wanted to make them himself.  There was one caveat with the vanity cabinet.  I wanted a decorative detail applied to the drawers; again, offered a couple of different ways he could achieve the look I wanted.  One, was to apply a simple, thin molding to the outside of the drawers.  Two, we could paint the detail on the drawers, or three, he could inlay them with a thin ebony trim.  Naturally, he chose the latter, it was a new challenge for him, and he began researching materials.  Adding the trim would turn out to be one of the last things done once the bathroom was totally functional, since it required more exacting patience and skill.  He had made the drawer fronts so they could be removed to perform this task.

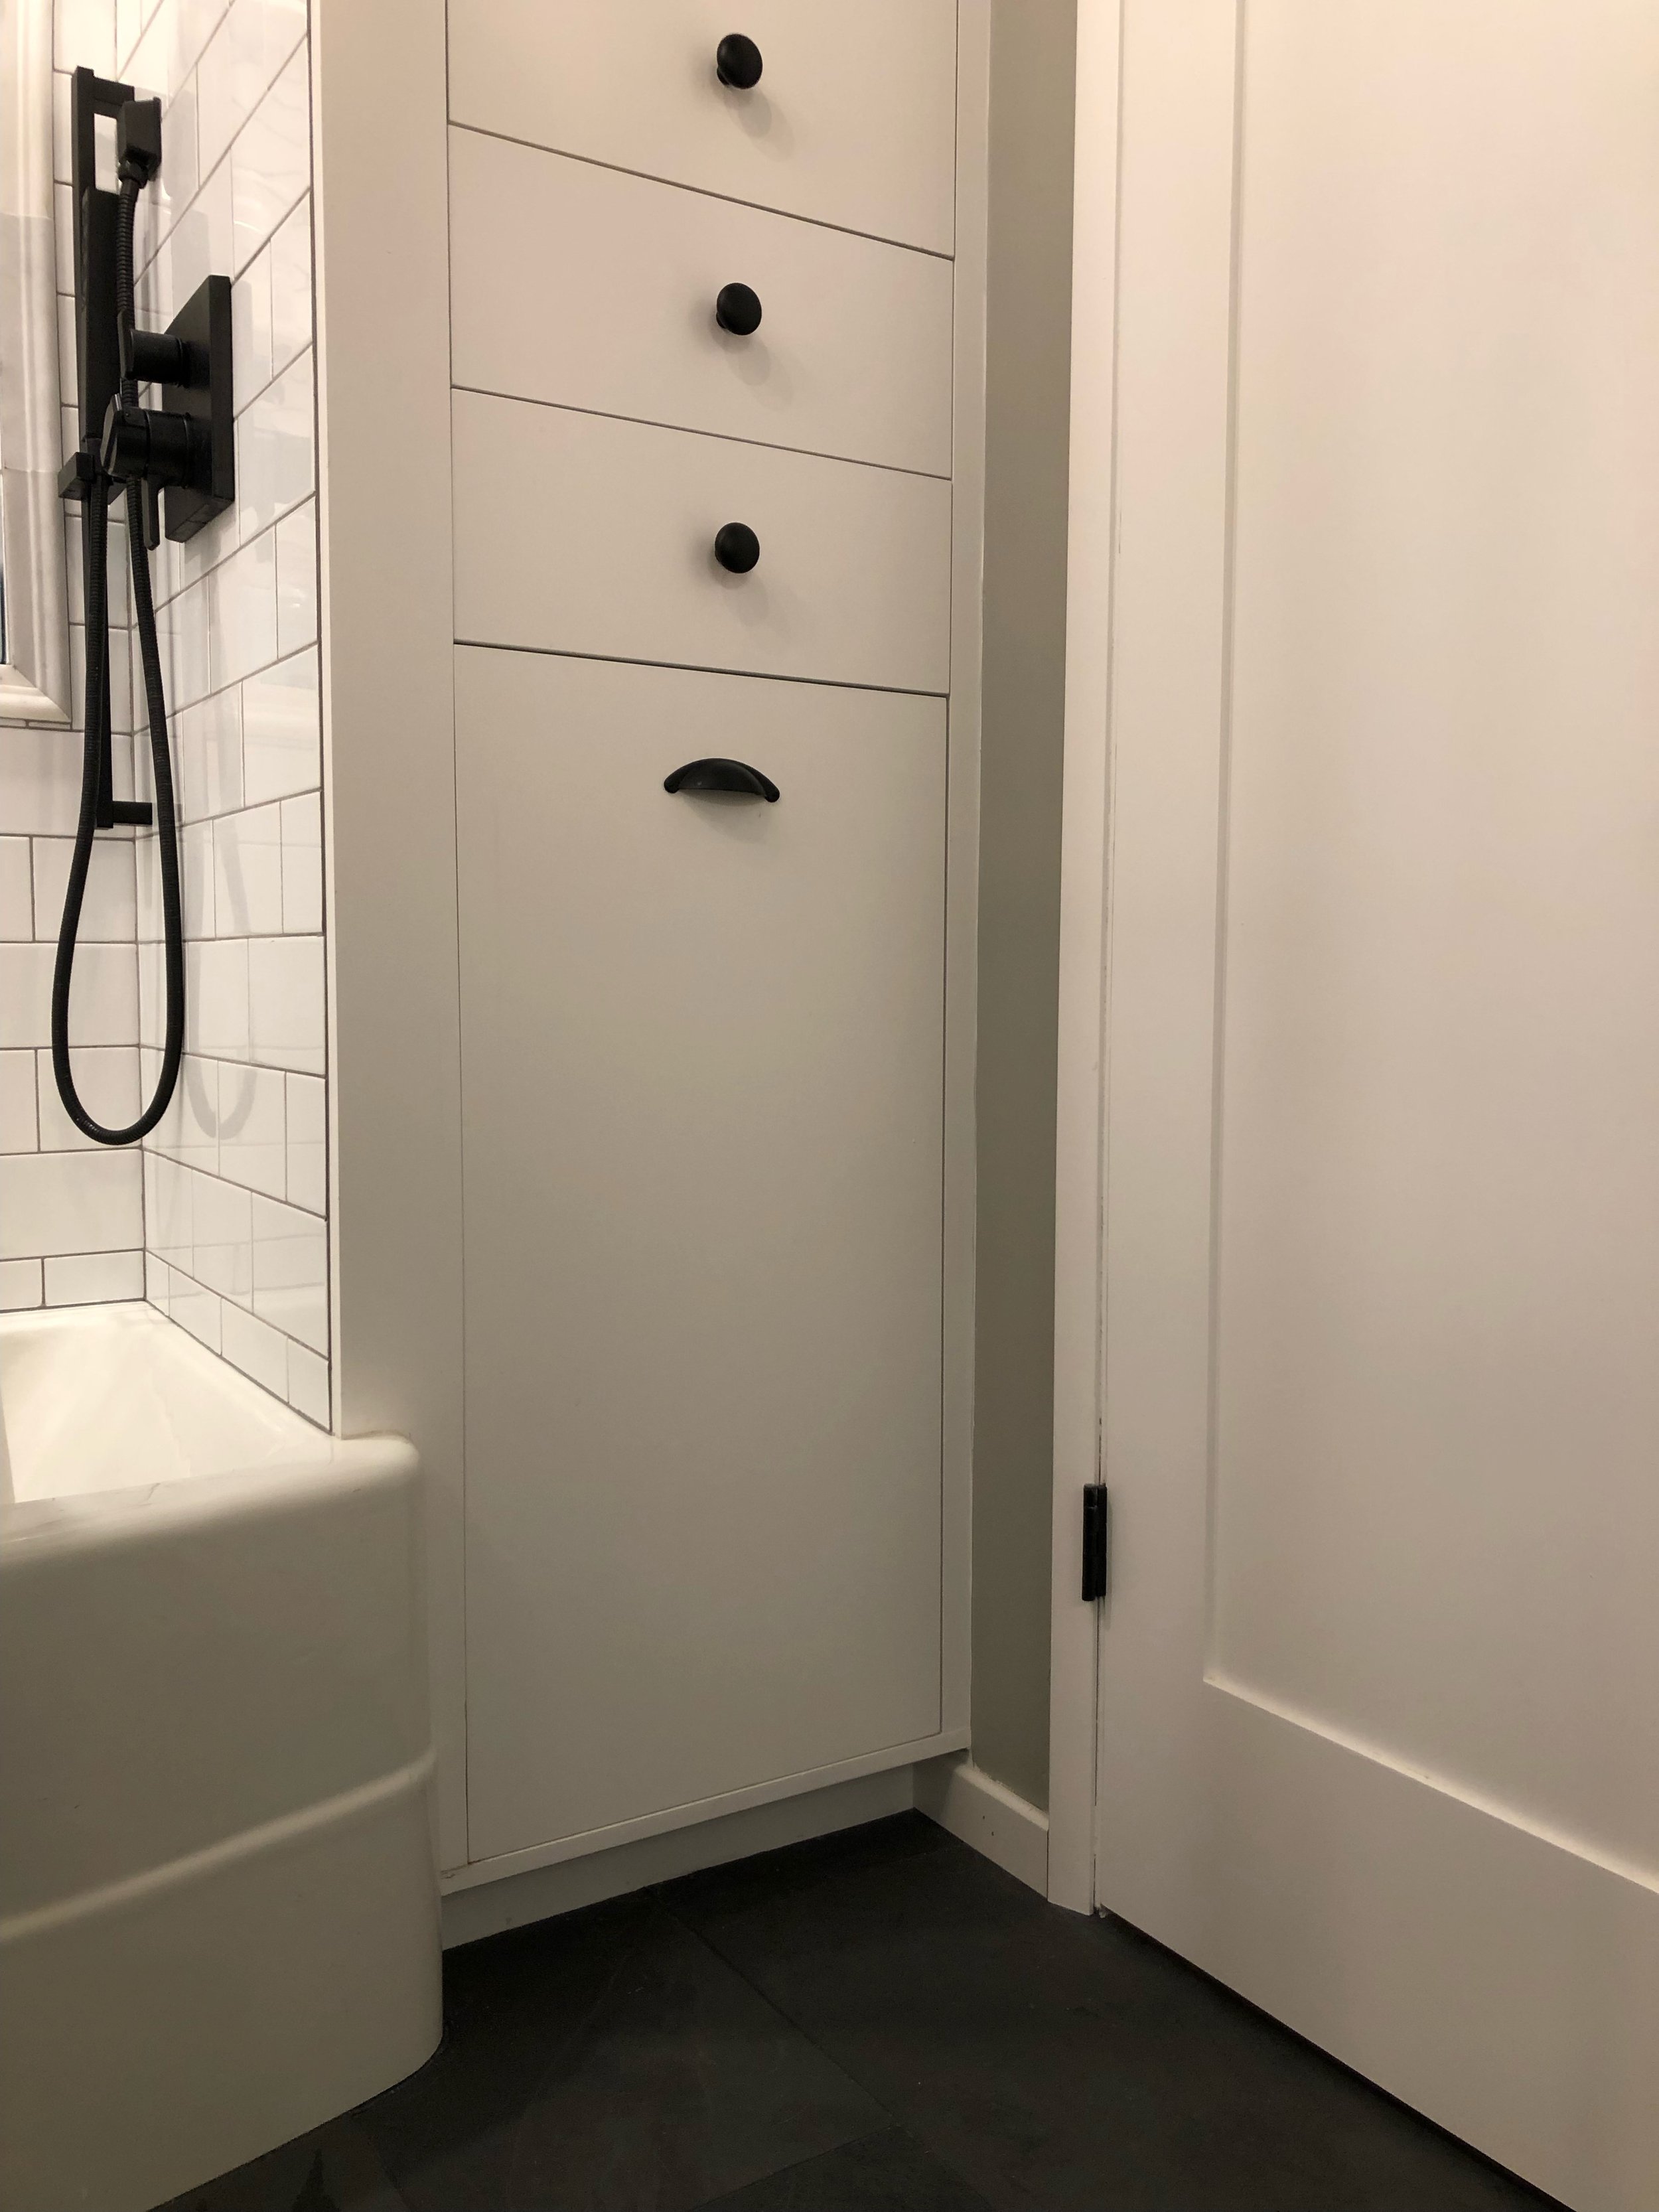
The first cabinets he worked on was the linen, drawers and laundry cabinet.  These three spaces all functioned independently, but had to occupy one space.  As you will recall from the previous post, the shower wall had to be created with the linen cabinet as a support wall.

We had decided on a simple flat faced, inset cabinet style.  This is a more precise style of cabinet to build, so it took more time.  Not to mention having to drive some distance to obtain the needed materials, remember this is in the time of Covid, with limited stock and access.

To maximize storage, the cabinet was built to the ceiling and several shelves were planned to accommodate towels, supplies and various and sundry bathroom items.

The laundry pull-out was a design the engineer devised to suit our needs.  He found a large wheeled laundry basket and built the pull out bin to be one that the wheels could just roll off the platform and onto the floor without having to lift the heavy basket.

Once the cabinets were built, they could be installed and the shower plumbing could be finished.  There is an access panel inside the linen cabinet to get to the plumbing should that be necessary.

The engineer then began working on the vanity cabinets, since he had purchased all the wood needed for both the linen area and vanity.  There was much measuring and figuring as he wanted to allow for the largest drawers and full extension.  This was the result of living with cheap, ineffective drawers on one half of the vanity and practically non-usable drawers on the other half.  

The inlay is one of the most noticeable details of the entire remodel.  The engineer built a jig for his router to be just deep enough so that the ebony wood would be flush with the surface of the drawer face.  The effect is dramatic.

I was so excited to be able to get those drawers organized.  I am not a fan of having a lot of things on the counter and with a huge trough sink, there isn’t much counter space to begin with.  At this point the bathroom was beginning to feel much more finished.  But, I’m getting ahead of myself, the tile couldn’t be started until the sink counter was set.


Next:  Tile and stone

The 515 Day Bathroom Remodel-Plumbing

Now that we are on the other side of the 515 day bathroom remodel, it is a bit easier to see the journey.  

Keeping in mind our primary goal was to move the toilet into the shower space and give us floor space and better function with the vanity.  It was tempting to just tear out the old shower and move the toilet and work on the rest at some point.  Fortunately, reason took over and planning the actual plumbing needs was the next order of business

We needed to remove the linen cabinet first, so that the plumbing for the tub/shower could go in behind the cabinet. My handy, engineer hubby tore out the linen cabinet and tub wall to the studs to begin his own schematic for the plumbing in the walls.

The bulk of the plumbing would go between the shower wall and linen cabinet, but, additional pipes were run in the wall adjacent to the end of the tub wall..  This was messy and difficult to remove because  the cement was so thick.  Removal and clean up took time.  

Once the walls were totally open, the pipe positioning could be thought out and installed.  First of all, framing of the end of the tub wall, where the linen cabinet had been, needed to be built to support the new pipes.  Fortunately, we had selected the fixtures for the shower assembly and we had them on hand.  Knowing the exact dimensions of all these fixtures was key to making them work in the space allowed.   

The finished space between the shower wall surface and the inside wall of linen cabinet, is three and three quarters of an inch wide.  That means the internal space in shower wall is even less, so the actual pipe placement kit critical.  We also replaced all of the plumbing at the tub fill end and took this opportunity to raise the valve positions which make reaching the valve handles much easier. 

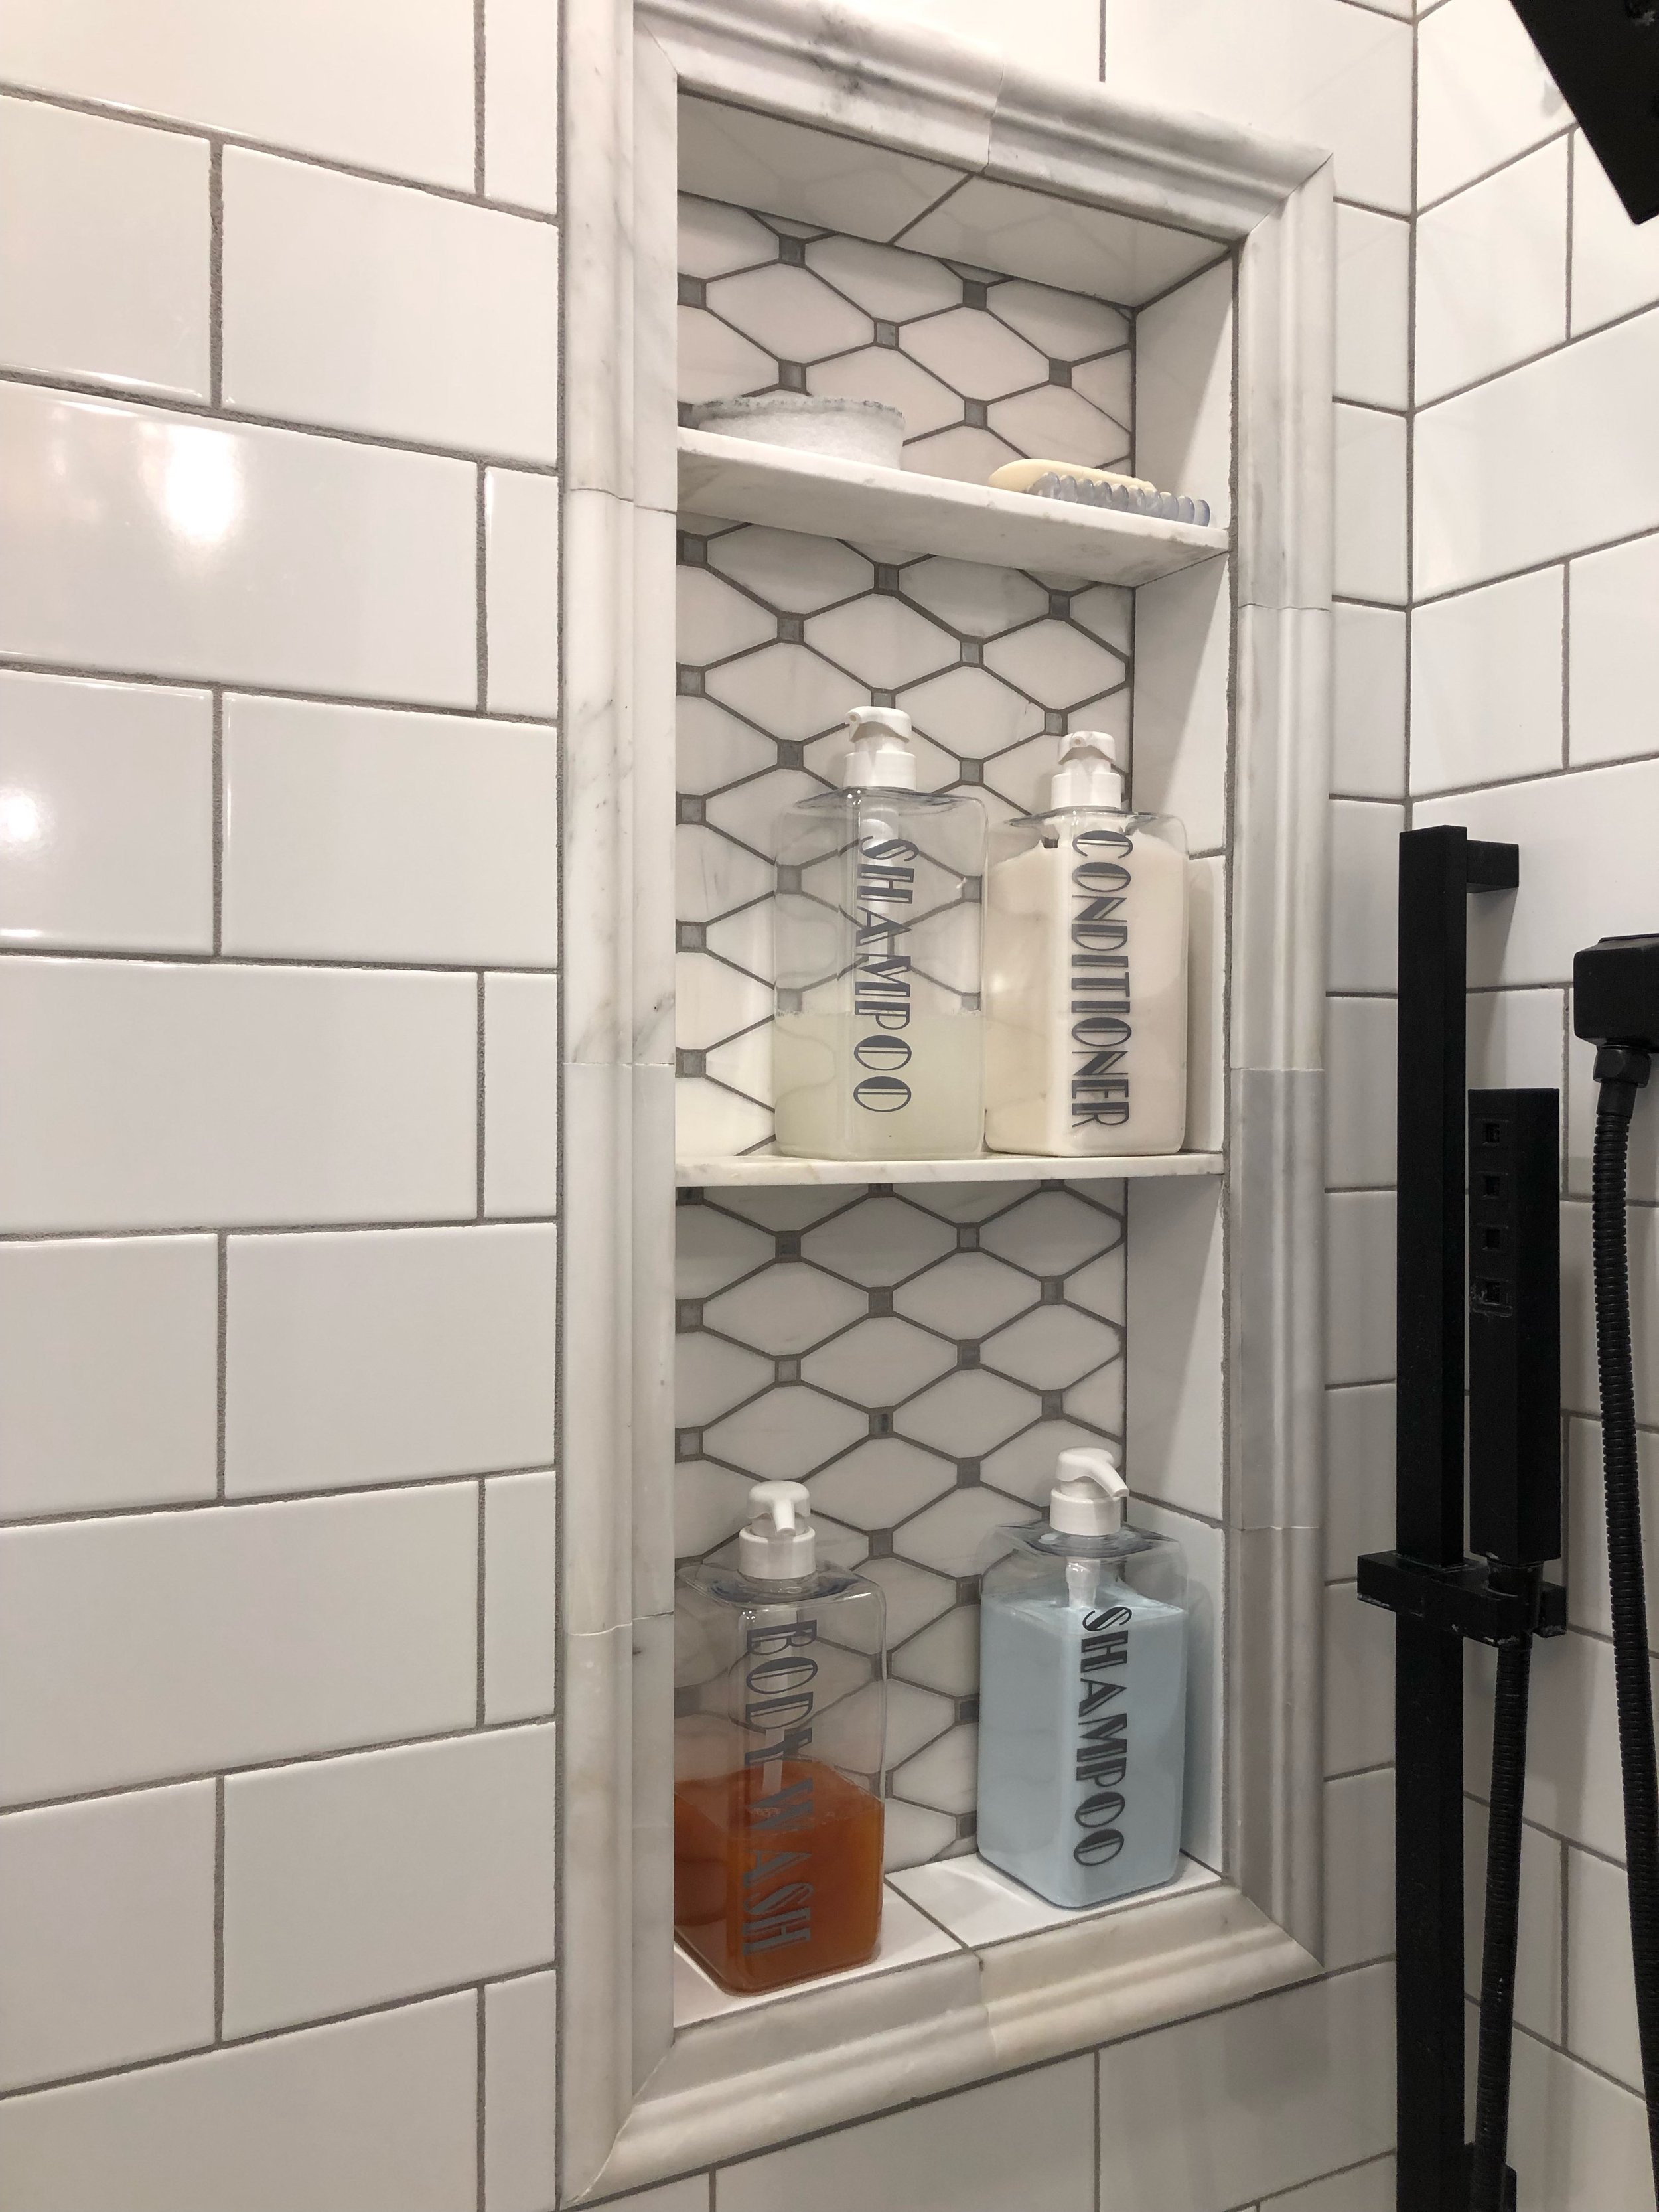
Additionally, the two niches we had planned needed to be framed and positioned to avoid plumbing as well.  As a designer, I appreciate that form must follow function, but it’s hard not to want to rush this phase and get to the “pretty stuff”.

At this point, we are living like “campers”, with open to the stud walls and old tar paper exposed.  We were pretty excited to be able to close up the walls with insulation and fiber board, and feel like we were on our way to a finished project.  But, we still had window wall completely open to the studs, so we focused on the almost finished part to keep sane, and be able to move forward.  

While I’d like this to be the end of the “endless” plumbing, it was far from over.  Our son flew from the east coast to spend a week helping his dad with some under the house copper pipe cutting, connecting and pressure testing.  This exercise would bring the sink plumbing to the ready for the placement of the two foot by four foot trough sink.  With all the under the house piping complete to this point, it would make it easier for the plumber who would come and cut the cast iron waste pipe and connect the toilet in its new location.  But that exercise is still months away.

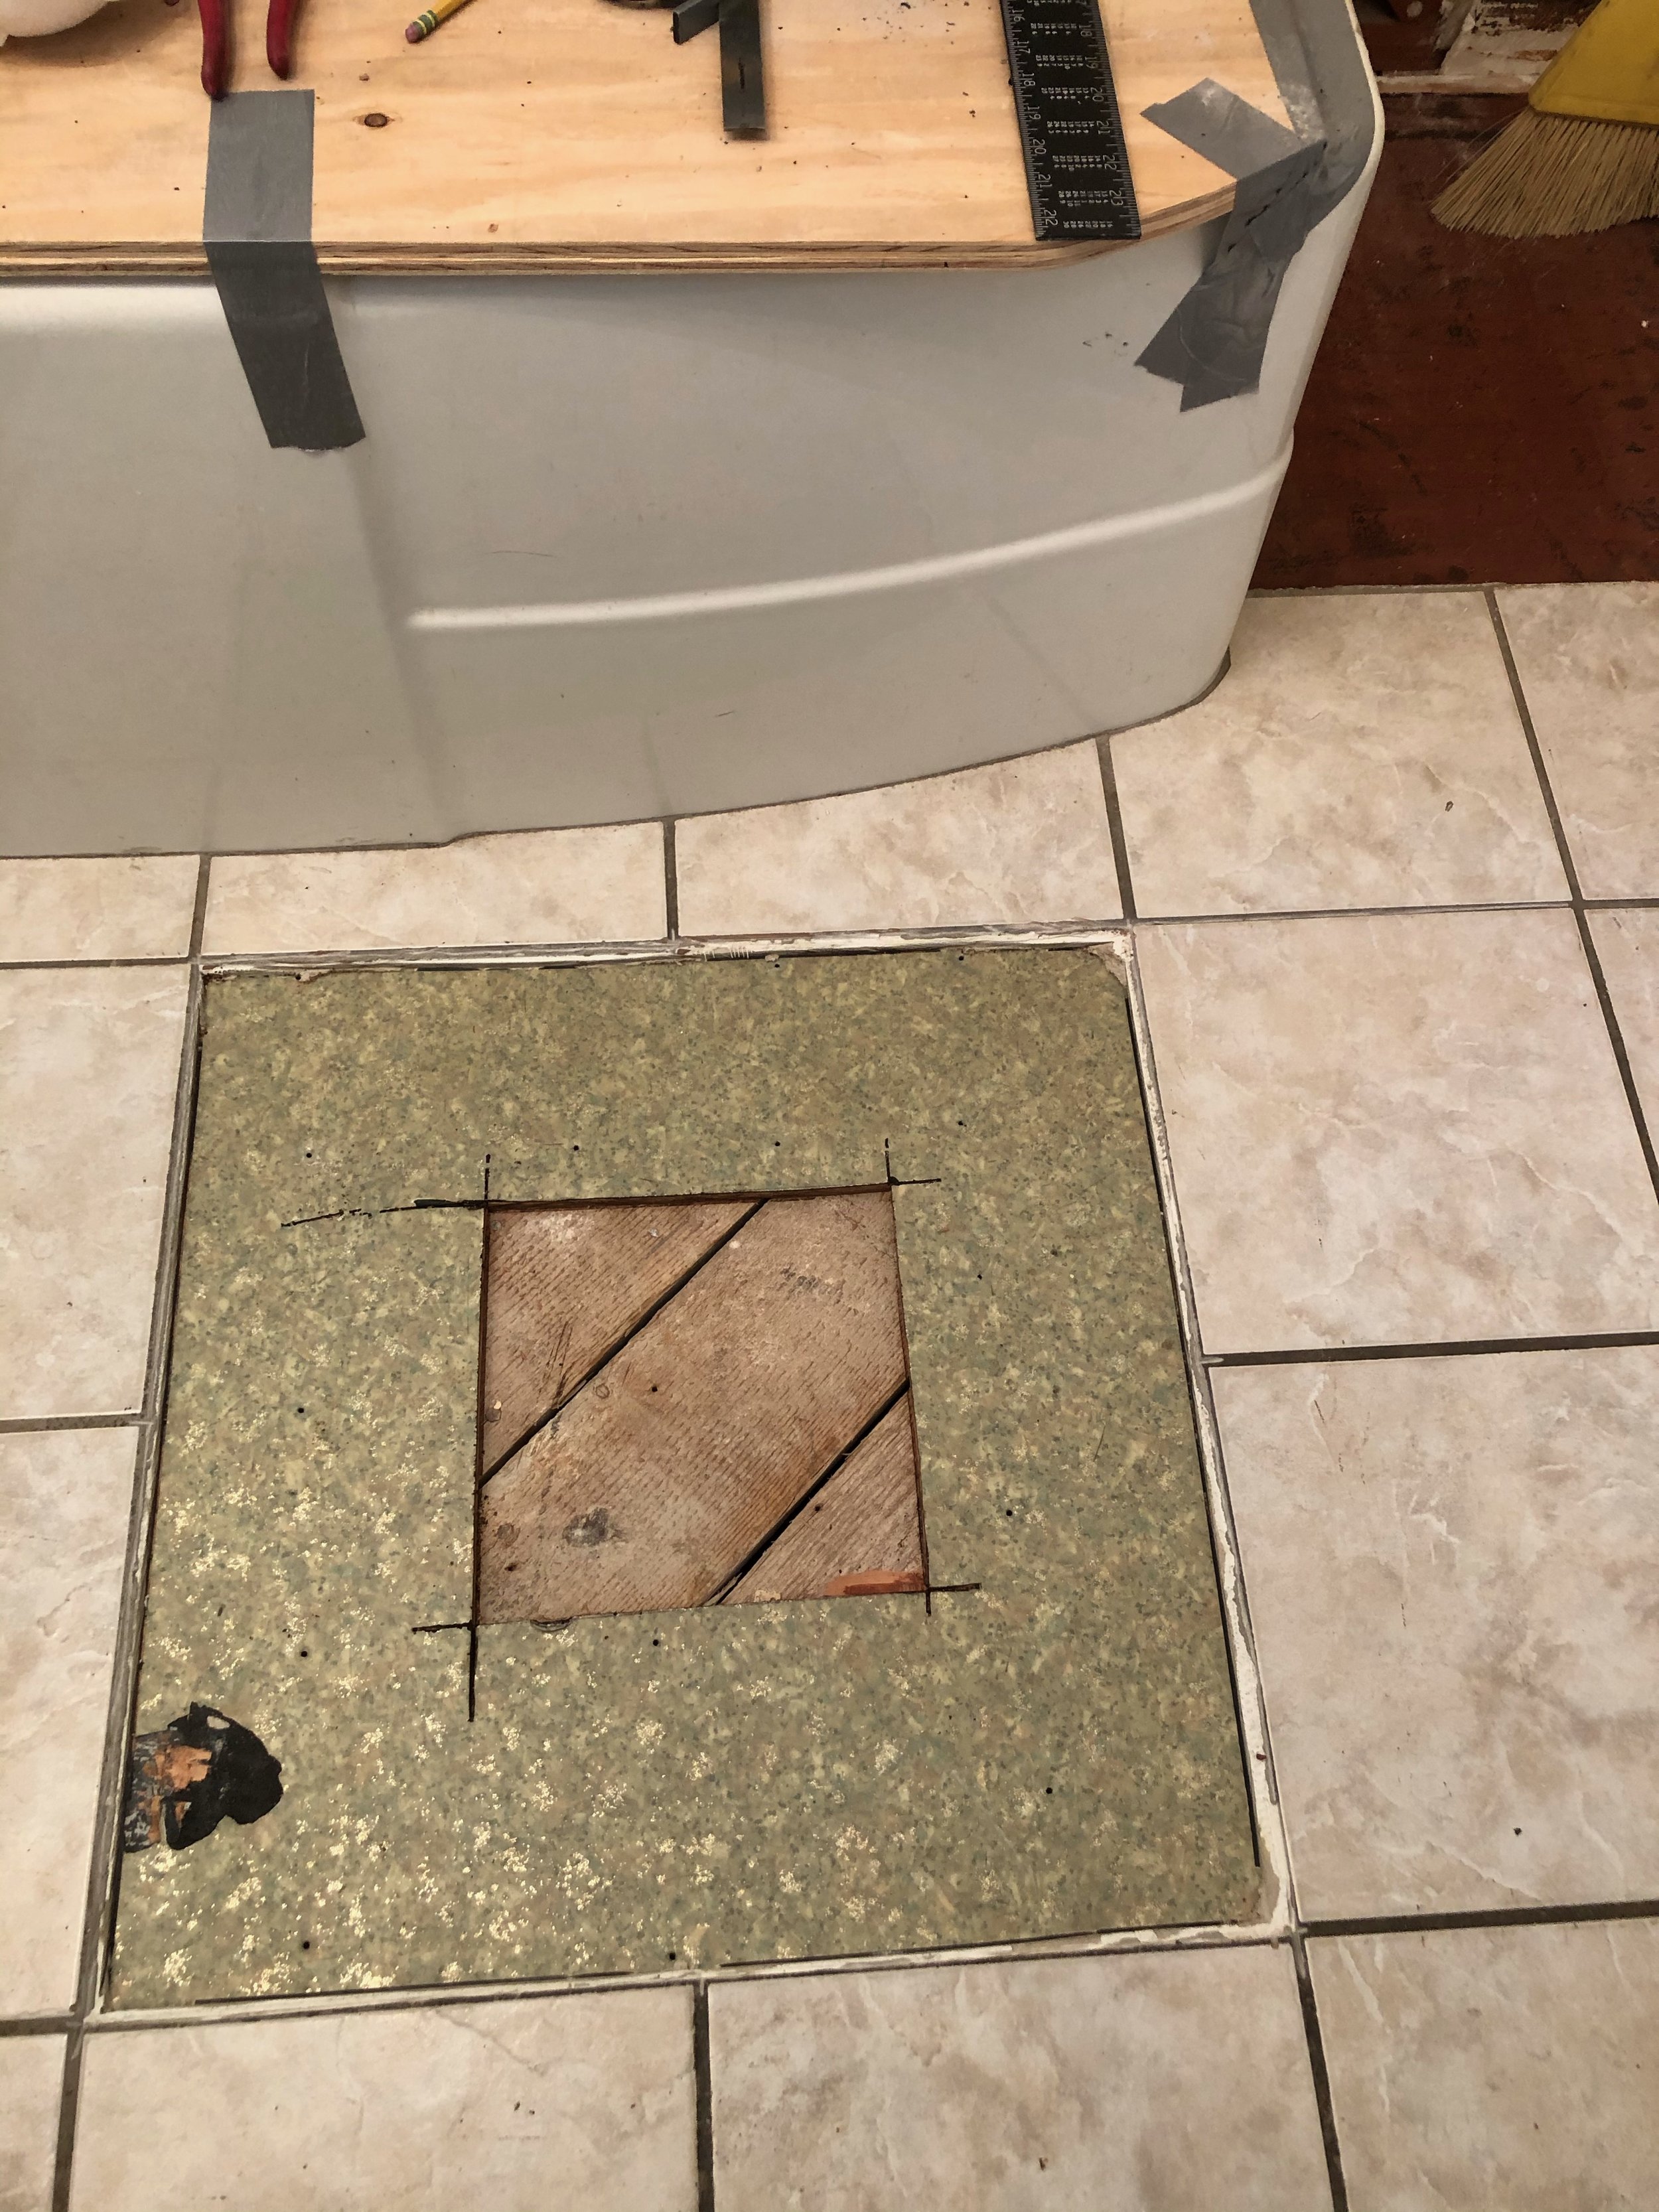
As I mentioned this bathroom was fully functional during 90% of the remodel.  As the picture shows, my husband cut a two foot square in the floor for easy access to the plumbing under the house.  It was tight as the floor joists are actually only eighteen inches apart, but it was far easier for the guys to scrunch their shoulders to wedge themselves through the opening, than it was to crawl about 50 feet on stomachs and elbows from the exterior access.  We were delighted to see the original 1938 linoleum, complete with gold metallic flecks.  Classy indeed.


Next time:  Cabinet Making

Bathroom Remodel:

When the Open Concept is Taken Too Far

IMG_8321.JPG

We started the hall bathroom remodel several weeks ago, a bit backwards perhaps— with a door.  Years ago, I bought an antique leaded glass door with the hopes to use it as the door for the hall bathroom, since it was so pretty and the bathroom was not.  My main objection to the hall bath was that whomever added it on, placed the toilet smack in the middle of the doorway, with the door open, it was not a pretty sight, especially since you see it from the kitchen.

My handy hubby, the engineer did another stretching job to the door, it was wide enough, but not long enough to cover the opening and hang from the sliding mechanism.  Then, there was the task of filling holes from door knobs and dead bolts.  And finally, hours of filling, sanding, priming and painting!  A substantial header needed to be put in place to hold the heavy duty sliding mechanism to allow us to hang the door.

Next up was what to do with the leaded glass that offered lots of beauty, but little privacy needed for a bathroom.  I thought an antique mirror behind the leaded glass would offer the necessary privacy, and thought it would be interesting from the kitchen/hall side.  As for the bathroom side, I am planning on a sheet of wallpaper that will compliment the bathroom, or maybe blackboard paint.

The actual tear down of the bathroom or demo to the studs was next.  The house was built in 1938, when a 2X4 was exactly that, not today’s shaved down version.  When the bath was added, this factor was not taken into consideration, hence uneven walls with odd bulges and waviness.  My engineer decided the only way to fix it was to strip it down to the studs.  Besides, the reason for the remodel was to move the toilet from, “front and center”, to under the window and move the sink to where the toilet had been for a more pleasing view.

This bathroom was “carved” out of what we expect was a “laundry area” and stolen bedroom closet space on the common wall behind where the toilet was placed.  We decided to take more out of the closet area, by removing some of the upper storage, that had been left with the previous remodel.  We wanted the new sink area to have full ceiling height, rather than the lowered ceiling that was from the previous remodel.  This would allow for a nicer lighting fixture and a more spacious feeling in this tiny three quarter hall bath.

The demolition of the surrounding walls, left the toilet standing in my husband’s office; pretty convenient for him, but lacking privacy all around!  He is wasting no time getting the remainder of the closet walls reframed, thus closing in the bathroom from the office side, at least.

Next up will be further demolition of the shower tile and floor tiles.  Floor tiles have been ordered along with a mirror/medicine cabinet. Stay tuned.

IMG_1104 copy.JPG
IMG_1106 copy.JPG
IMG_3622 copy.jpg
IMG_8325.JPG

Reclaimed Wood Shelves

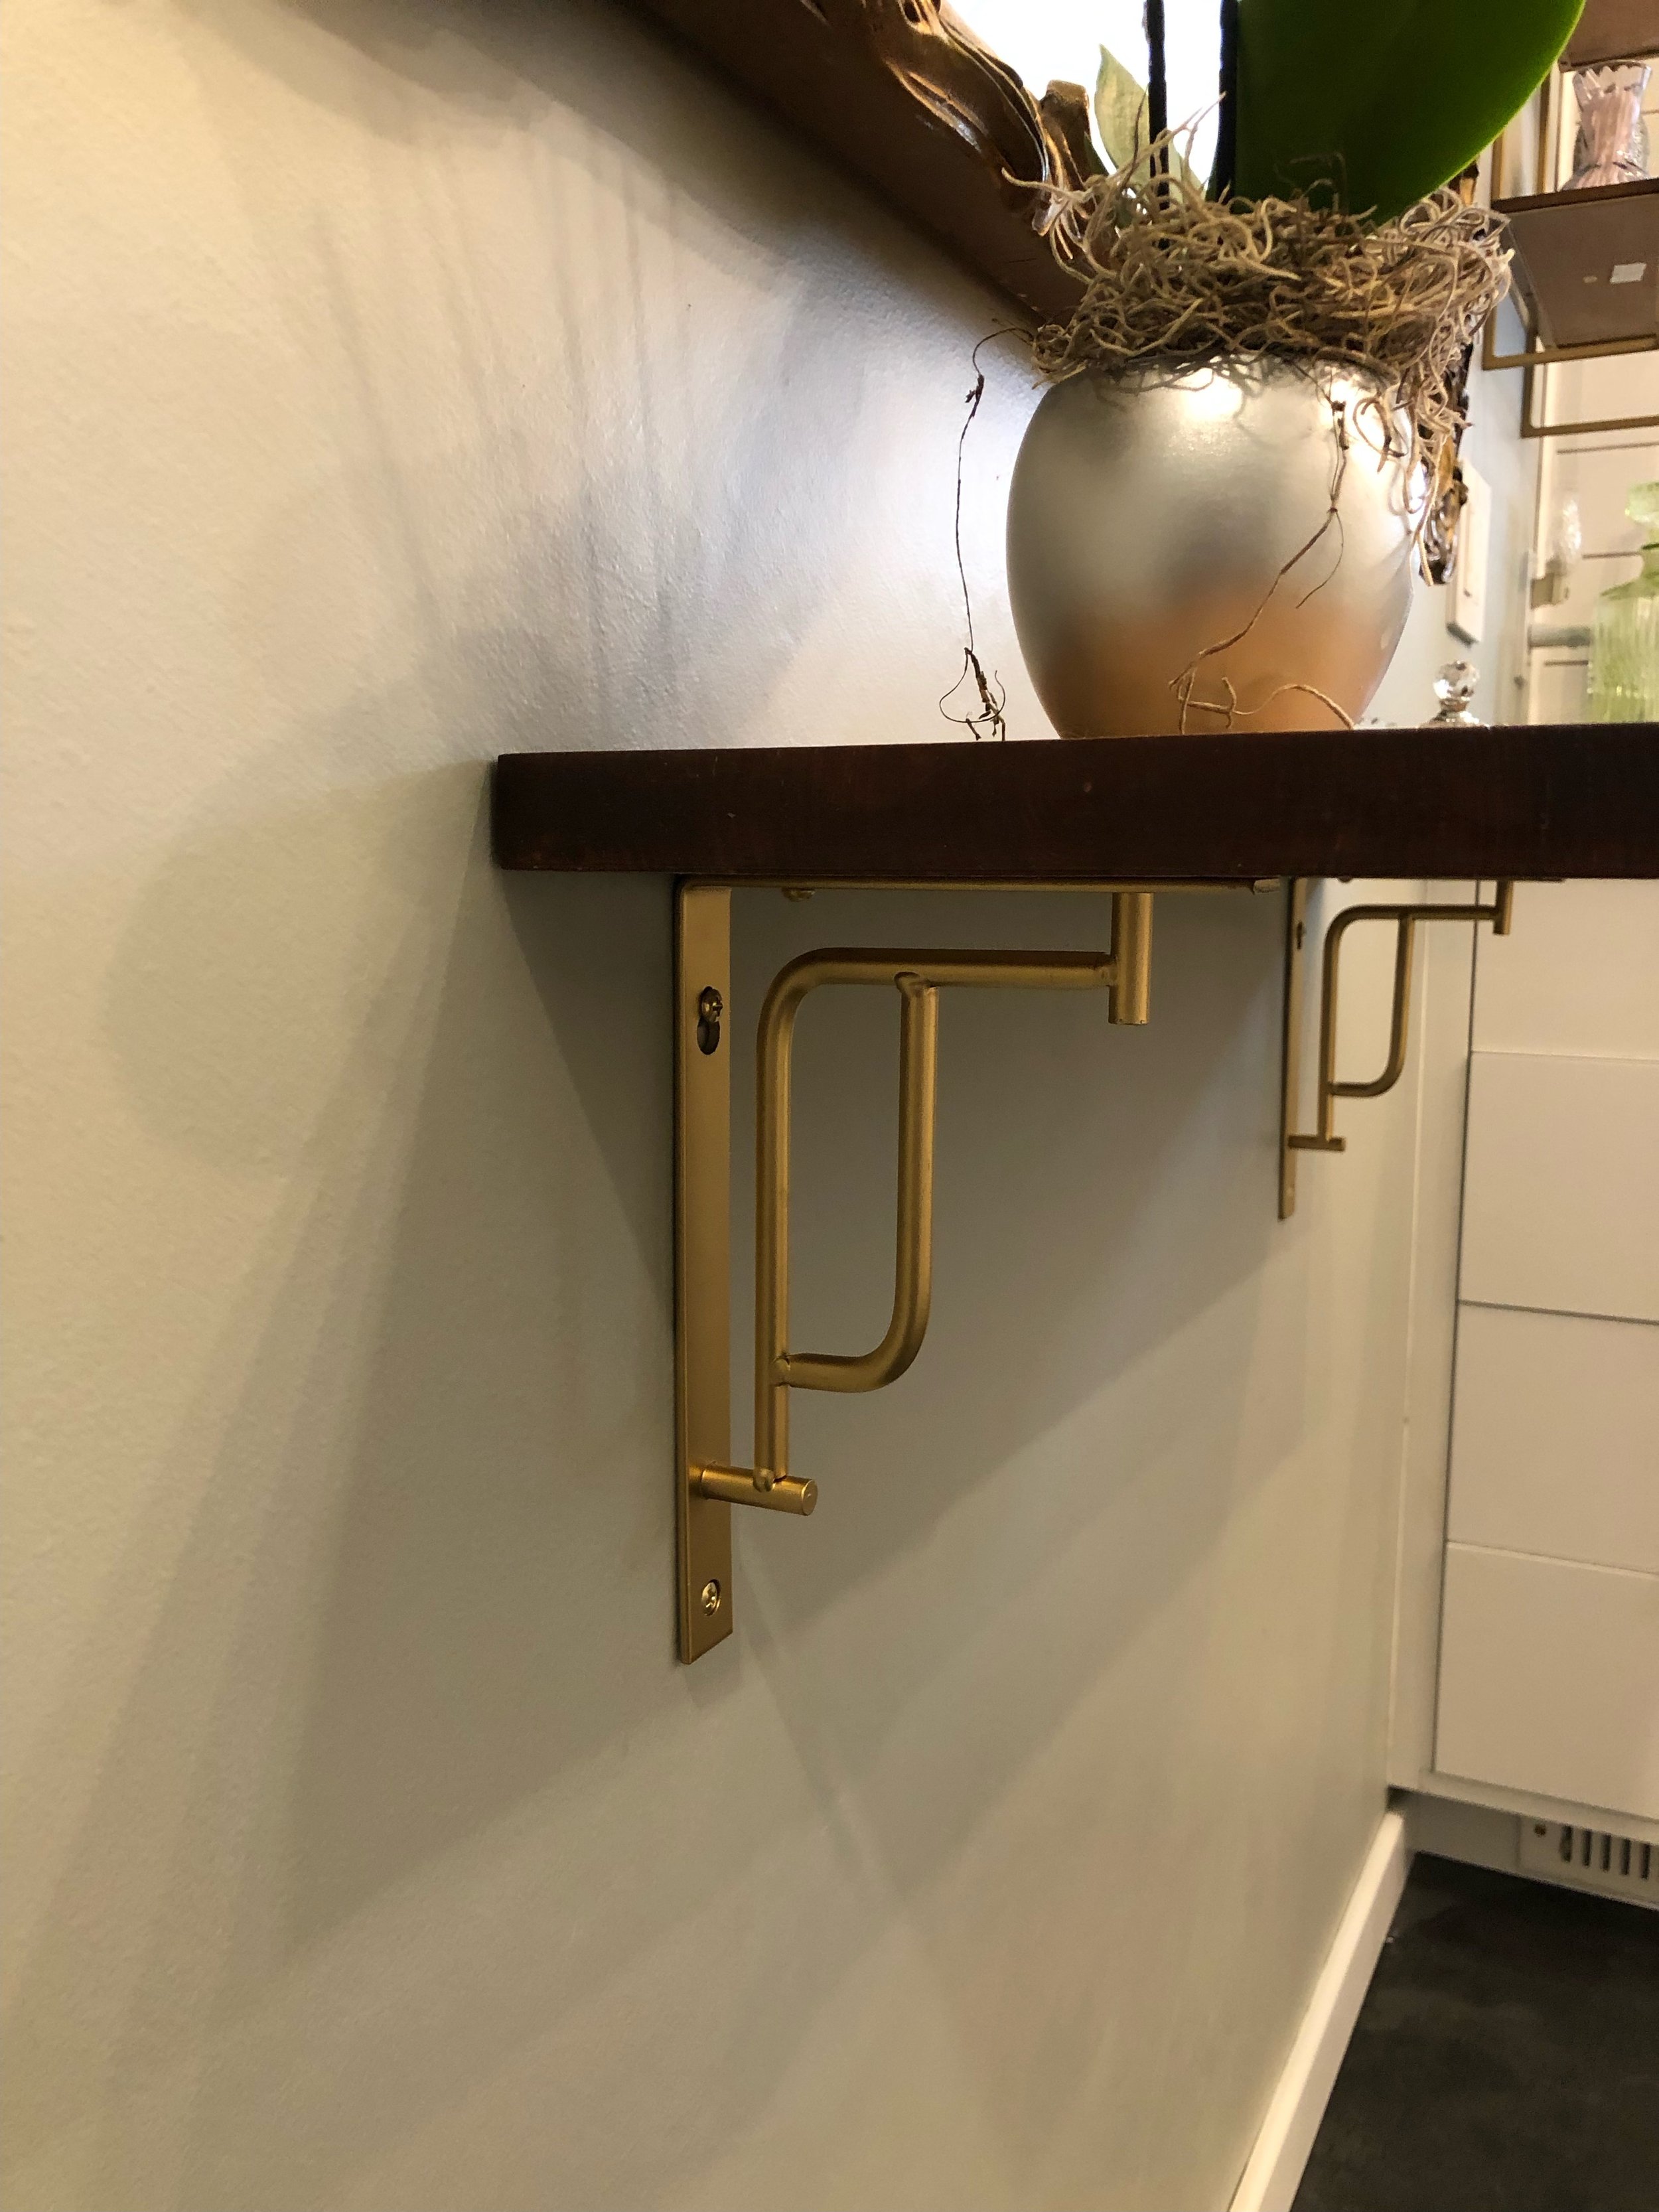
The pretty bathroom that we added onto my daughter’s house a couple of years ago has been finished for sometime, with the exception of some reclaimed wood shelves she had always wanted to add.  We spent some time researching reclaimed wood, drove to a salvage business in downtown Los Angeles, and found what might be a good fit.  Then, as other projects moved forward, the salvaged shelves were put on hold.  

Finally, the wood was purchased, and the shelves were added to the area above the commode.  My daughter wanted this rustic look to relate to the natural weave of her laundry basket and to add some relief to the fancy turned legs of the reclaimed dining room buffet we made into her vanity with the addition of a vessel sink.   The beautiful faucet set and vanity, along with the custom tile band for the shower, are the show stoppers in the bathroom.

The ceilings are tall in her 1930s Spanish home, and my daughter felt the commode area needed a little special attention.  She added the stenciling on the commode wall for a little sparkle, which adds to the elegance of the rest of the bathroom; the rustic shelves are a juxtaposition to this design element.

Dressing the shelves was the next project.   We found a fun little wire basket at the “Junk Bonanza” in Del Mar a couple of weeks ago in which she could store her spare bath towel.  Then she added some of her favorite things from trips abroad and down under.  The memorabilia are a nice reminder of fun trips and outings with friends and family.

Additionally, we picked up some fun pieces during our salvaging outings.  We picked up vessels for planting succulents on the patio along with an old bedspring she will use as a planting screen for added privacy behind her outdoor patio furniture.  I will share more about these and other items in another article, so stay tuned for more of our salvaging exploits.

New Uses for Old China Cabinets

China cabinets have been a subject in my column before, I know, but this topic has a new twist.  Most china cabinets new and old come in two pieces; that is, the top or glass portion is usually a bit narrower than its base and secured by screws and possibly a bracket to hold it all together as one piece.  Years ago, I had a friend ask me what she could do with a piece she had inherited from her mother, a piece she really didn’t want, or need, but “Mother wanted me to have it”; so the need to keep and use it was strong.

My immediate idea was to take the top off (storing it until a use could be found for it) and to just use the base as a buffet, which is what my friend did.  The buffet sits in the dining room with the matching table, and the room is no longer overwhelmed with too much furniture.  I had suggested that if they had space in a bathroom, a metal base frame could be made for the glass portion and the piece could be painted and used to store pretty towels and toiletries.   The base being open, would not overpower a small room.  However the home really did not have space for.  Oftentimes, an older home ( 60 years or more) might accommodate such a piece.

Now, this friend is refurbishing a home that is from the turn of the last century, and I got to thinking about the upper cabinet piece that  hopefully being stored.  The piece might be a perfect solution to furnishing a century-old home, in either the kitchen or bathroom.

In the kitchen, it could easily sit on a counter top, making it look somewhat built-in, painted to match the base cabinet.  This situation would not have been out of the ordinary in those days, as pioneer folks really did use what they had or could find in a neighboring farmhouse.  Mix and match became a design trend; but back in the day, it was simply a way to make ends meet.  It’s funny, how somethings come full circle.

Alternately, this upper cabinet piece could be a great linen cabinet upstairs in the bathroom or hallway near the bath.  Again, it could be placed on top of an old dresser and secured to the dresser with brackets, or fastened to the wall as a permanent piece.   Depending on the decor sensibilities of the room, the pieces can be painted a fun color to enhance the bathroom, as an accent piece or painted to blend into the walls.  Bright colored towels can provide the accent color.  

If the glass has broken in the storage or transportation, a mesh or chicken wire can replace the glass.  Painted a silver, gold or black to match the other fixtures in the bathroom or kitchen to give it a true “farmhouse” feel, along with new handles or cabinet pulls.

Of course, both pieces could be re-united and painted and placed in the old farmhouse and given new life in a new space with a outlook for another hundred years.

There is usually a solution, if you can keep an open mind and are not in too much of a hurry for the finish line.   Remember that decorating is a journey; have fun along the way.

Tile to the Top

Whether you are remodeling or building from scratch, tile in the bathrooms and kitchen is a good choice.  While solid surface countertops still reign superior in most homeowner’s minds, the backsplash is another thing entirely.  Tile and stone pieces are a great option.  Stone pieces and mosaic tiles are usually mounted on a mesh backing, making installation much easier than was the decades ago fashion of placing the pieces one piece at a time.

In showers, more often than not, I am seeing tile or mosaic stone being used from floor to ceiling for a continuous look.  This process eliminates peeling paint in very moist environments.  It is also a cleaner look from a design aspect.  Allowing tile to reach the ceiling, gives you some more options for adding a design element, such as running subway tile in a vertical pattern, or alternating colors into vertical bands to give the room a greater appearance of height.  Running several contrasting  horizontal bands is another design option.  In small spaces use less contrast, but enough to add interest in what might be a dull and uninteresting space.

In kitchens, where you use tile as a backsplash behind a cooktop, you can create again a greater sense of height and you can highlight a fancy hood vent.  If you have a sink that does not overlook a window, adding an attractive tile with open shelves will feel less closed in than having cabinets above the sink.  This area can become a focal point for displaying some of your favorite decorative pieces or most-often used dishes and bowls; if they are colorful or unusual, they are not only useful, but pretty additions to the kitchen decor. 

Open shelving in kitchens over a counter-to-ceiling wall of interesting tile can add special interest while allowing for storage and display options.  In an eating area, where the kids sit, might be a great place to store materials that they can access easily, especially in a space-saving banquet area.

There are so many choices when it comes to wall tile.  Stone, glass, porcelain, and ceramic tiles are available in smooth, metallic, clear, solid and tumbled finishes.  I like to remind clients to consider the relationship between the counter and the backsplash choices, which need to be coordinated in both color and patterns.  Too often, clients choose a speckled countertop that may have a lot of color contrast, which they love, but then choose an equally busy backsplash over the counters; and are not usually very happy with the finished look.  It is best to choose one or the other to be the big splash of design or color contrast which is not to say you cannot have a dash of contrast in both places; but you need to use some restraint in one place or another.

Finding the Perfect Vanity

Grimy Find

Grimy Find

The search for the perfect bathroom vanity set my client and me on a journey to the flea markets at Pasadena City Collage and  the Rose Bowl, into Orange County’s antiques streets and up to Main Street in Ventura.  Along the way, we were able to fine tune exactly what was needed to fit the space available and satisfy my client’s aesthetic sensibilities.   Keeping an open mind helps you find something and adapt it to your needs as opposed to having something custom built and incurring the additional cost.

It is important not to become discouraged when you head out on your search, because what you have in your mind’s eye is not likely to be found in the world of existing products.  My client had established the hard surface finishes, which are stone and tile; so she was looking for some warmth in natural wood for her vanity-- that is, not a painted piece.  Of course, a found, usable vanity could be stripped and refinished if otherwise worthy. 

We didn’t have any success at our first weekend out, which is not unusual.  However, when we hit the Rose Bowl, we were amazed to find a great, aesthetically pleasing dresser at the first stall we saw.  We especially liked its large, round mirror; usually mirrors attached to dressers are oval.  Even the color was perfect, had she wanted a painted piece.  The design added to its feminine appeal.  We assessed the piece with a practical eye: how much work it would take to add a vessel sink and the necessary plumbing, and how much drawer space would need to be sacrificed.  The vendor took our cell numbers and we moved on. 

Rennovation In Process

Rennovation In Process

Our second find determined that a dining room server or sideboard might be a better choice.  We determined the central top drawer might be sacrificed for plumbing,  but the side cabinets would be perfect for keeping curling irons and a hair dryer for easy access.   We especially liked the turned legs of the piece adding to the feminine quality.  Unfortunately, detail work lost over the years needed to be replaced by a furniture restorer, ultimately adding to the cost.  The last problem was that the piece was painted; beautiful mahogany wood, but the missing detail work was key, so we moved on.

Our last option at this site was a pretty Bird’s Eye Maple dresser.  We loved the wood, but the piece was pretty plain and the top was damaged, so more work or a stone top would need to be added, increasing the cost.

The search continued the following week into Orange County.  Because we had little time and had honed in on what we wanted, we looked at a more limited number of pieces;  we found only one piece to seriously consider, but it was costly, and  reviewing our “option” pieces, we passed on it.

The next day we headed up north to Ventura, and BINGO!  We found the perfect server piece.  A previous owner had cut the legs down, so it was low enough to accommodate a vessel sink and, we didn’t have the anxiety of doing it ourselves.  It is  narrow in depth, which suits the available space nicely, and was not painted.  It did have decades of old stain and no doubt a variety of oils and grime on the surface, but that just means it needed to be stripped.  

The stripping down part was going to be messy and time consuming, but the price was negotiable, and that made it very appealing.  Unfortunately, the most effective stripping agents have been eliminated by the EPA over the past several decades, so the process is more lengthy.  If you do not do it yourself, stripping can be very expensive.

Completed Vanity

Completed Vanity

In the end, the search process was fun and, as usual, educational, as we fine tuned what would work best.  The stripping continues, but we are convinced that the search was successful, and it will become the perfect vanity.

Contrast Adds Drama

While it is true that high contrast will add drama to a room, it is wise to consider how you use contrast.  A painted accent wall is fairly easy to change should you decide you cannot live with the drama the color created, but a floor or a tiled backsplash or shower enclosure is a bit more complicated in terms of expense and time invested.

When you are considering changing something more permanent in your home, like flooring and counter surfaces as well as backsplashes and tub/shower enclosures, try less contrast.  You will be living with these changes for a long time and a classic surface in these areas will serve you better.

Think of all the homes built in the early to mid-20th Century; for the most part, these homes were built with hardwood flooring.  Over the years, as wall to wall carpet became popular, these floors were covered with soft, colorful carpet.   Today, that carpet is considered undesirable and old fashioned.  Carpets in older homes are routinely being  pulled up, exposing those now treasured hardwood floors.  If the wood is in good condition, a simple sanding, staining and fresh coat of polyurethane to preserve its beauty for another half century or more.

Choosing a new color for the floor will be important and fairly permanent.  While it may be tempting to add or stain a border or pattern, think in terms of long term use and how you will feel about such a contrast as a wide, light or dark border verses a solid-colored floor.  An exception to this rule, would be if the floors cannot be successfully refinished, but can be painted instead; then I’d say, go ahead and paint a fun harlequin pattern or boarder.  While the traditional black and white pattern is always popular, you can use softer colors for less contrast, like shades of grey or spa colors like blues and greens; even shades of beige would be a calm and peaceful color combination. 

Tile and natural stone is an expensive and fairly permanent surface for kitchens and baths.  Tempting are the bright colors and fun patterns, but again, consider how long it will be in style, staying classic is wiser.

Unless your home is clearly in a particular style like a Spanish Revival or Spanish Colonial, the use of colorfully patterned tiles might be a bit risky.  Adding cute “accent tiles” to a kitchen backsplash will date your renovation very quickly and reduce its value at resale time.

If using these colorful and playful tiles is something you have your heart set on, use them in less permanent ways.  For instance you can make tile trivets and hang them on the backsplash to add some personality without risking the need to tear it out once you tire of it.

When considering high contrast, think about how long you will live in this home and consider the home’s style.  High contrast will give you high drama, but you can enjoy soft contrast too and it is often easier to live with in the long term.