

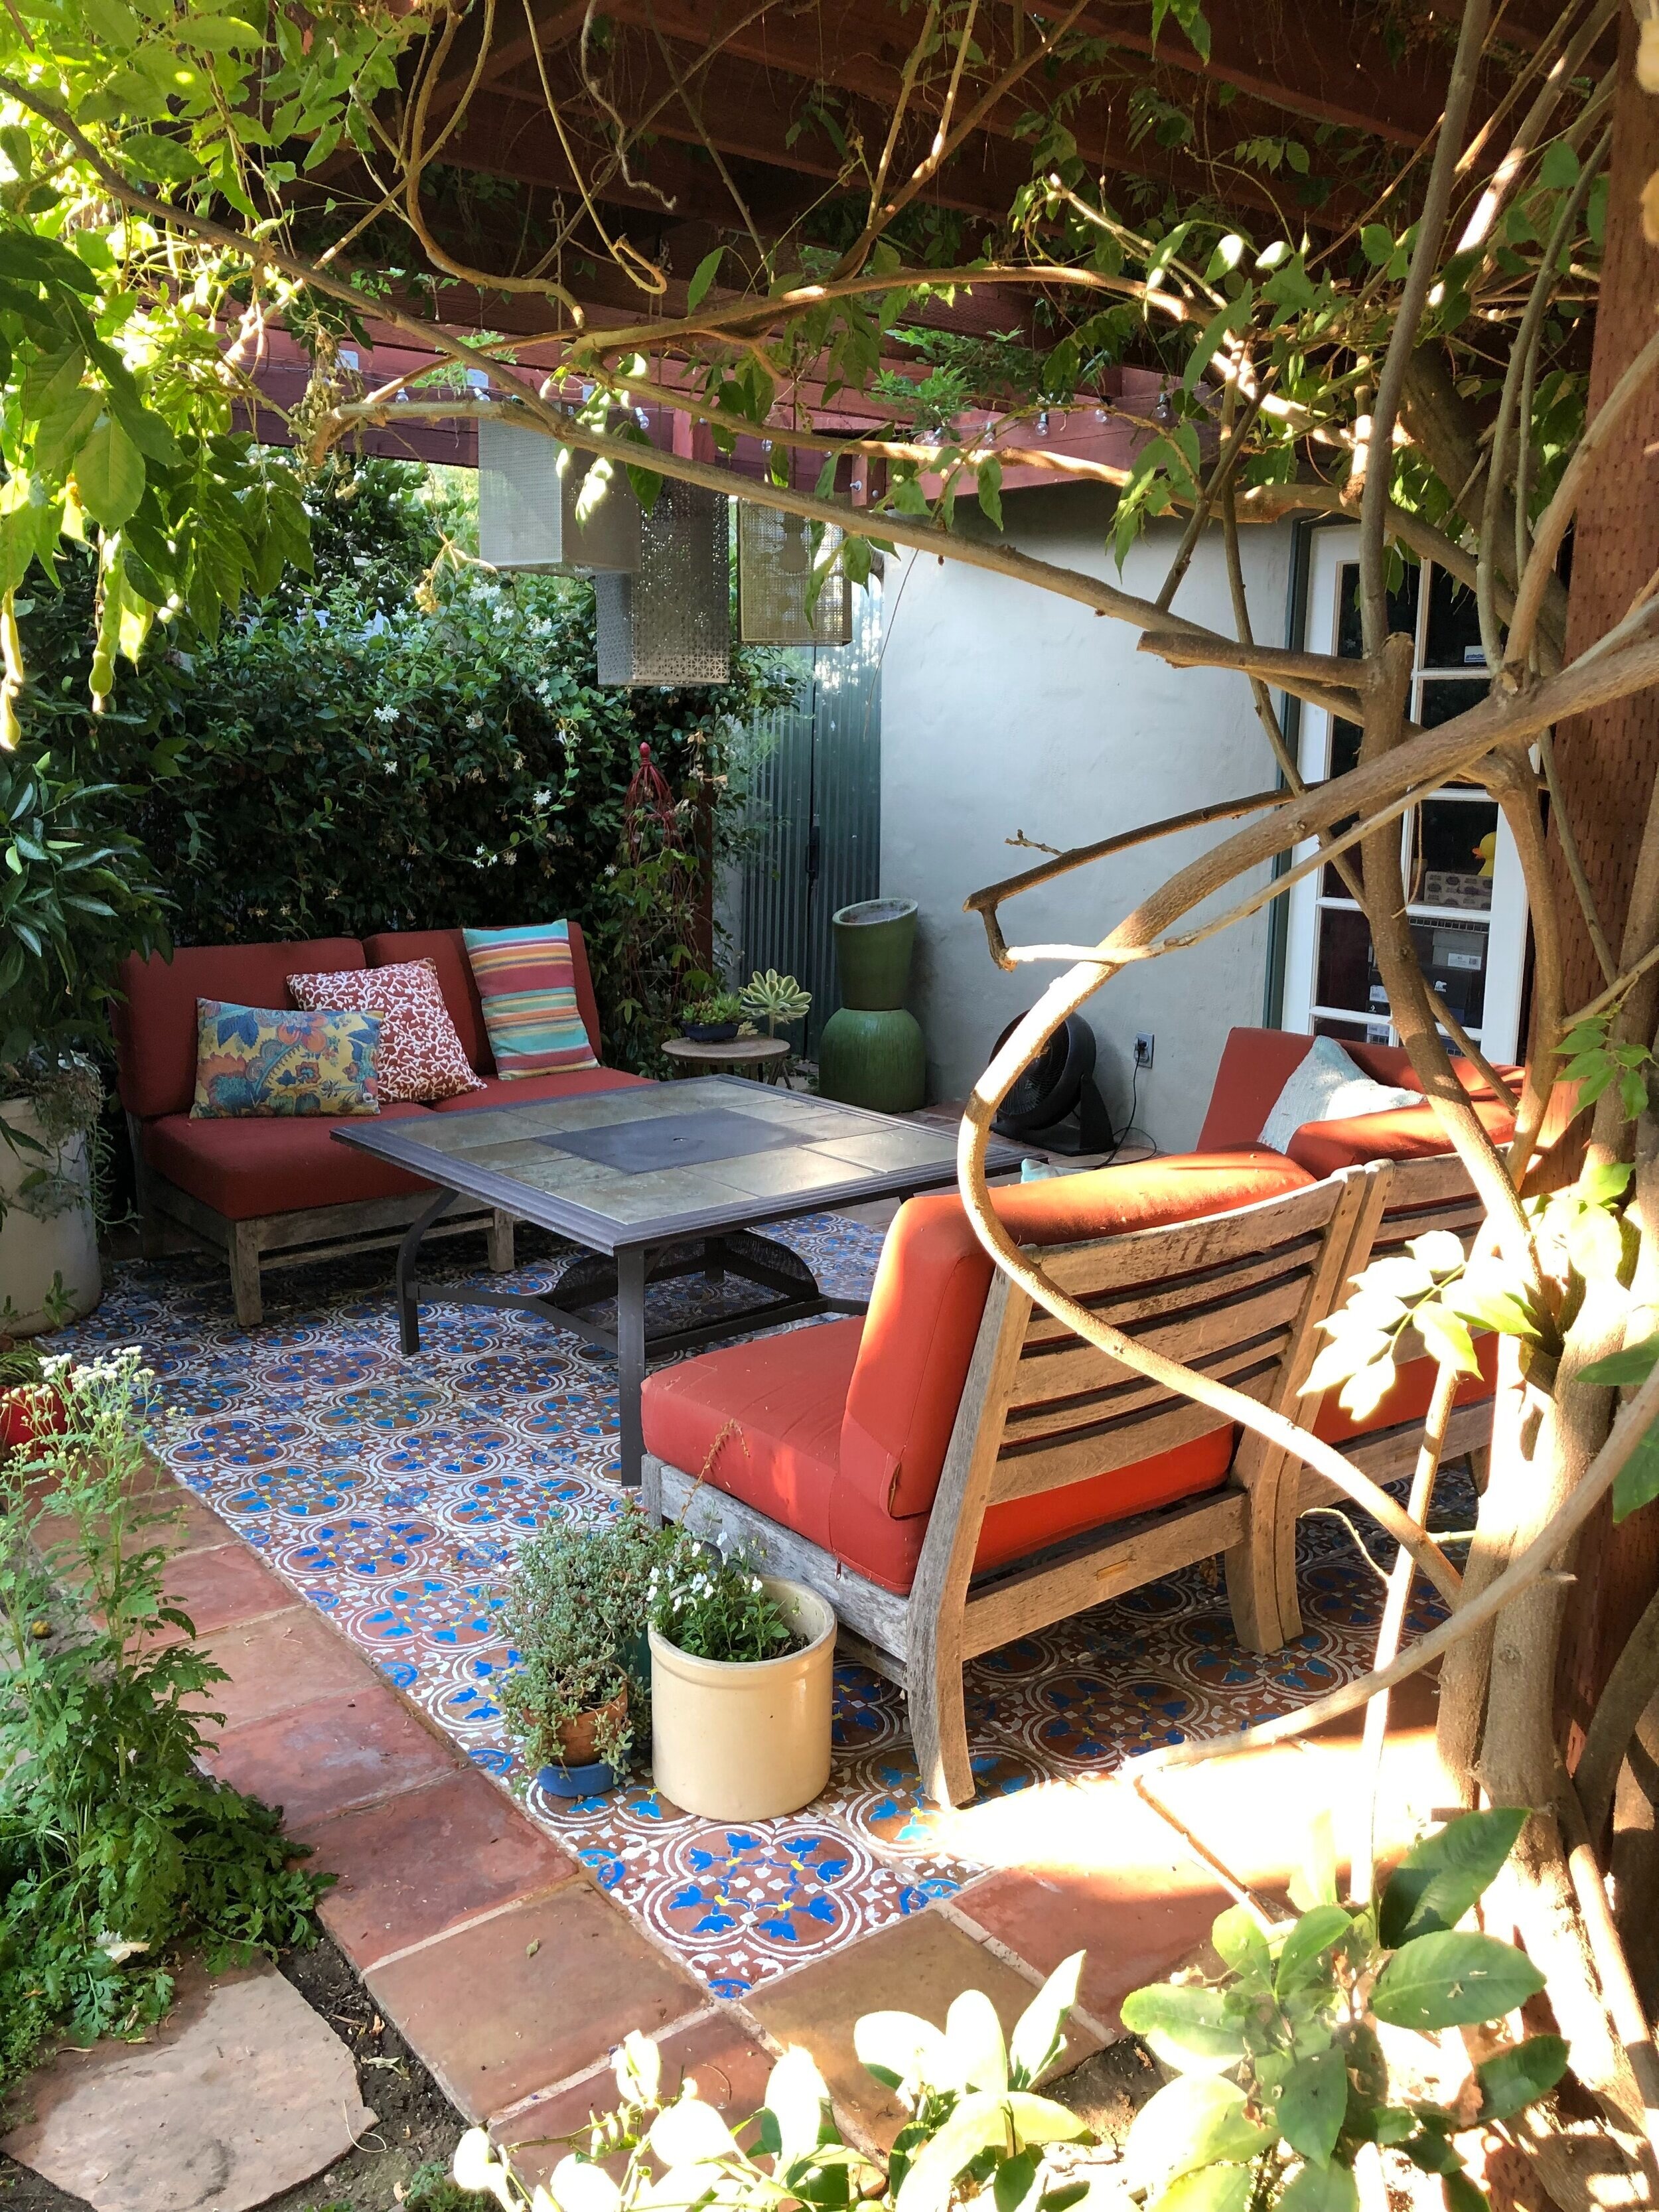
After about six years, we finally got around to painting a rug on my daughter’s Saltillo tile patio. We used a previously painted stencil, with plenty of paint on it, so we knew the lines would be less defined, but that was fine with us, we wanted a more authentic “hand painted” look—and we got it. The house was built in 1931, so the rustic look of hand painted tiles was in keeping with the era.
The first thing we did was use a large cardboard box opened up so we could make a color template. We considered the cardboard color the base color that would be the Saltillo tile color, added white for the first stencil outline color. We then each took a different stencil and freehand painted different color combinations, which was fun, but soon realized how time consuming it would be to do such a large area, while squatting on low stools to stencil the patio. We decided to limit our color choices to three, however, in the end decided that adding the yellow accent would not be too difficult, and would add some relief.


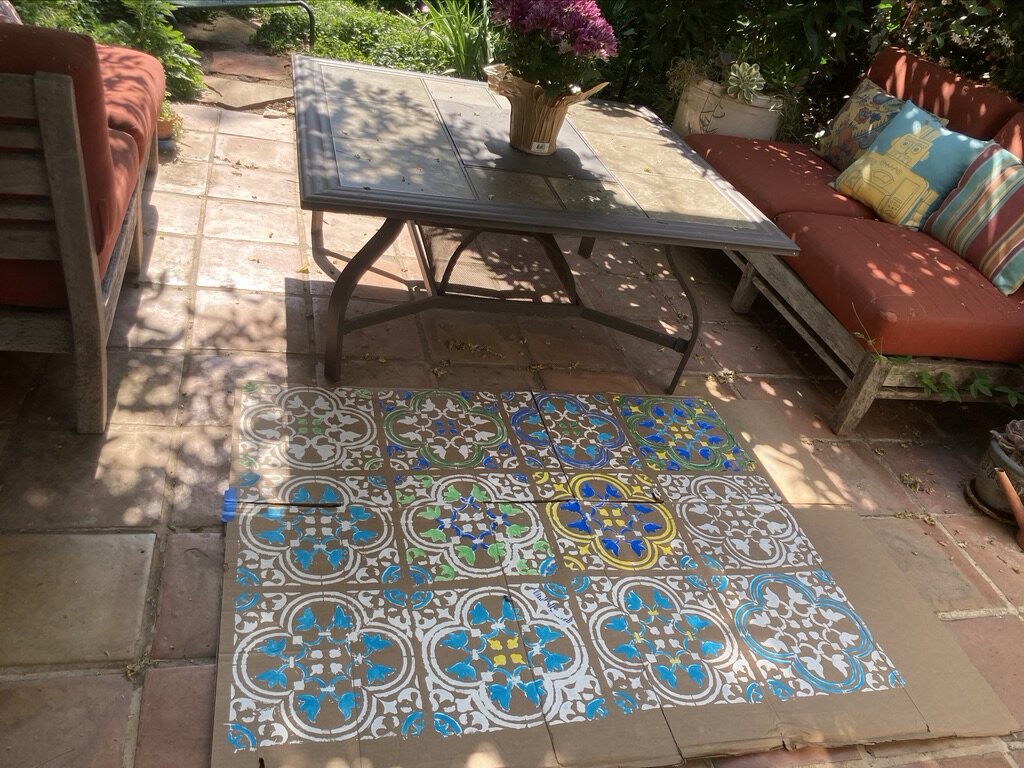
The process was not complicated, but lengthy since we wanted a large rug and had 11” tiles, 77 to be exact. We began by power washing the tiles, then sealing them. Next we used white primer paint and stenciled each tile by hand, lifting it and washing and drying it each time. This was probably the most time consuming part, and probably wasn’t necessary.
The next day we began with our first color, using two slightly different blue hues for more interest, we skipped a tile after each application of the first blue, we called “blue tape blue” since it matched perfectly the the tape we used to protect the white underneath we wanted to keep. By this time, we tried just dry wiping the blue off the back of each stencil application, saving time. The next day was a bit hotter and we didn’t quite finish, the paint was drying too quickly and getting sticky, but finished it the next morning. The second blue, we called “Smurf Blue”, was a nice relief to the first blue. Same backbreaking process and after a couple of days of this, we were both feeling it.
Once the second blue was applied, we had a little regret that the Blue Tape Blue color would have been better had it been a little more on the navy blue side, but it’s still a nice contrast. Now, we have color number one, the Saltillo tiles natural color, the white, two blues and we bought a bright yellow, we call Rubber Ducky, adding a little accent, which we applied by hand using small brushes. This went quite quickly, much to our aching backs relief.
Once the paint was dry, my daughter added several coats of sealer, over the next couple of days. The sealer gave the area rug a little sheen, not too much, just enough to give it some depth.
We added the furniture to our finished project and agreed the colors were good choices. If the cushions for the furniture had been blue instead of terra cotta, leaving the stenciling white only, would have been fine. But, there is a lot of terra cotta on the patio— the Saltillo tiles, cushions and several pots, so the added colors help make it a more interesting rug.
It will be a long time before I tackle a similar project, but it was worth it.