

Now that we are on the other side of the 515 day bathroom remodel, it is a bit easier to see the journey.


Keeping in mind our primary goal was to move the toilet into the shower space and give us floor space and better function with the vanity. It was tempting to just tear out the old shower and move the toilet and work on the rest at some point. Fortunately, reason took over and planning the actual plumbing needs was the next order of business
We needed to remove the linen cabinet first, so that the plumbing for the tub/shower could go in behind the cabinet. My handy, engineer hubby tore out the linen cabinet and tub wall to the studs to begin his own schematic for the plumbing in the walls.
The bulk of the plumbing would go between the shower wall and linen cabinet, but, additional pipes were run in the wall adjacent to the end of the tub wall.. This was messy and difficult to remove because the cement was so thick. Removal and clean up took time.
Once the walls were totally open, the pipe positioning could be thought out and installed. First of all, framing of the end of the tub wall, where the linen cabinet had been, needed to be built to support the new pipes. Fortunately, we had selected the fixtures for the shower assembly and we had them on hand. Knowing the exact dimensions of all these fixtures was key to making them work in the space allowed.
The finished space between the shower wall surface and the inside wall of linen cabinet, is three and three quarters of an inch wide. That means the internal space in shower wall is even less, so the actual pipe placement kit critical. We also replaced all of the plumbing at the tub fill end and took this opportunity to raise the valve positions which make reaching the valve handles much easier.
Additionally, the two niches we had planned needed to be framed and positioned to avoid plumbing as well. As a designer, I appreciate that form must follow function, but it’s hard not to want to rush this phase and get to the “pretty stuff”.

At this point, we are living like “campers”, with open to the stud walls and old tar paper exposed. We were pretty excited to be able to close up the walls with insulation and fiber board, and feel like we were on our way to a finished project. But, we still had window wall completely open to the studs, so we focused on the almost finished part to keep sane, and be able to move forward.
While I’d like this to be the end of the “endless” plumbing, it was far from over. Our son flew from the east coast to spend a week helping his dad with some under the house copper pipe cutting, connecting and pressure testing. This exercise would bring the sink plumbing to the ready for the placement of the two foot by four foot trough sink. With all the under the house piping complete to this point, it would make it easier for the plumber who would come and cut the cast iron waste pipe and connect the toilet in its new location. But that exercise is still months away.
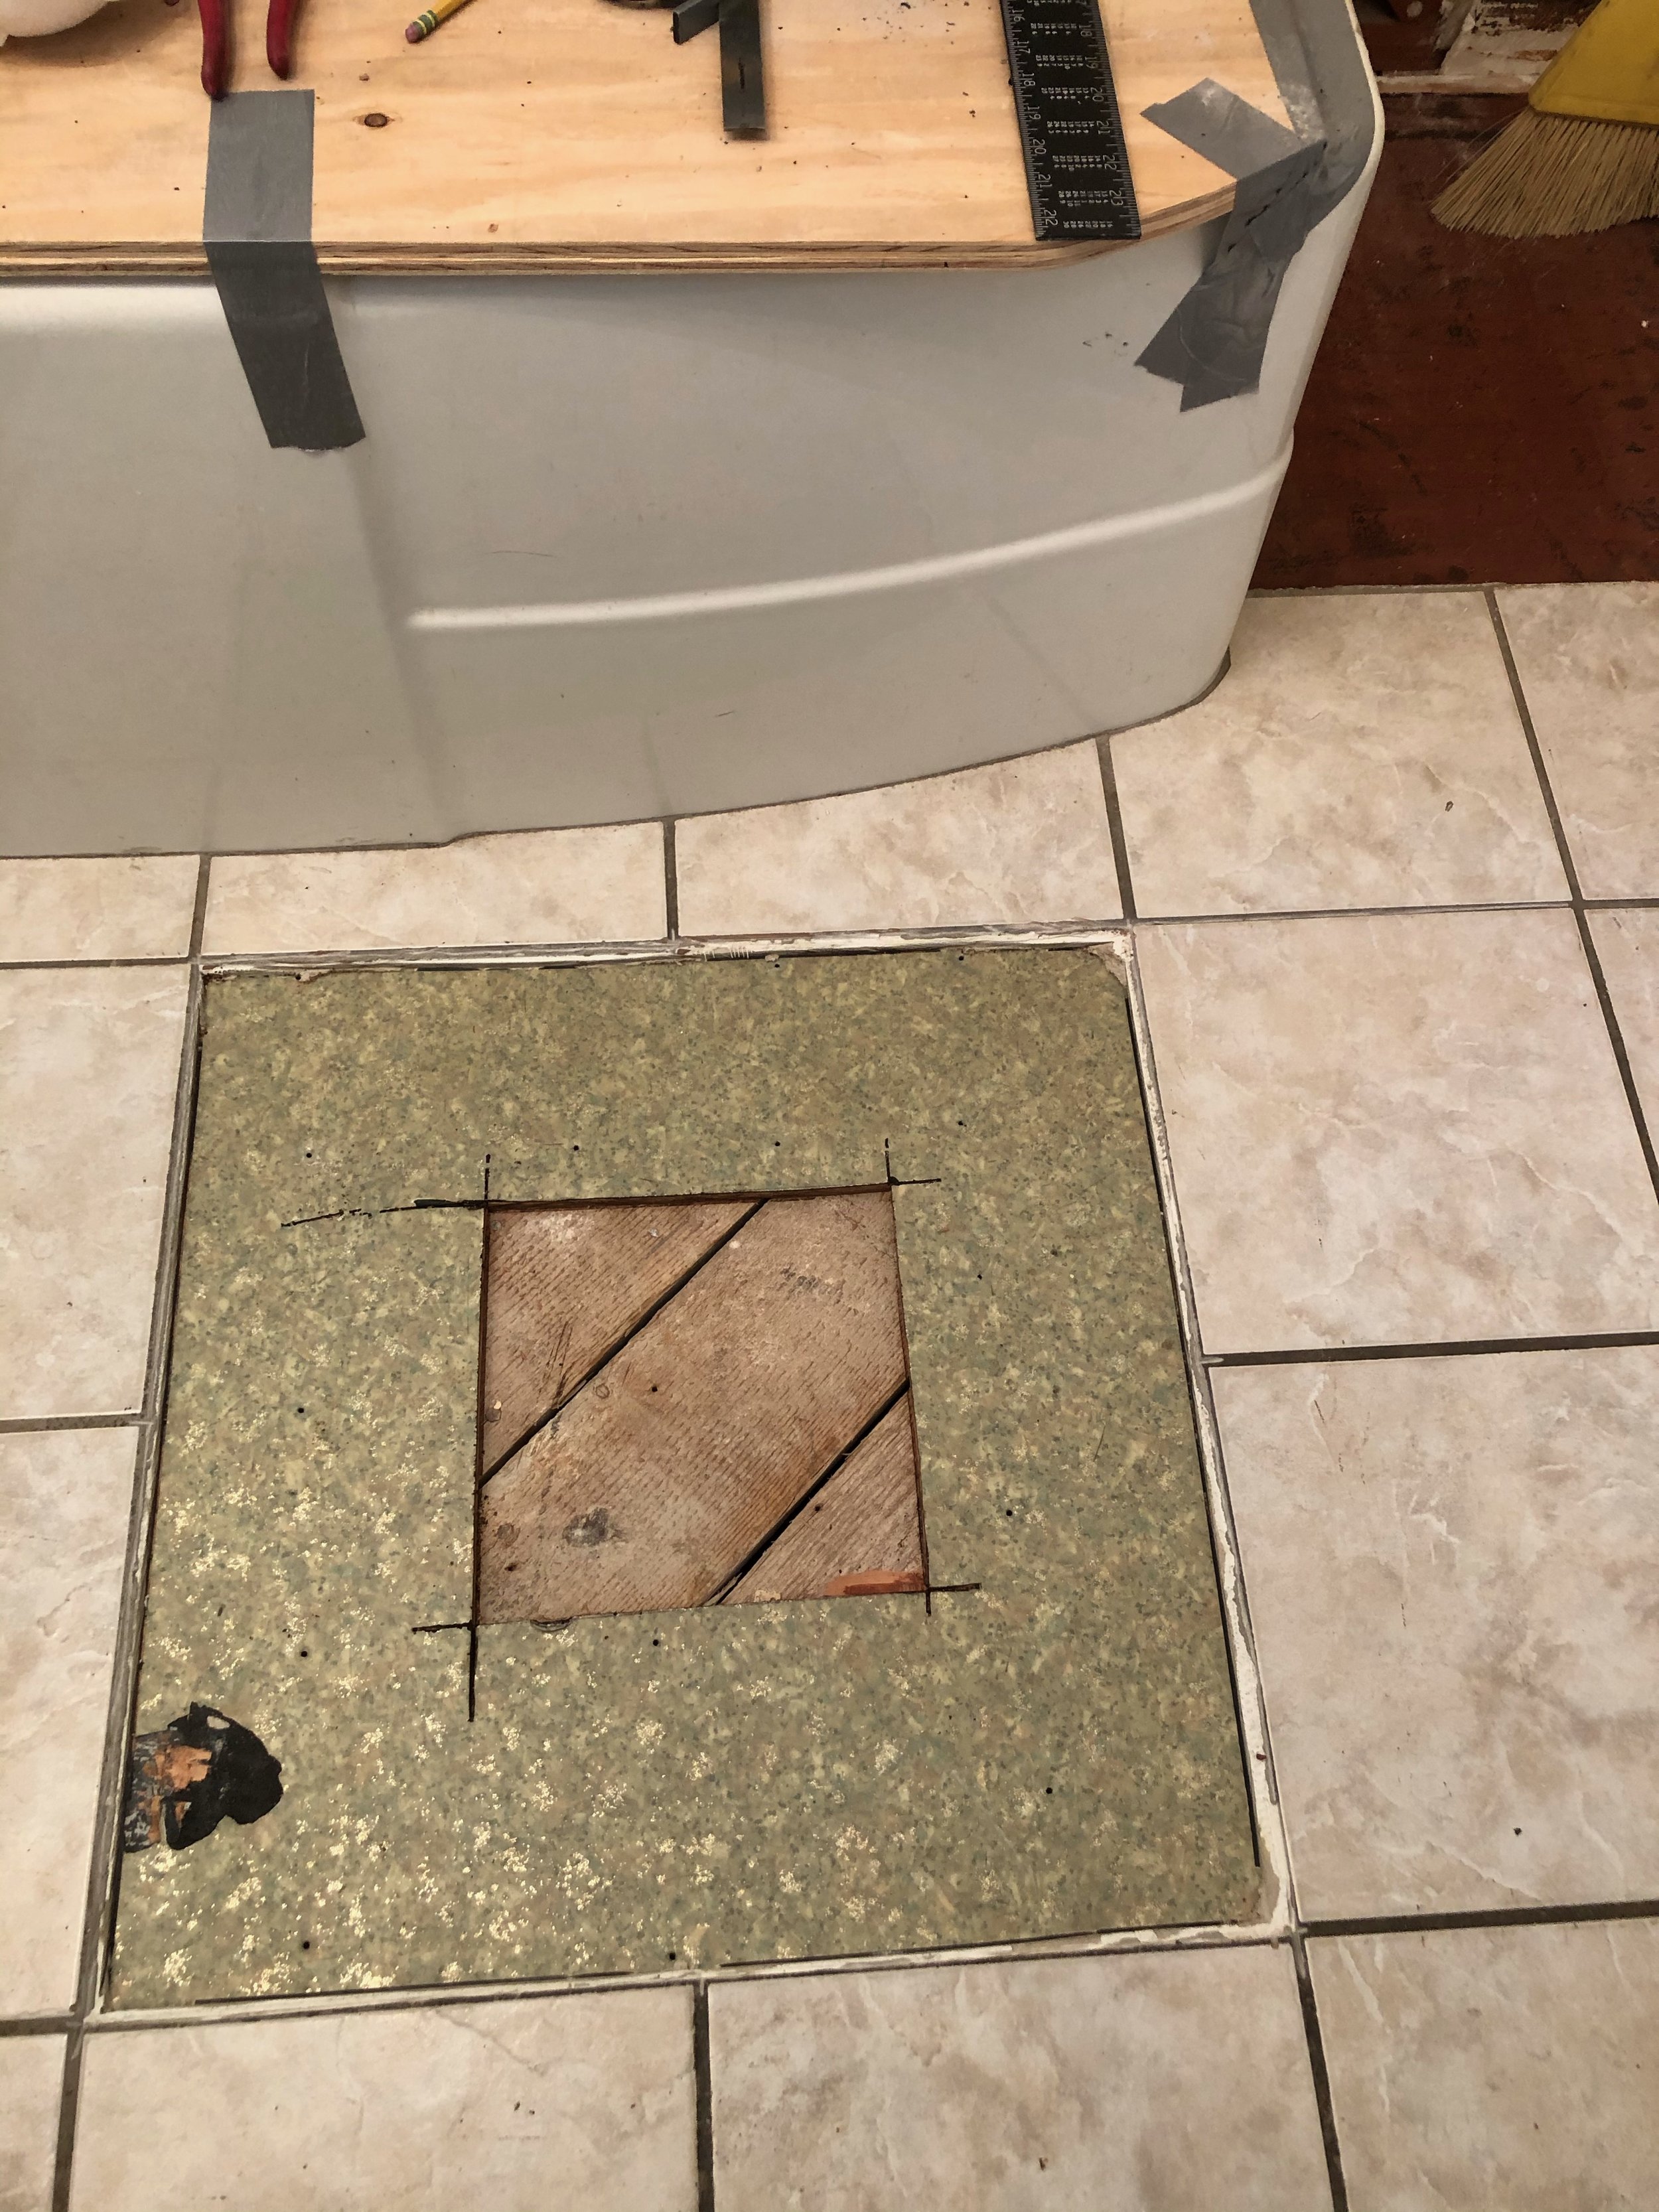
As I mentioned this bathroom was fully functional during 90% of the remodel. As the picture shows, my husband cut a two foot square in the floor for easy access to the plumbing under the house. It was tight as the floor joists are actually only eighteen inches apart, but it was far easier for the guys to scrunch their shoulders to wedge themselves through the opening, than it was to crawl about 50 feet on stomachs and elbows from the exterior access. We were delighted to see the original 1938 linoleum, complete with gold metallic flecks. Classy indeed.
Next time: Cabinet Making