

Finding suitable window treatments for my living room was a concern for me. I wanted something that would give us a little privacy at night, and disappear during the day, but be attractive all the time. When I did my first design project back in the 60s, I got high marks for using matchstick blinds, and trimming them with decorative fabric trim tape. During that period, there was a bit of a Bohemian vibe, and matchstick blinds were easy to acquire, hang and decorate, not to mention inexpensive, too.
I have continued to use matchstick blinds throughout the years, sometimes sacrificing most of the blind to make simple valances— where full coverage of the windows was not necessary— but still giving the impression of window treatments.
In the early days, I did not use liners with the blinds; they were not in an area that required privacy. In my previous office that faced east, cutting the bright morning sunlight and heat made lining a must. Once the sun rose above the blind area of my view, I could easily raise the blind and enjoy the view.
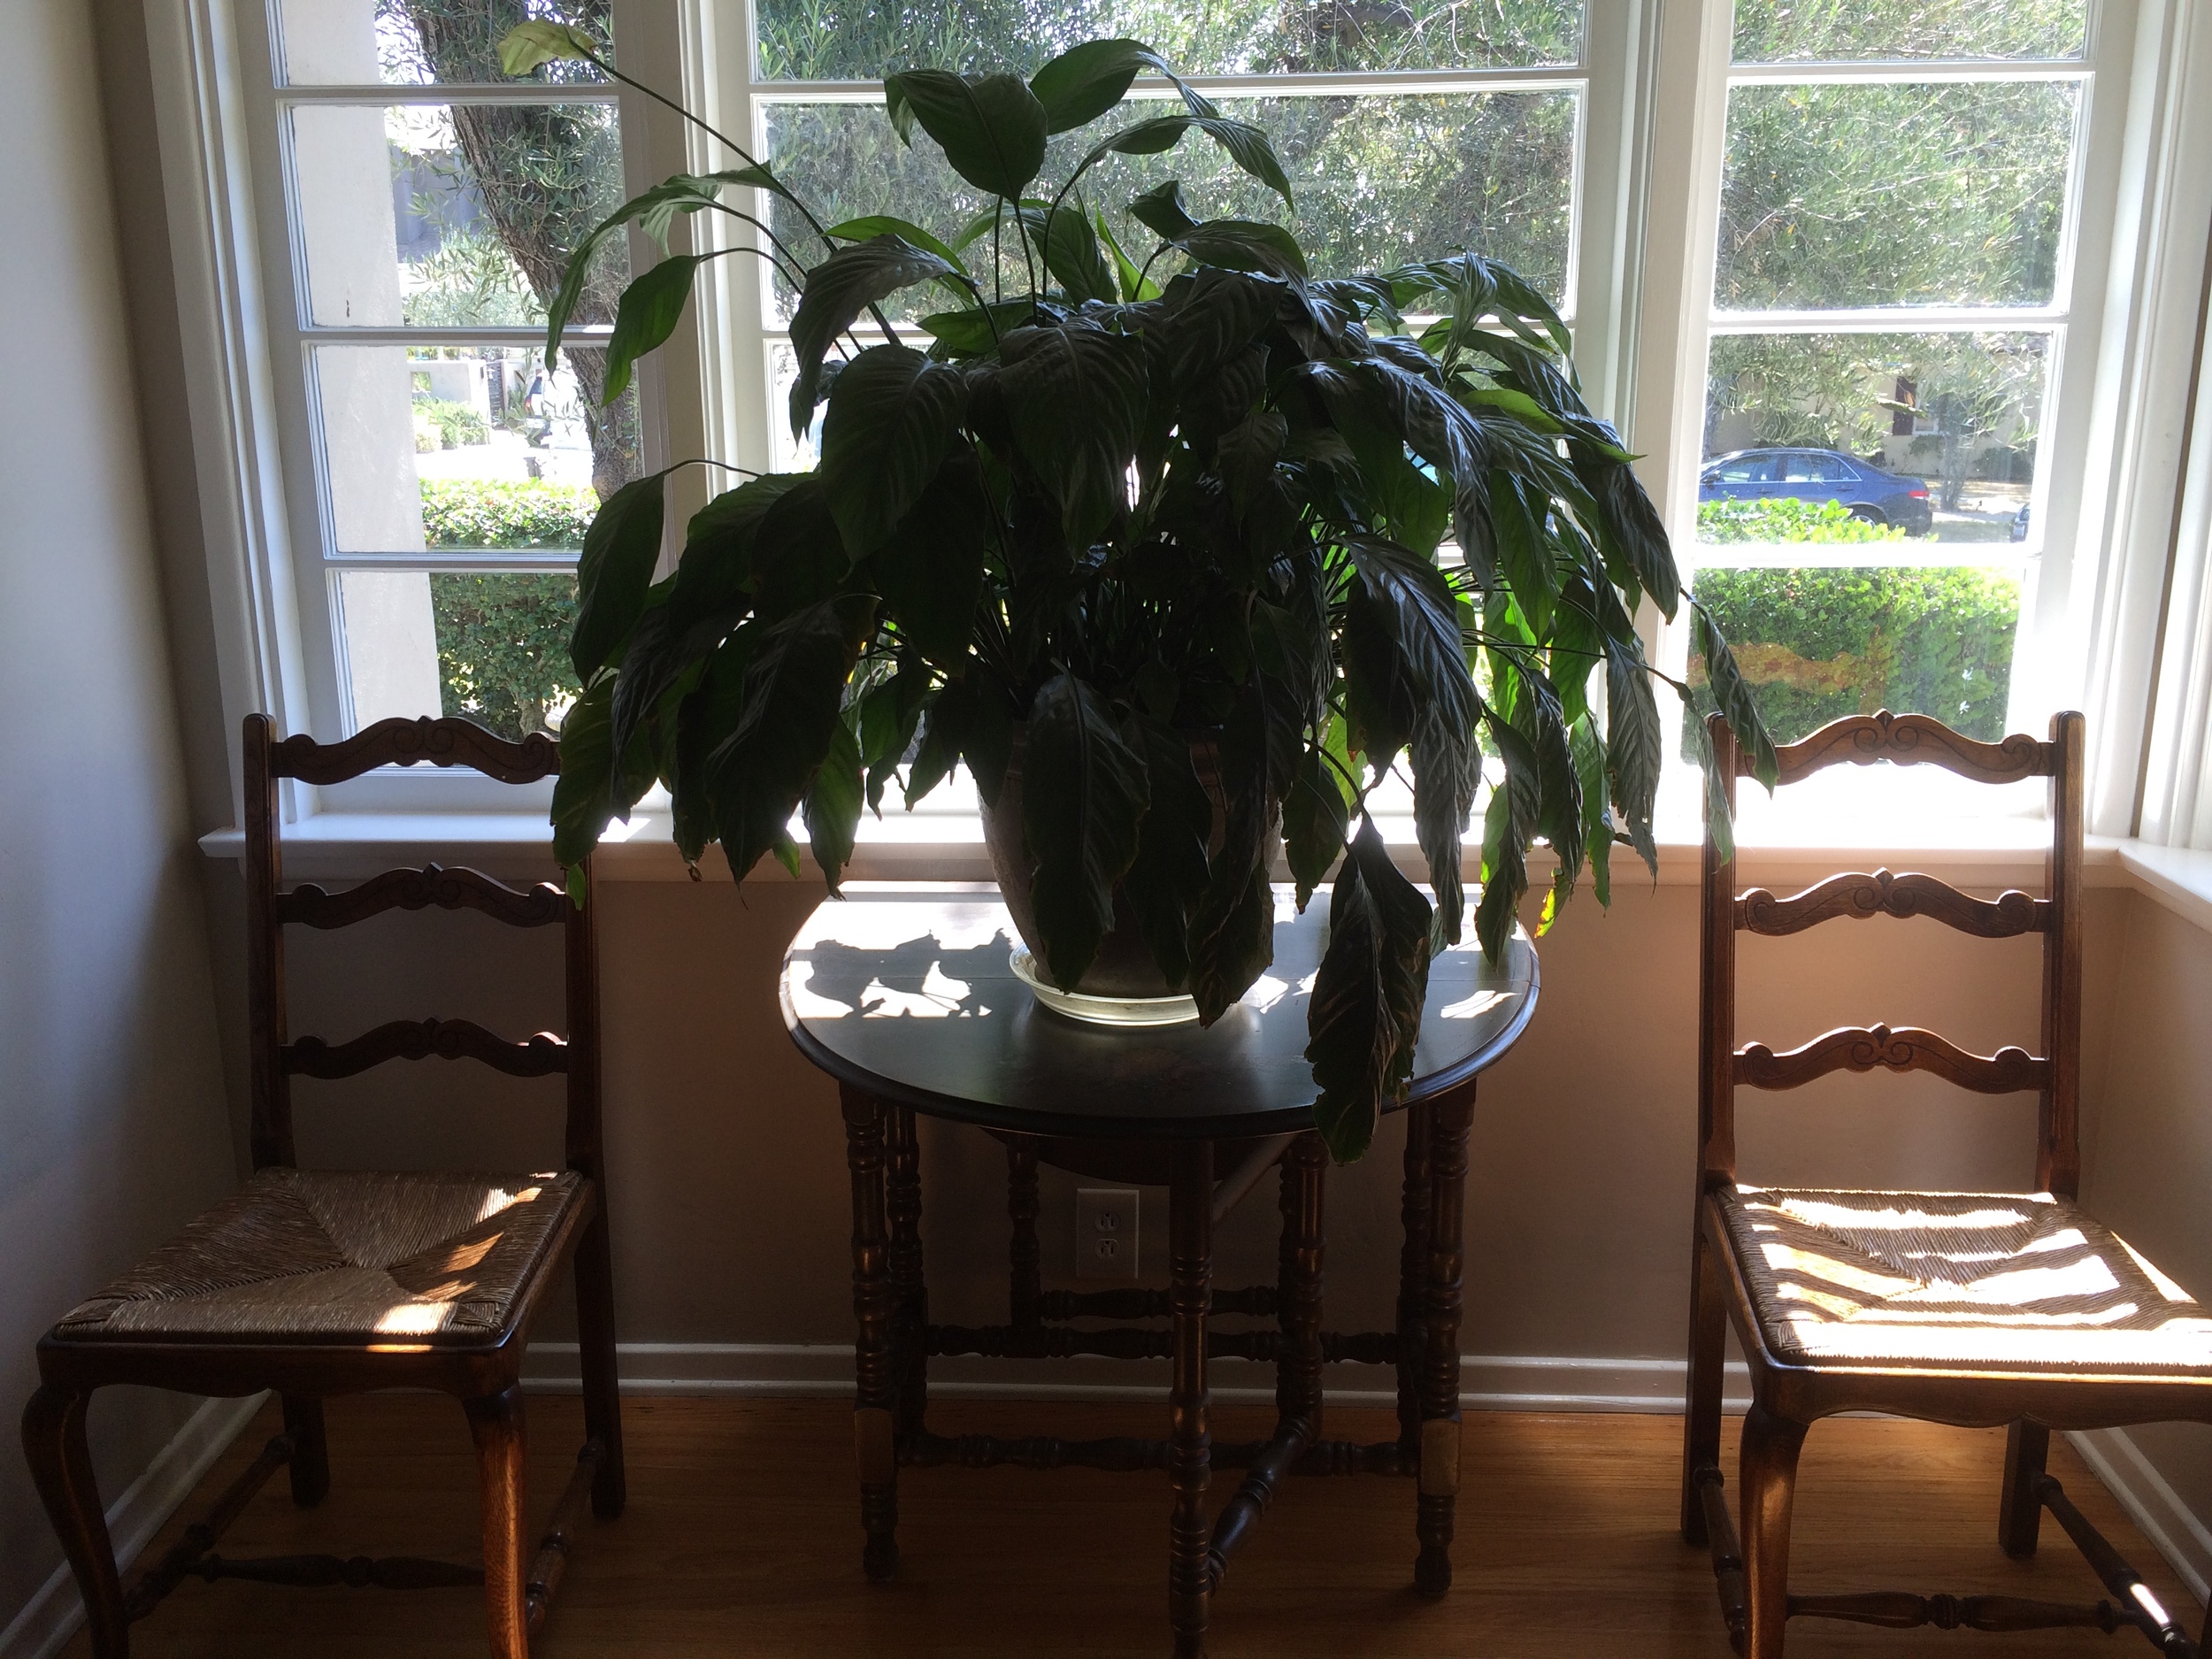
My current living room faces the street, and I felt too exposed to do without any window treatments. I had considered a lightweight wool drape for the window; but with an east facing window, I felt it would require a lining, which would make the drape too heavy to fall nicely and would add considerably to the already expensive wool fabric. Besides, wool would be more formal than I wanted.

Matchstick blinds were a little harder to find this time around. Once I got the requisite sizes, color and number I needed, it would be up to my handy husband to cut them to size—standard was not going to work in my space. The cutting down of the blinds would be put off for sometime, since it required the use of his table saw, which had not found a place to operate right away. Bummer!
The trick to cutting down matchstick blinds, is to roll them tightly and use a new, fine tooth, sharp blade. In days gone by, he used painters tape to hold the blind while he cut it to size, but this time he thought of using hose clamps. Brilliant.
Once the blinds were cut and fixed to the windows, I was delighted with them. I wanted to live with them for a little while to see how I felt at night with lights on inside the house—still a bit exposed.
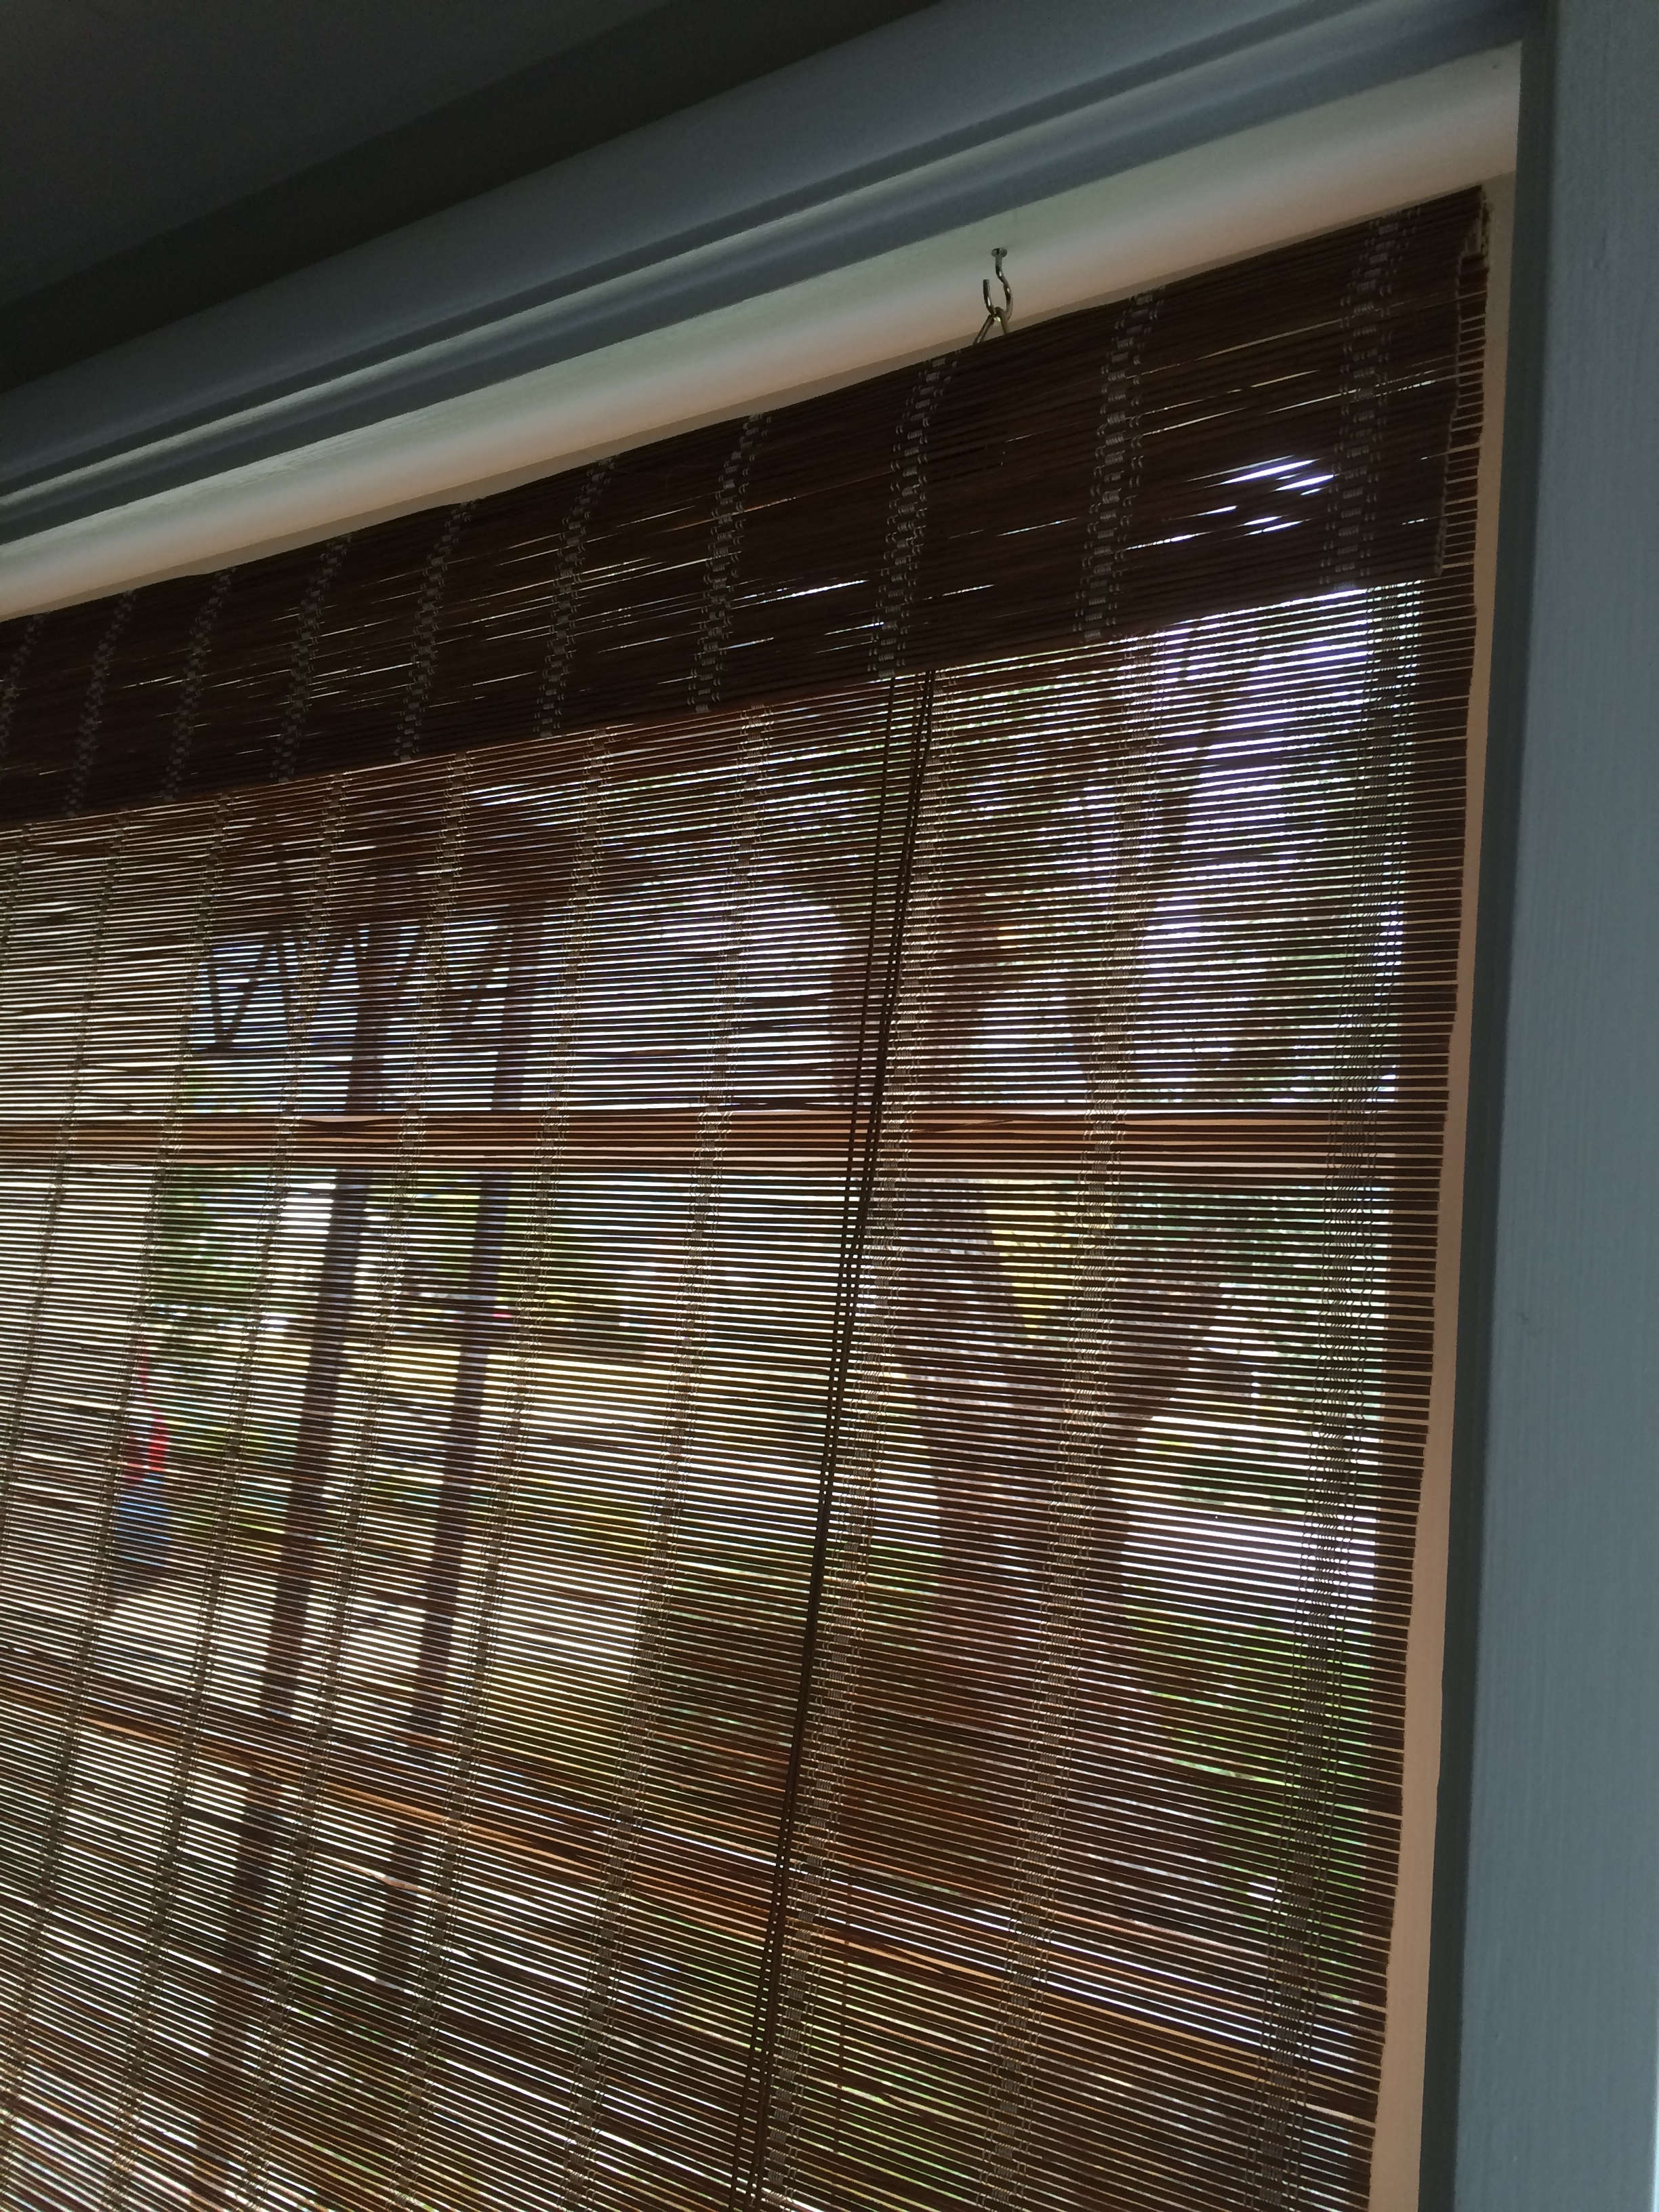
The solution was to line them. Again, there was nothing standard about the now customized blinds. I bought some light-weight batiste fabric, trimmed it to size and hemmed all four sides. Perfect. Now to attach. I began doing it by hand, but quickly decided that hand work would be too labor intensive; and my hands and back would not appreciate it. I thought of using a nylon tag gun that is used to attach price tags to clothing, but would employ shorter nylon pins. Fabric stores carry these guns. They are called Quilter’s Basting Guns; however, I found that the nylon pins were red or hot pink, and that would not do for my project. I went on-line and found the basting tool with shorter, clear pins; but had to wait for them to be delivered—over a holiday weekend.
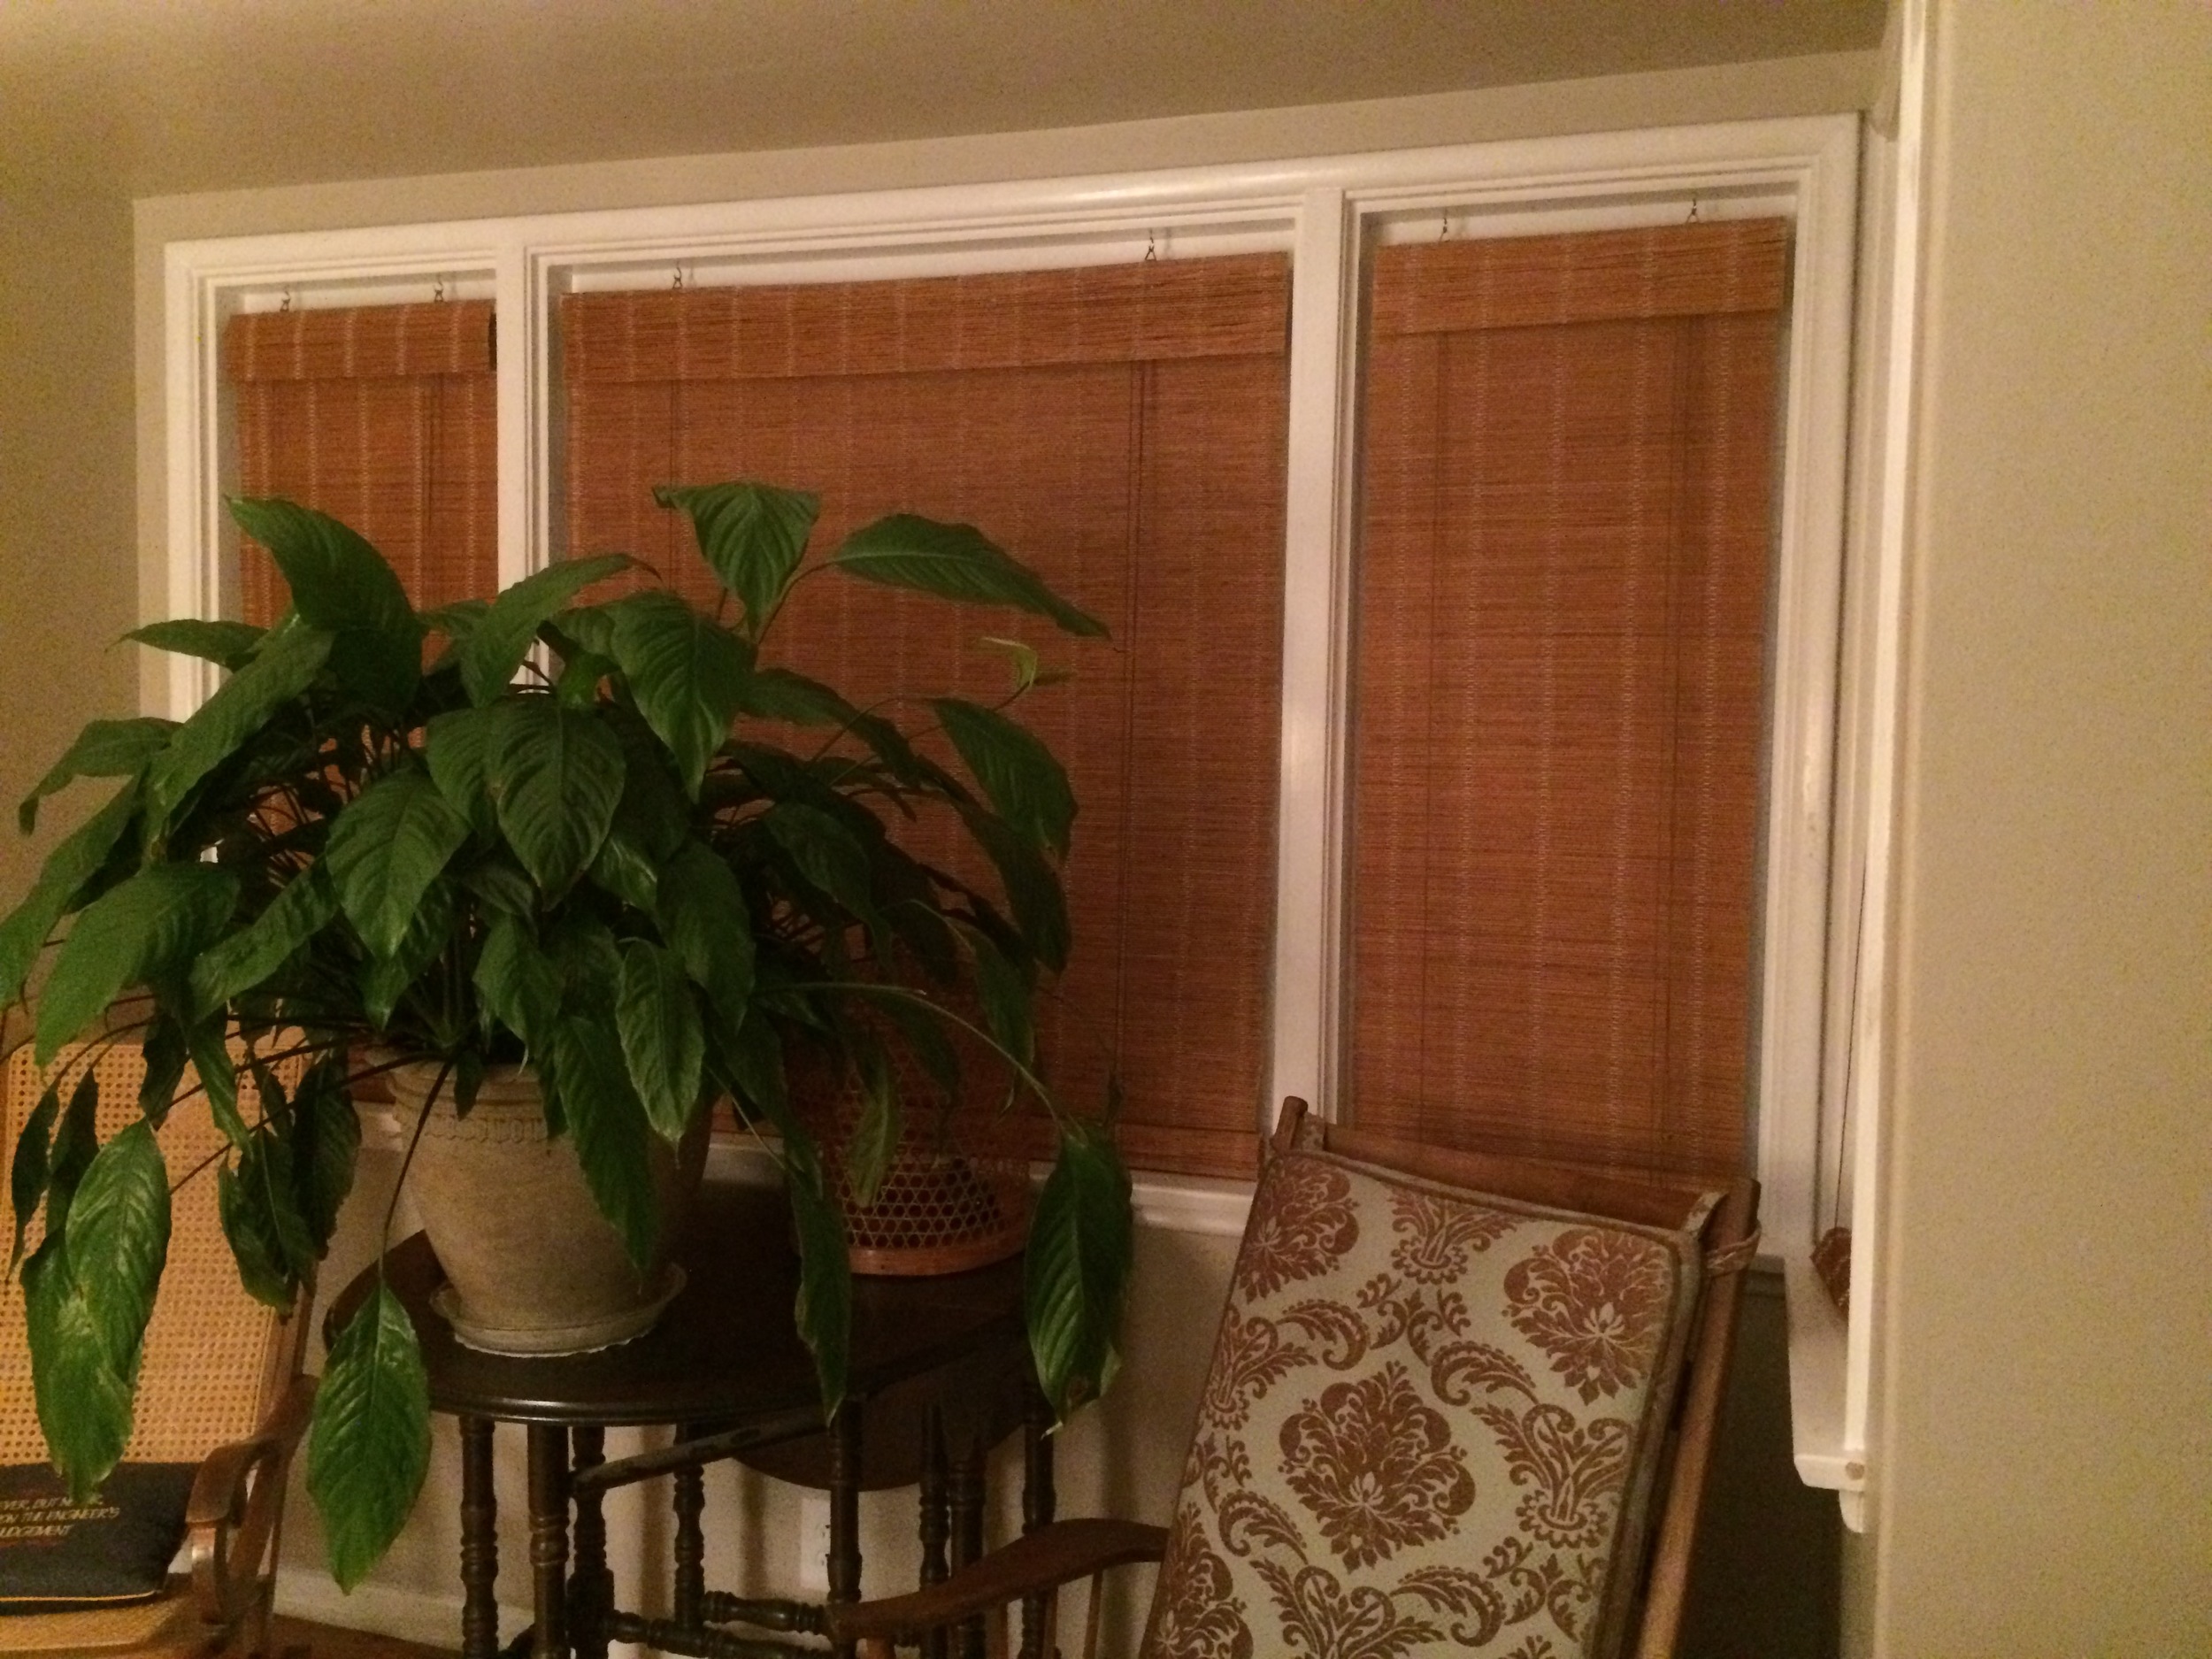
Once I had the basting tool, I was in business; and it worked like a charm! I was particular about getting the lining up as high as possible and tacking it all along the top as well as the bottom. Additionally, I pinned all the way down the liner and across the blind in neat rows, to ensure the liner would roll up cleanly; and from the outside it would appear smooth.

The end result is just what I wanted: the privacy issue is solved, and it feels cozy from the inside at night. During the day, with the blinds raised, I love the light and the look of the blinds rolled up; it adds to our casual lifestyle, not so Bohemian since the blinds are unadorned.