• Home
  • About
  • Blog
  • Blog Index
  • Blog History
  • Furniture Before & After
  • Rooms Before & After
  • Contact
  • Furniture For Sale
Menu

Designs Refined

1701 Craig Ave
Altadena, CA, 91001
818 429 8699

Your Custom Text Here

Designs Refined

  • Home
  • About
  • Blog
  • Blog Index
  • Blog History
  • Furniture Before & After
  • Rooms Before & After
  • Contact
  • Furniture For Sale
IMG_3220.JPG

Blog

Adding a Little Bling

February 4, 2017 Linda Hammond

My daughter’s closet has always been a bit dull, serviceable, but nothing special.   Most closets are really just utilitarian, unless you can make-over a small room into a fantastic closet, and add lots of fancy extras: lighting, seating and specialized compartments for shoes, jewelry and accessories.  Lacking an entire room to remake into a specialized closet, we are working with what we have; a small, but well organized space.

A year ago for Christmas, I gave my daughter a pretty chandelier for her closet.  We always thought we would get that closet painted, and shelves covered in pretty wallpaper, and the chandelier installed; but that plan just did not happen quickly.  Here we are a year later, and we decided to tackle the project.  

We thought we could install the chandelier by ourselves; after all, we’ve done simple stuff like this before.  What we did not realize is that the bare bulb that illuminated the closet was actually in a junction box and had a pull cord to turn on the light; it was not hard wired into the wall, to a light switch.  Handy husband aka dad, had to do a little work on the chandelier to make itwork in the closet.  While he could have hardwired it into the wall, he has too many other projects on his worktable at this time.  He decided it was easier to rewire the chandelier to work with a pull cord; he could do without having to cut into the wall and do some plastering work to boot!

My daughter and I had decided a metallic paint for the walls would add some glam.  We bought what was available, one of the three colors we wanted to try—the paint store was out of the other colors.  Without other choices, we decided to plunge into the project full force, now that we had the light that would be in the finished closet, instead of the bare bulb with low wattage.  

I am nearly always skeptical after the the first coat, when I start a painting, stripping or staining project.  “What was I thinking” comes to my mind, but knowing that the next coat will be a huge improvement, I power on.  After the second coat of metallic paint on these walls, I was still a wee bit unsure.  The metallic paint is not hard to work with, but it is a bit tricky and does not cover as evenly as I expected, even with the advised paint extender meant to give you more time before it sets.

After painting the walls and trim, we were anxious to get the chandelier put together to see if we would like the paint color.  The paint color was called Champagne, but it is most definitely an antique gold, much like the gold calligraphy ink, I have used.  It was growing on us.  The chandelier was another trial, to get all the crystals put together and then hung on the appropriate arms of the frame.

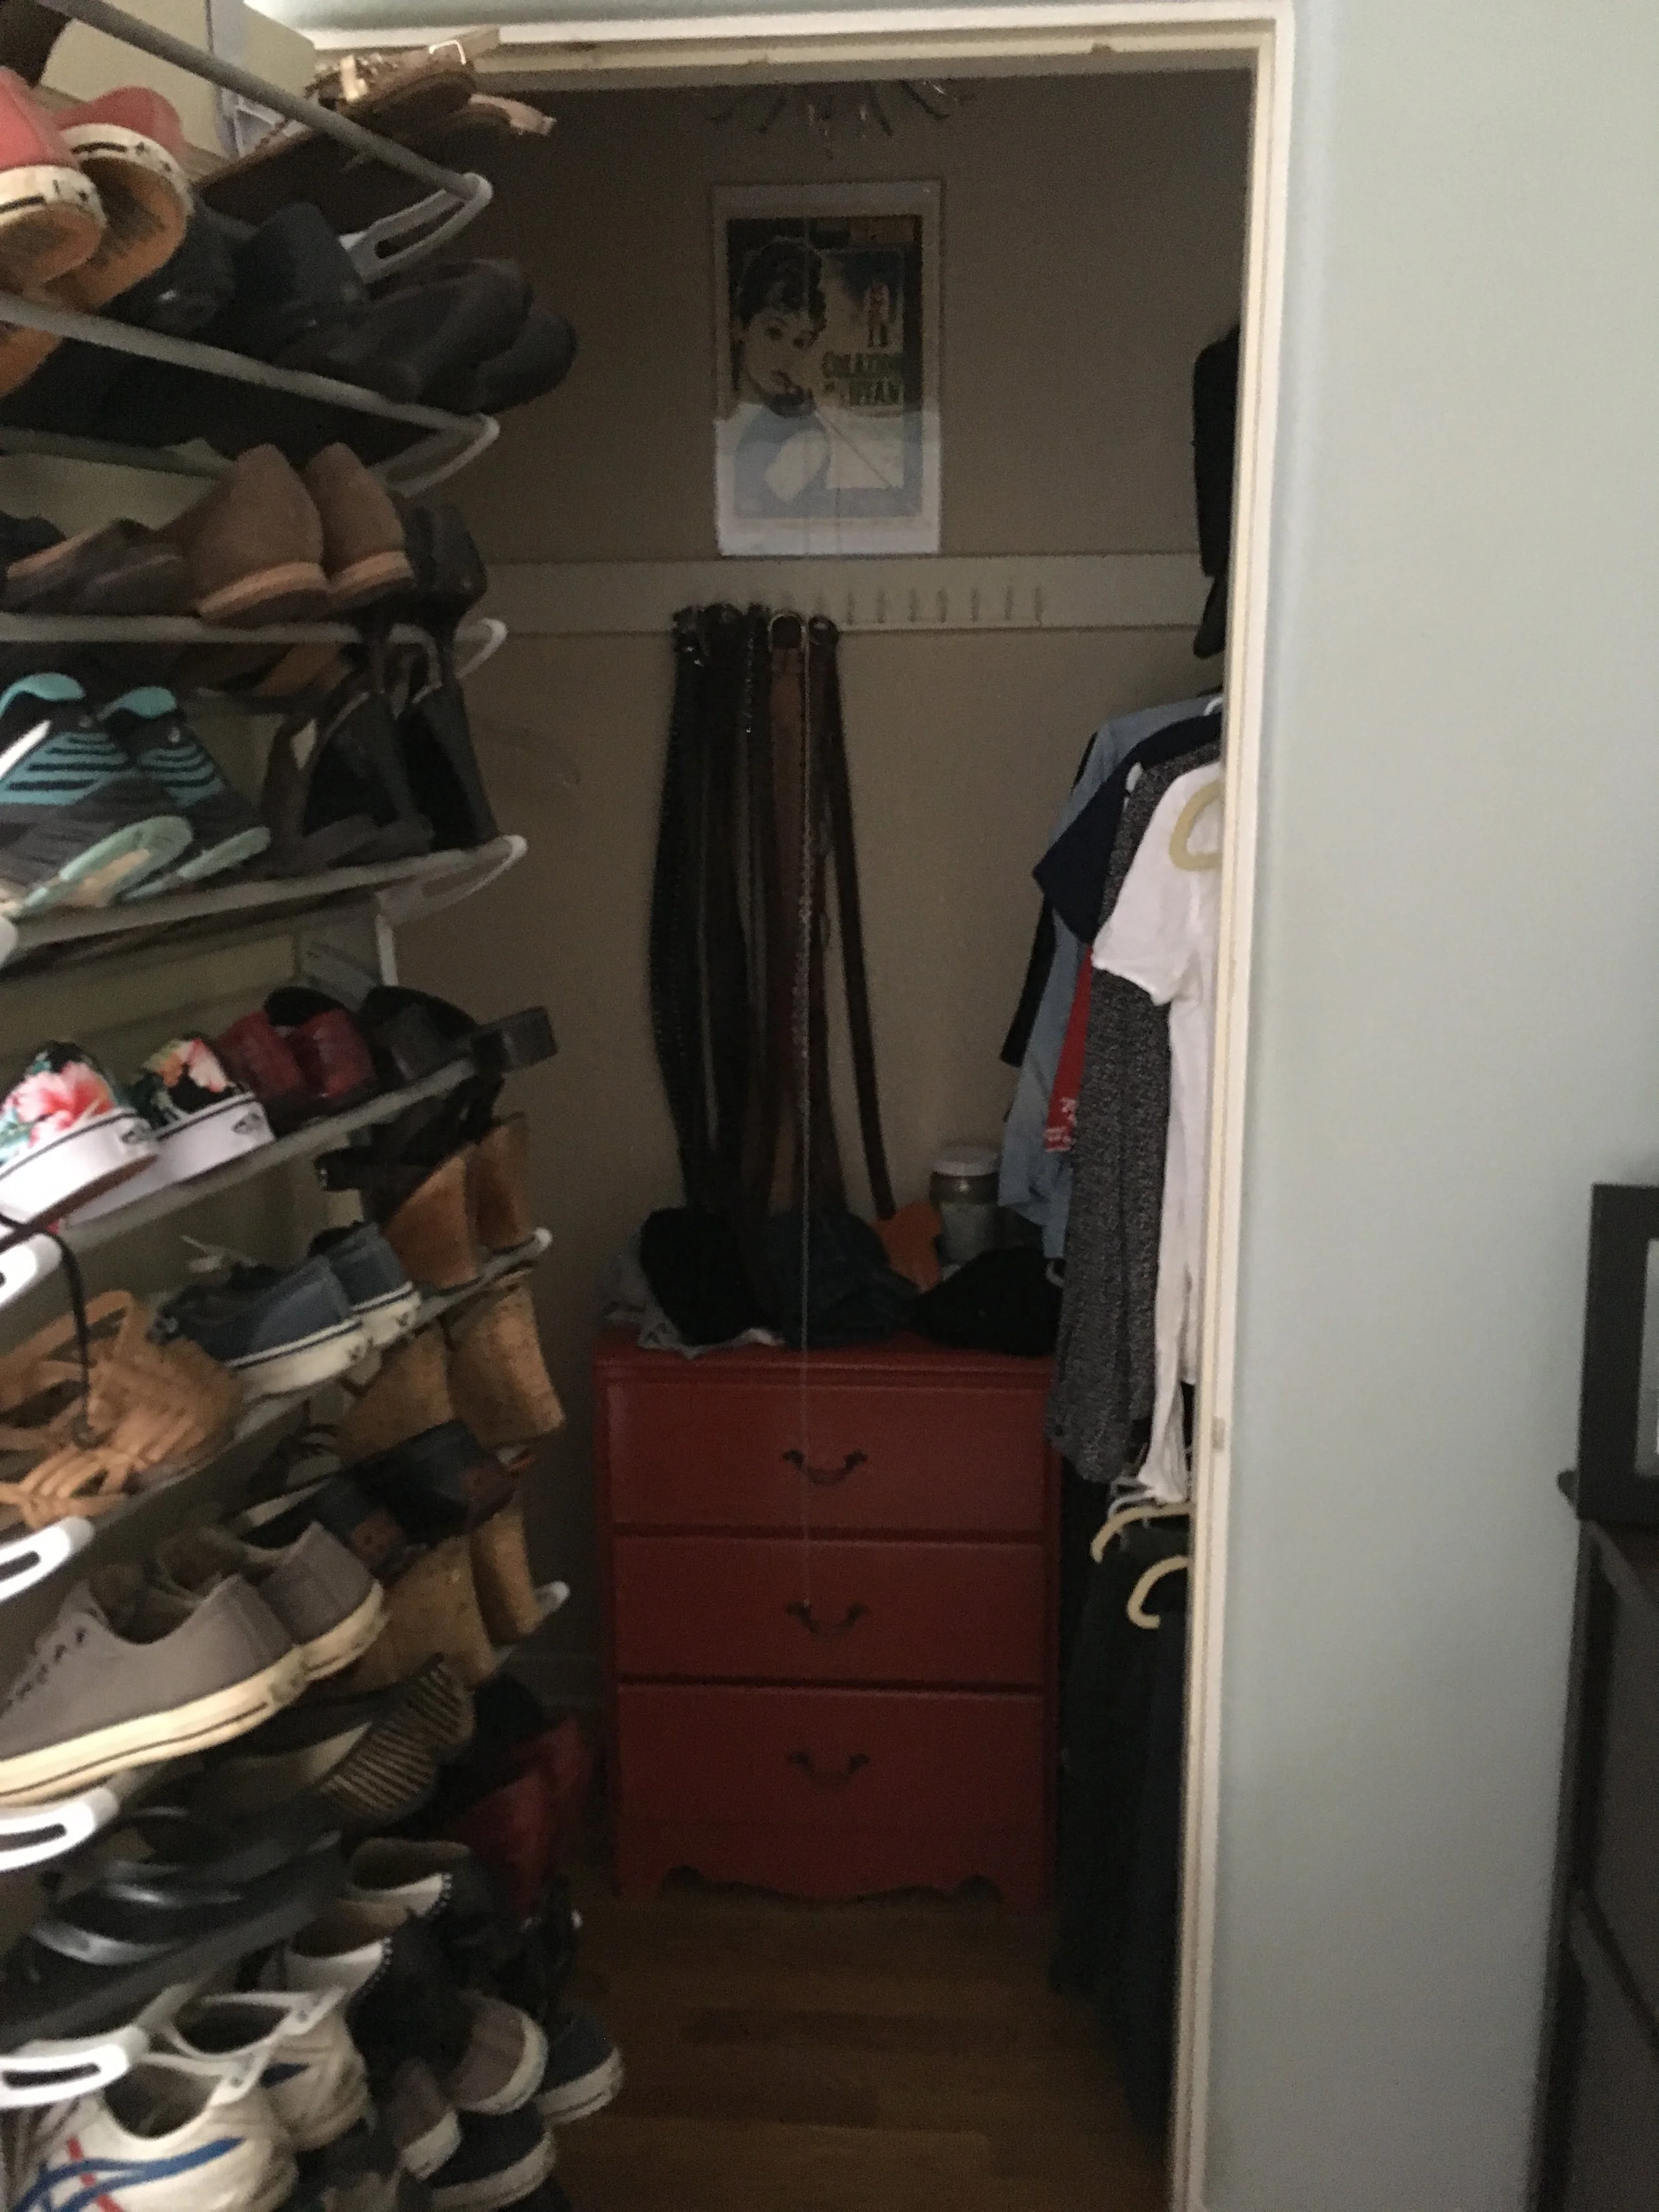
We were afraid early on that the project would look a bit more like Liberace’s closet than chic Hollywood Regency on a small scale.  In the end, we love the effect.  The Audrey Hepburn poster from Italy has been framed in a simple black frame.  We added a pretty cord of silk with one of the crystals on the pull chain, and painted the dresser a fresh new color.   All new hangers, will complete this project.  As usual, small projects can morph into much bigger ones, but they can be broken down into smaller, more manageable ones too, that allow for you to complete them as time allows.

I am happy to say, the closet turned out to be a great success and my daughter loves it; just enough bling for the small area.

In interior design Tags Closet bling, metallic paints, pretty chandelier
1 Comment

Fireplace Focal Point

October 27, 2012 Linda Hammond
Unknown-2.jpeg

With the holidays arriving at lightning speed, you will want to make sure your fireplace is clean and attractively appointed for company.  Make sure you have your chimney cleaned by a professional for the safety of you and your family.

You can easily make your mantel ready for fall with simple natural branches, leaves and gourds you can pick up around your property or buy from craft stores.  Large leaves like Magnolia are perfect for dramatic statements.  Warm metal colors are all the rage in décor; so with a can of spray paint you can make your leaves and branches into a floral bouquet or sculpture that will reflect the beauty of the firelight and bring visual warmth to your space.  Light and airy tumble weeds will cast interesting shadows to your mantel too.  Just walk around and see what catches your eye, and imagine it in a warm gold, brass, or copper tone. 

You might try covering a piece of foam board with a fabric, lightly textured paper or just paint, add it to a very large frame and place it on the mantel . This project will work nicely if you have brick above the mantel to highlight your natural sculpture.  Adding some votive candles or a pair of low wattage lamps will aid in casting shadows without the competition of the brick behind it.  Since this is a temporary backdrop, you will not have to sacrifice your brick.

Mirrors work well above fireplaces if you have something of interest to be seen in the reflection, as well as reflecting light from candles and small lamps.  Use some large glass cylinders and fill them with a string of tiny white lights; fill around the lights with nuts, pine cones, berries or colored glass ornaments.  Using various sizes of glass containers will add interest to your composition.  You can elevate similarly- sized containers by placing them on books or paper wrapped boxes, keeping in mind the theme you are wishing to express.  You will need to hide the cords by tacking them close to the wall and covering them with greenery from your garden; juniper branches work well and do not dry out as quickly as softer stemmed plants do.

If you are considering masking the brick behind your fireplace with a frame covered in fabric or paper, don’t be shy; go bold, and remember it is only temporary; the holiday season is a good time to experiment.  You can take a very dramatic color and go from the mantel top to the ceiling with your color and see how you like it.

Foam board is lightweight and easy to work with; it can be cut with a utility knife, and your fabric can be wrapped around the edges giving it a finished look.  There is no need for a frame if you want it to extend all the way to the ceiling.  There are a variety of 3M products intended for temporarily hanging things on walls without damaging the wall surface.

A mantel that is already painted is perfect for a change of color at the holidays.  Mantels usually are not so large that the project can’t be done in no time and repainted after the holidays.

If your fireplace has no mantel, you can easily affix branches to your brick work with small finish nails and wire or museum putty, found at craft and home centers.

Just imagine a change, then think of ways you can incorporate your ideas into a simple but different look-- just for a little while.

Tags Natural elements, nuts, berries, branches, metallic paints
2 Comments

Subscribe to Linda's Blog Page

Enter your email address:

Delivered by FeedBurner

Powered by Squarespace