

The Engineer worked on a friend’s Cinema Room last year and it really got his juices flowing to dig into our meager little TV room. We have had new speakers, fortunately still current and the same ones installed in the fancy Cinema Room, since before we moved nearly four years ago, just waiting to be installed.


Similar to what was original
Part of the delay, besides all the other projects that had priority, was wondering what was under all the dark blue paint. We figured it was paneling, but not your 1960-70’s paneling, this stuff, was something we had not been familiar—really wide and oddly spaced. Well, now we know. I am sure it was in Ozzie and Harriet’s den or Mr. Blanding’s Dream house, I will have to check on that.
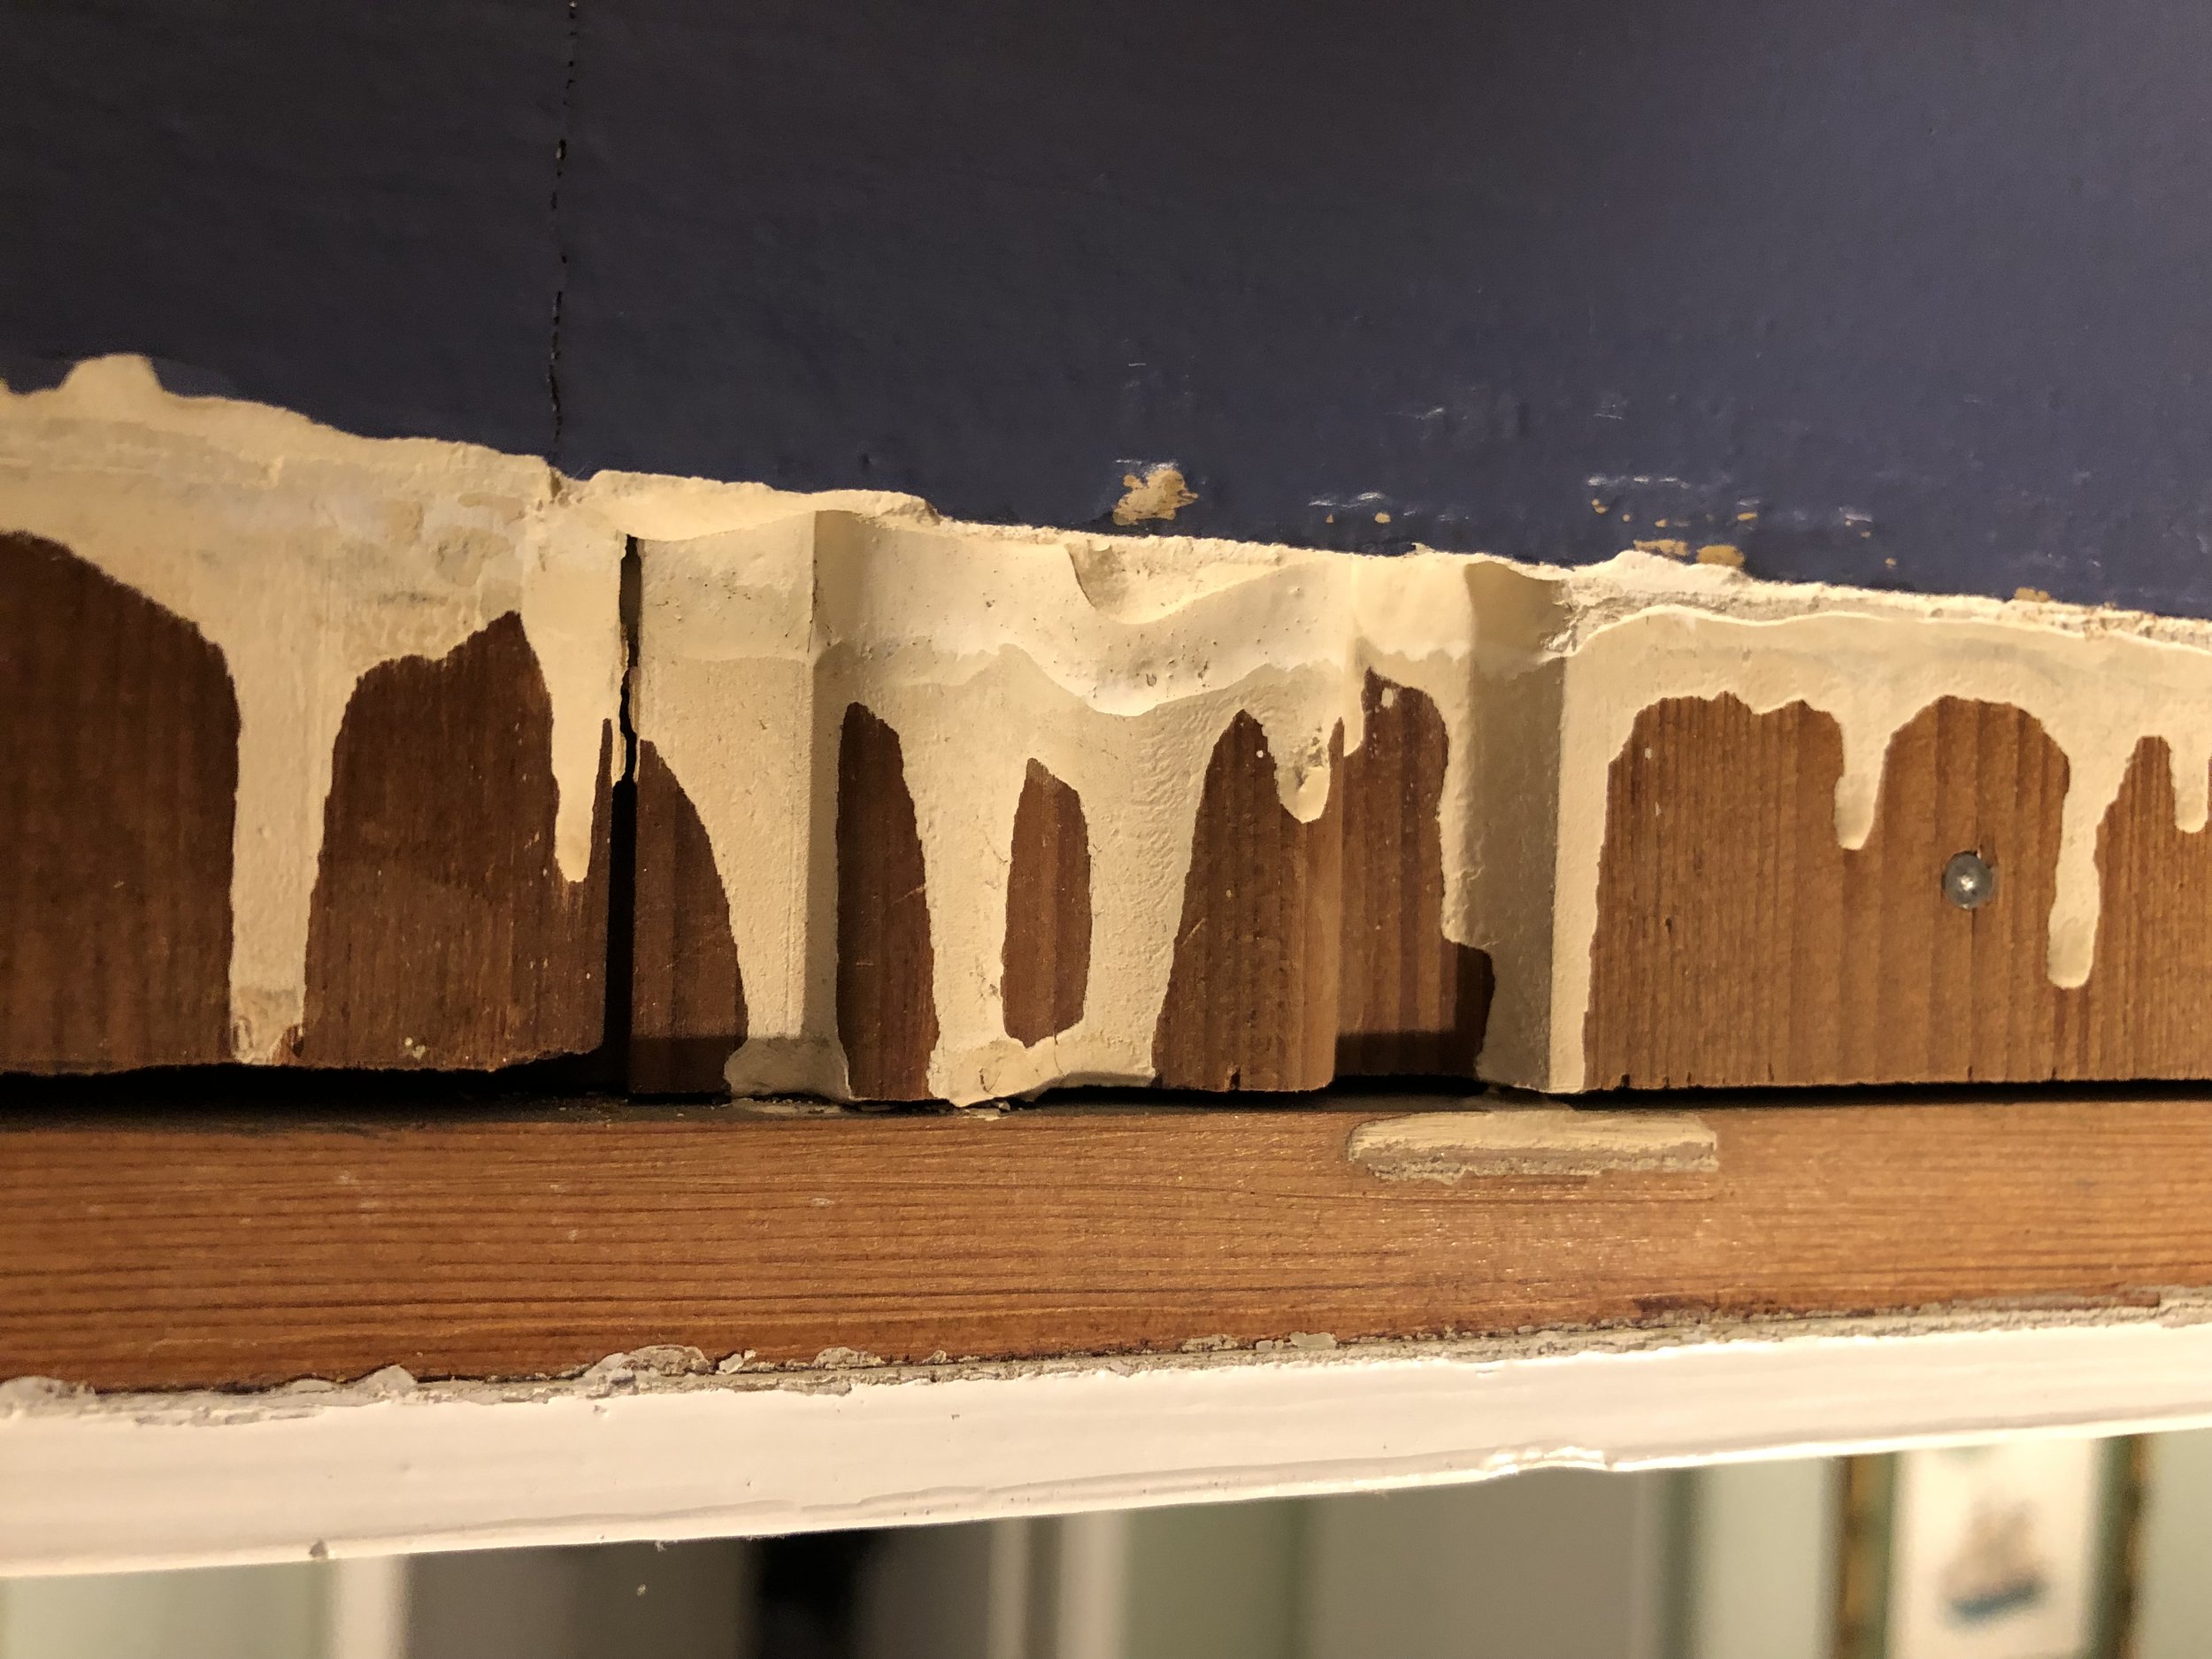
Mystery solved, it is paneling, three quarters of an inch thick, and eleven and a half inches wide, and extremely hard wood. We knew the hard part, because we had to drill pilot holes in the surface in order to hang pictures. The reveal happened when my husband took off the crown molding at the ceiling and removed the door frame and jam. We could see the plaster they used to “fill in” the groves of the paneling pattern.
I laughed, that is exactly what I did when we bought a single wide trailer to live in while we built our home in the foothills. All the walls were paneled, but with inexpensive and thin 1970’s paneling. To add some design and color to the two bedrooms, I used good old Plaster of Paris to level out the bevels of the paneling. I added a chair rail and wallpapered above the chair rail and painted below, leaving the bevels for interest.
This discovery lead the engineer to rethink his previous plan of removing the paneling to simply adding quarter inch drywall over it. Far less messy, less work, and the landfill will not burdened with the scrap wood. A win-win, I think.
You can see from the photos that the wood expands and contracts with changing temperature, leaving vertical cracks at bevel lines. Also, the wide depressions are from shrinkage of plaster after it dries. These traits are what left us confused as to what was behind the paint.
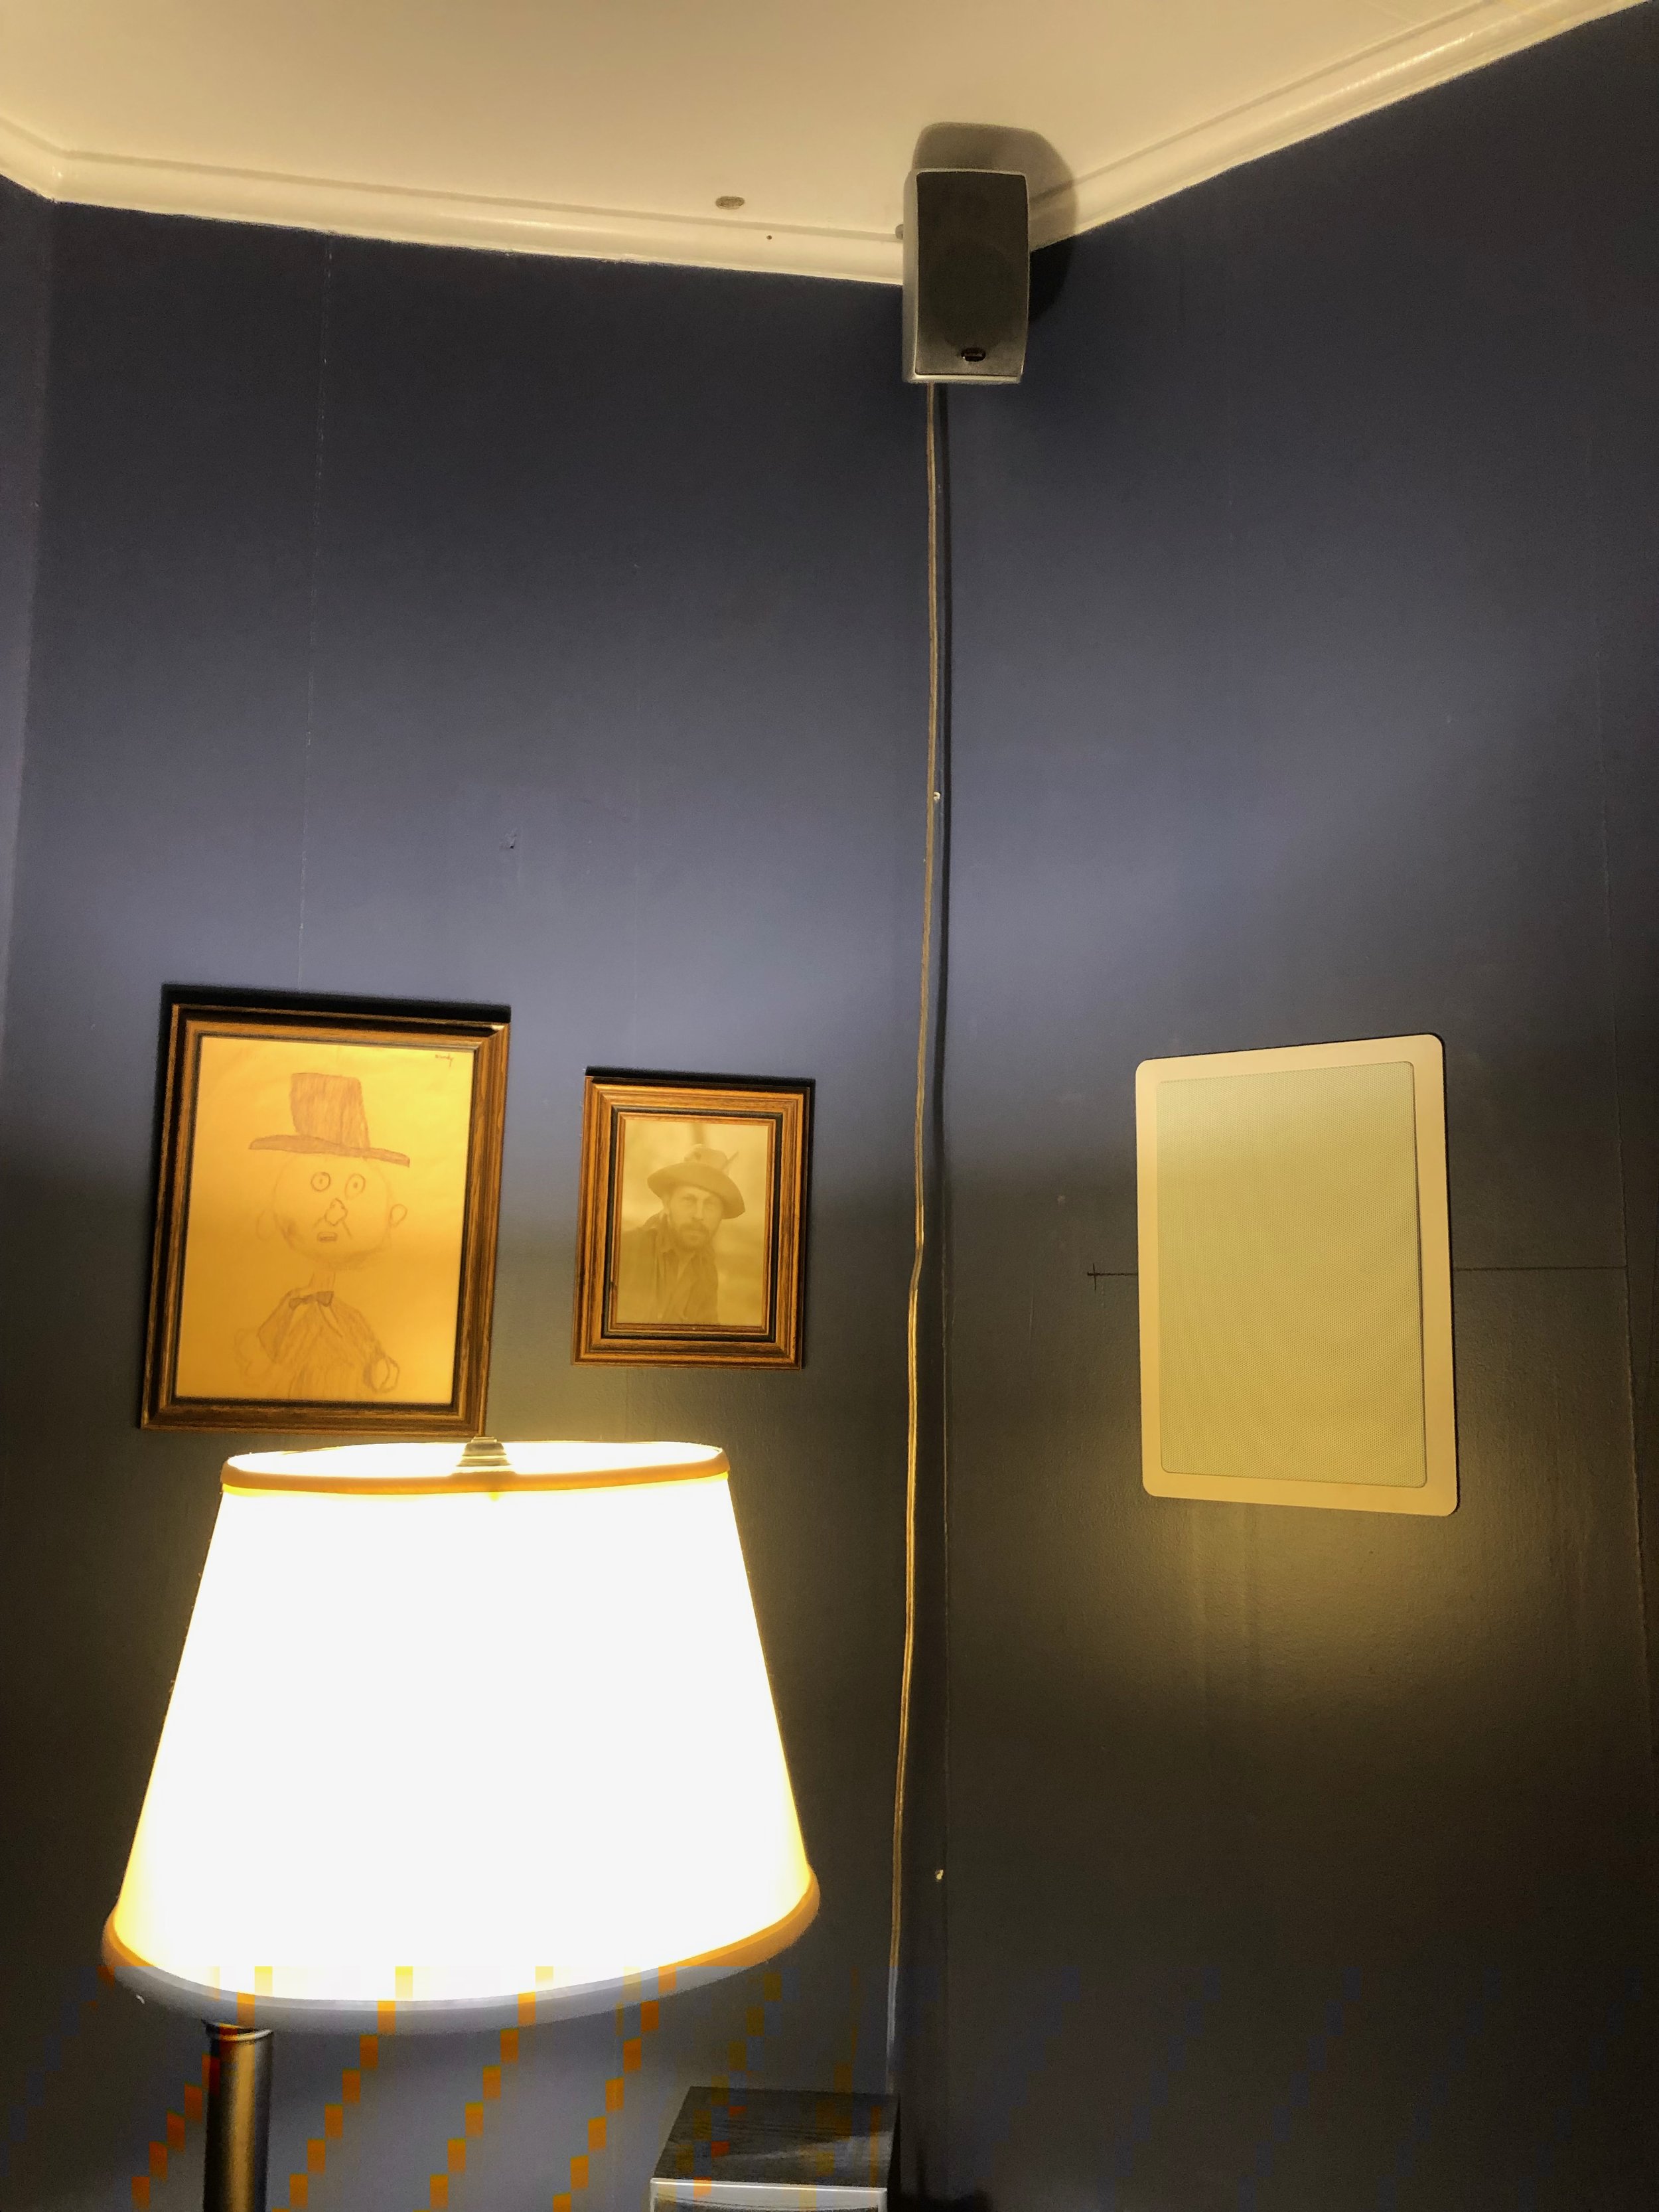
You can just make out the vertical cracks in the paint between the panels.
Now the wiring begins, so there will not be much interesting stuff to report for several weeks, I am guessing.

Panel at the ceiling
Stay posted, I will send photos out as we move along with this project.