As I look through the photo library, I see that I’ve gotten a bit out of order in my timeline— how quickly one forgets.
We were painting the cabinets in September of 2021, on my birthday. To those who know me well, know that it was just what I wanted to do. The tiling took place after we painted the cabinets, which was in October. The demolition of the old shower took place in November, and oh what a mess that was; glad I was traveling.

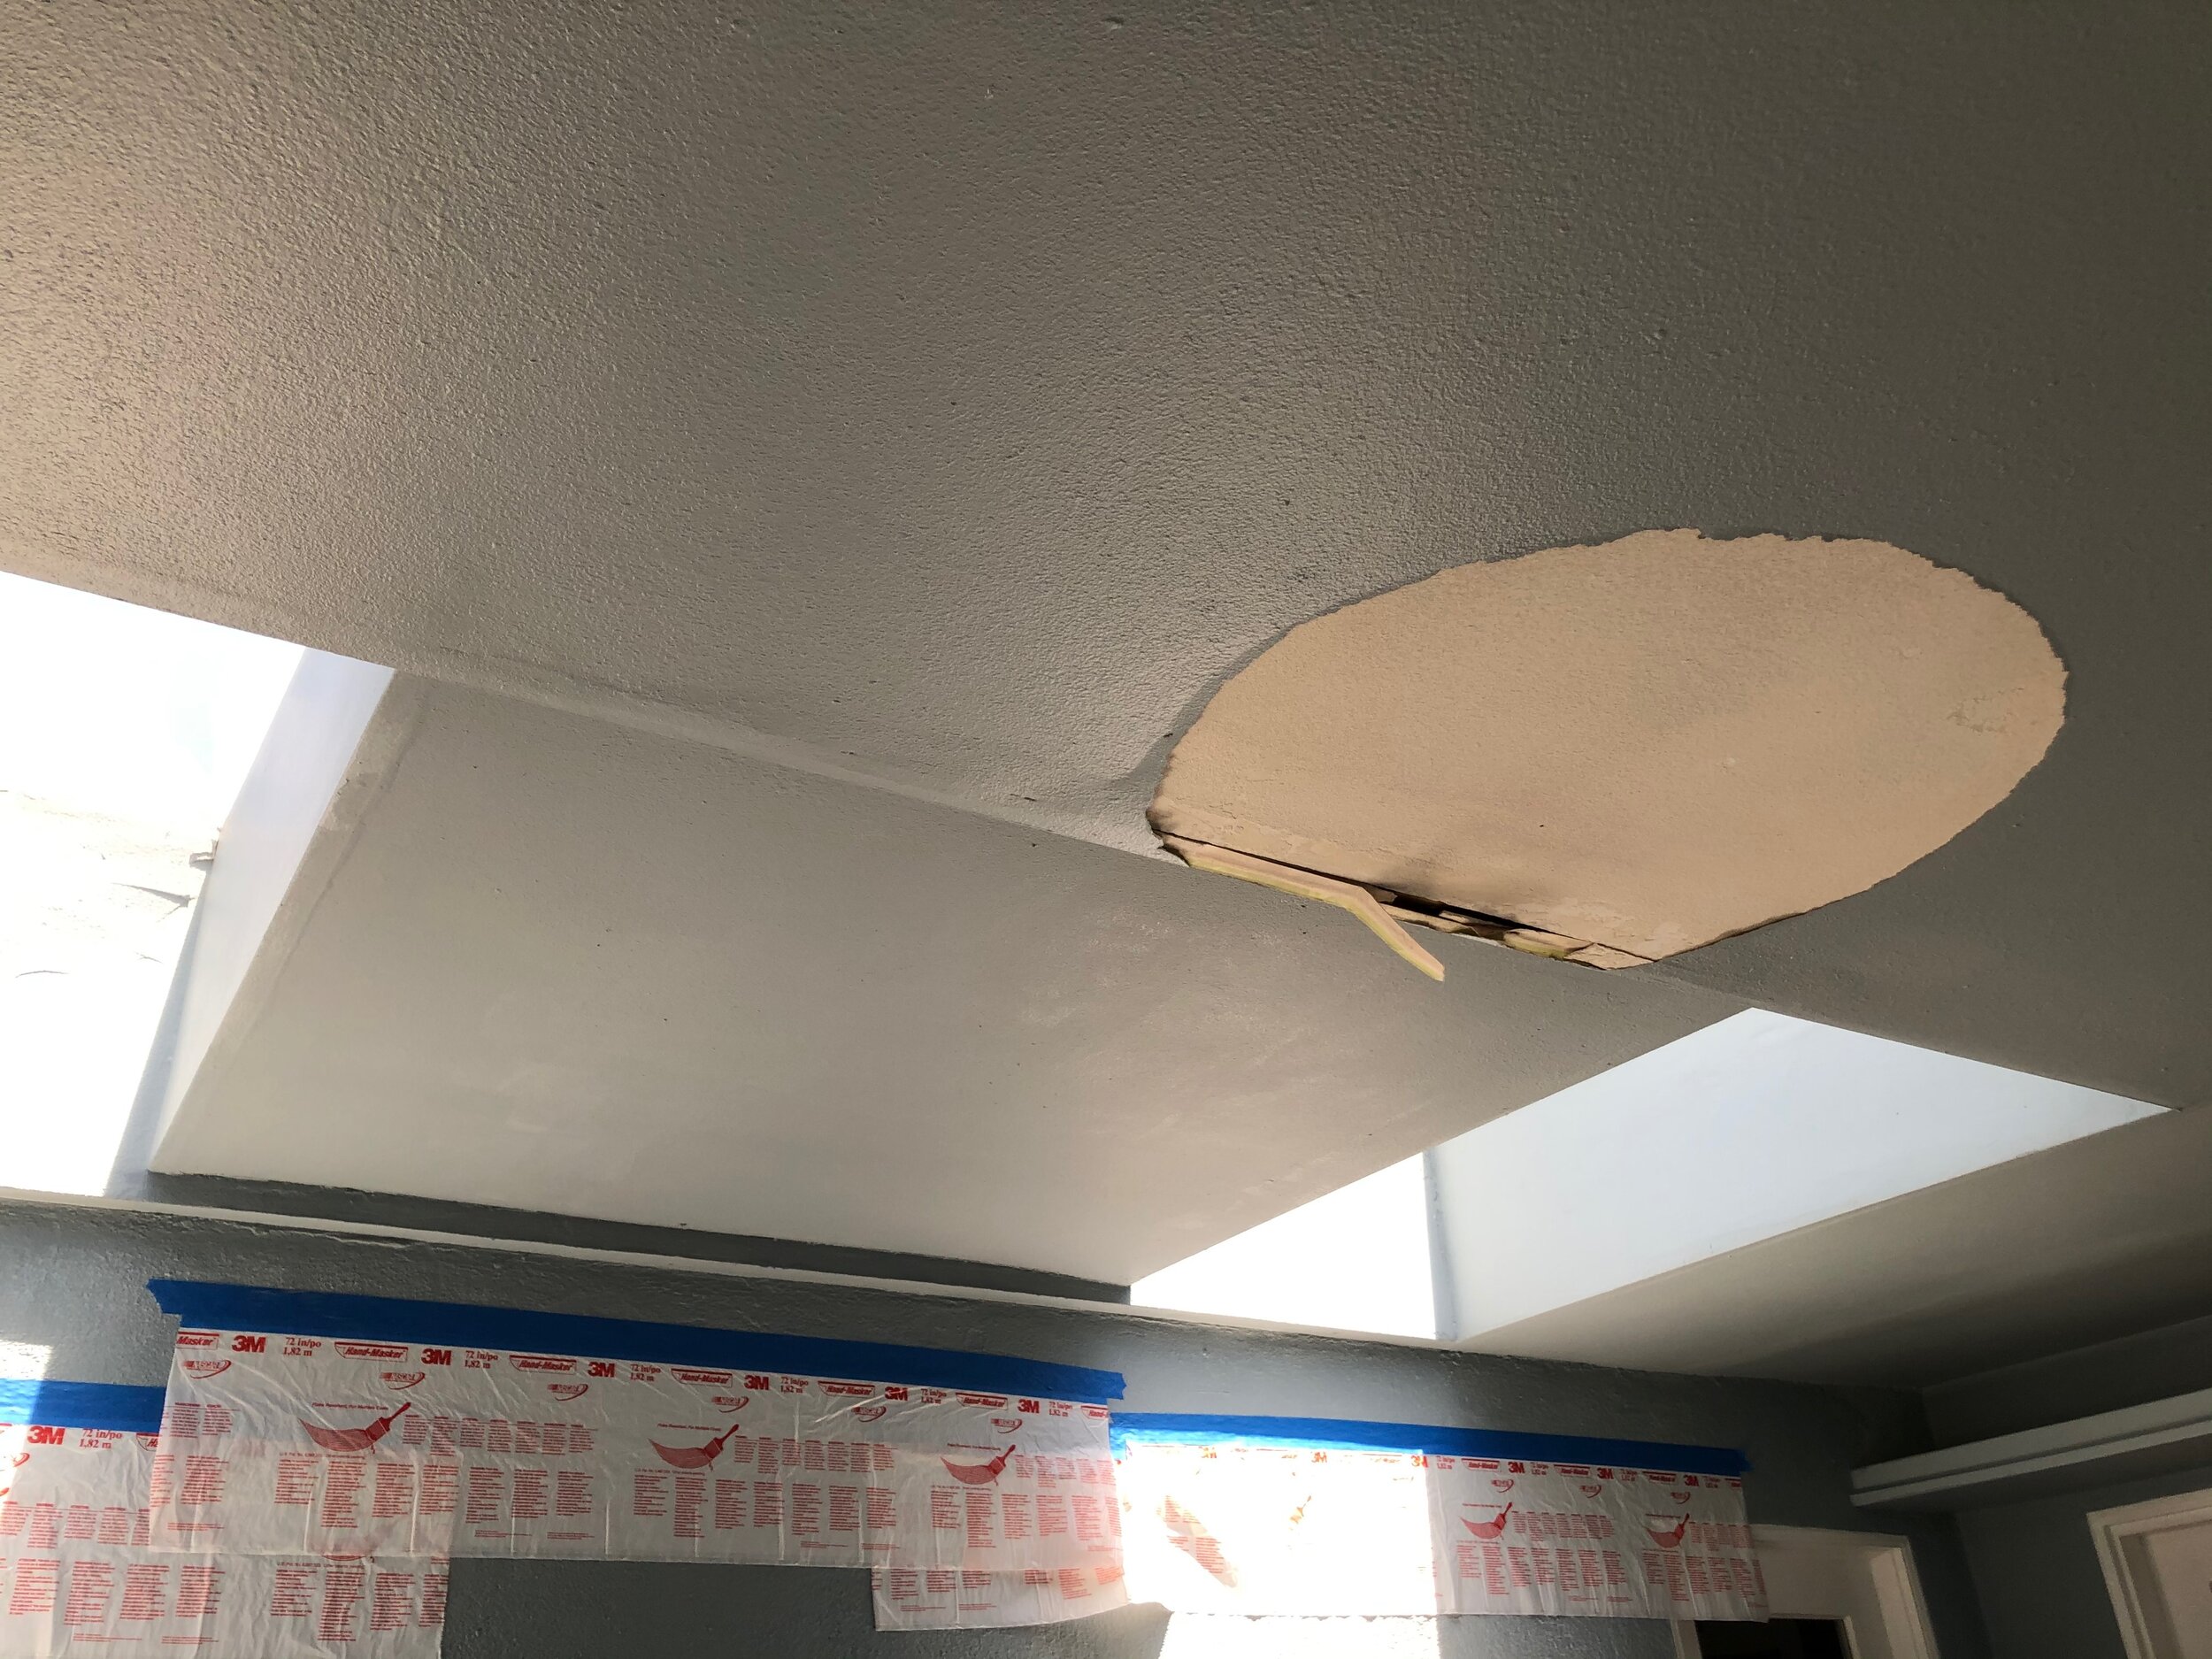
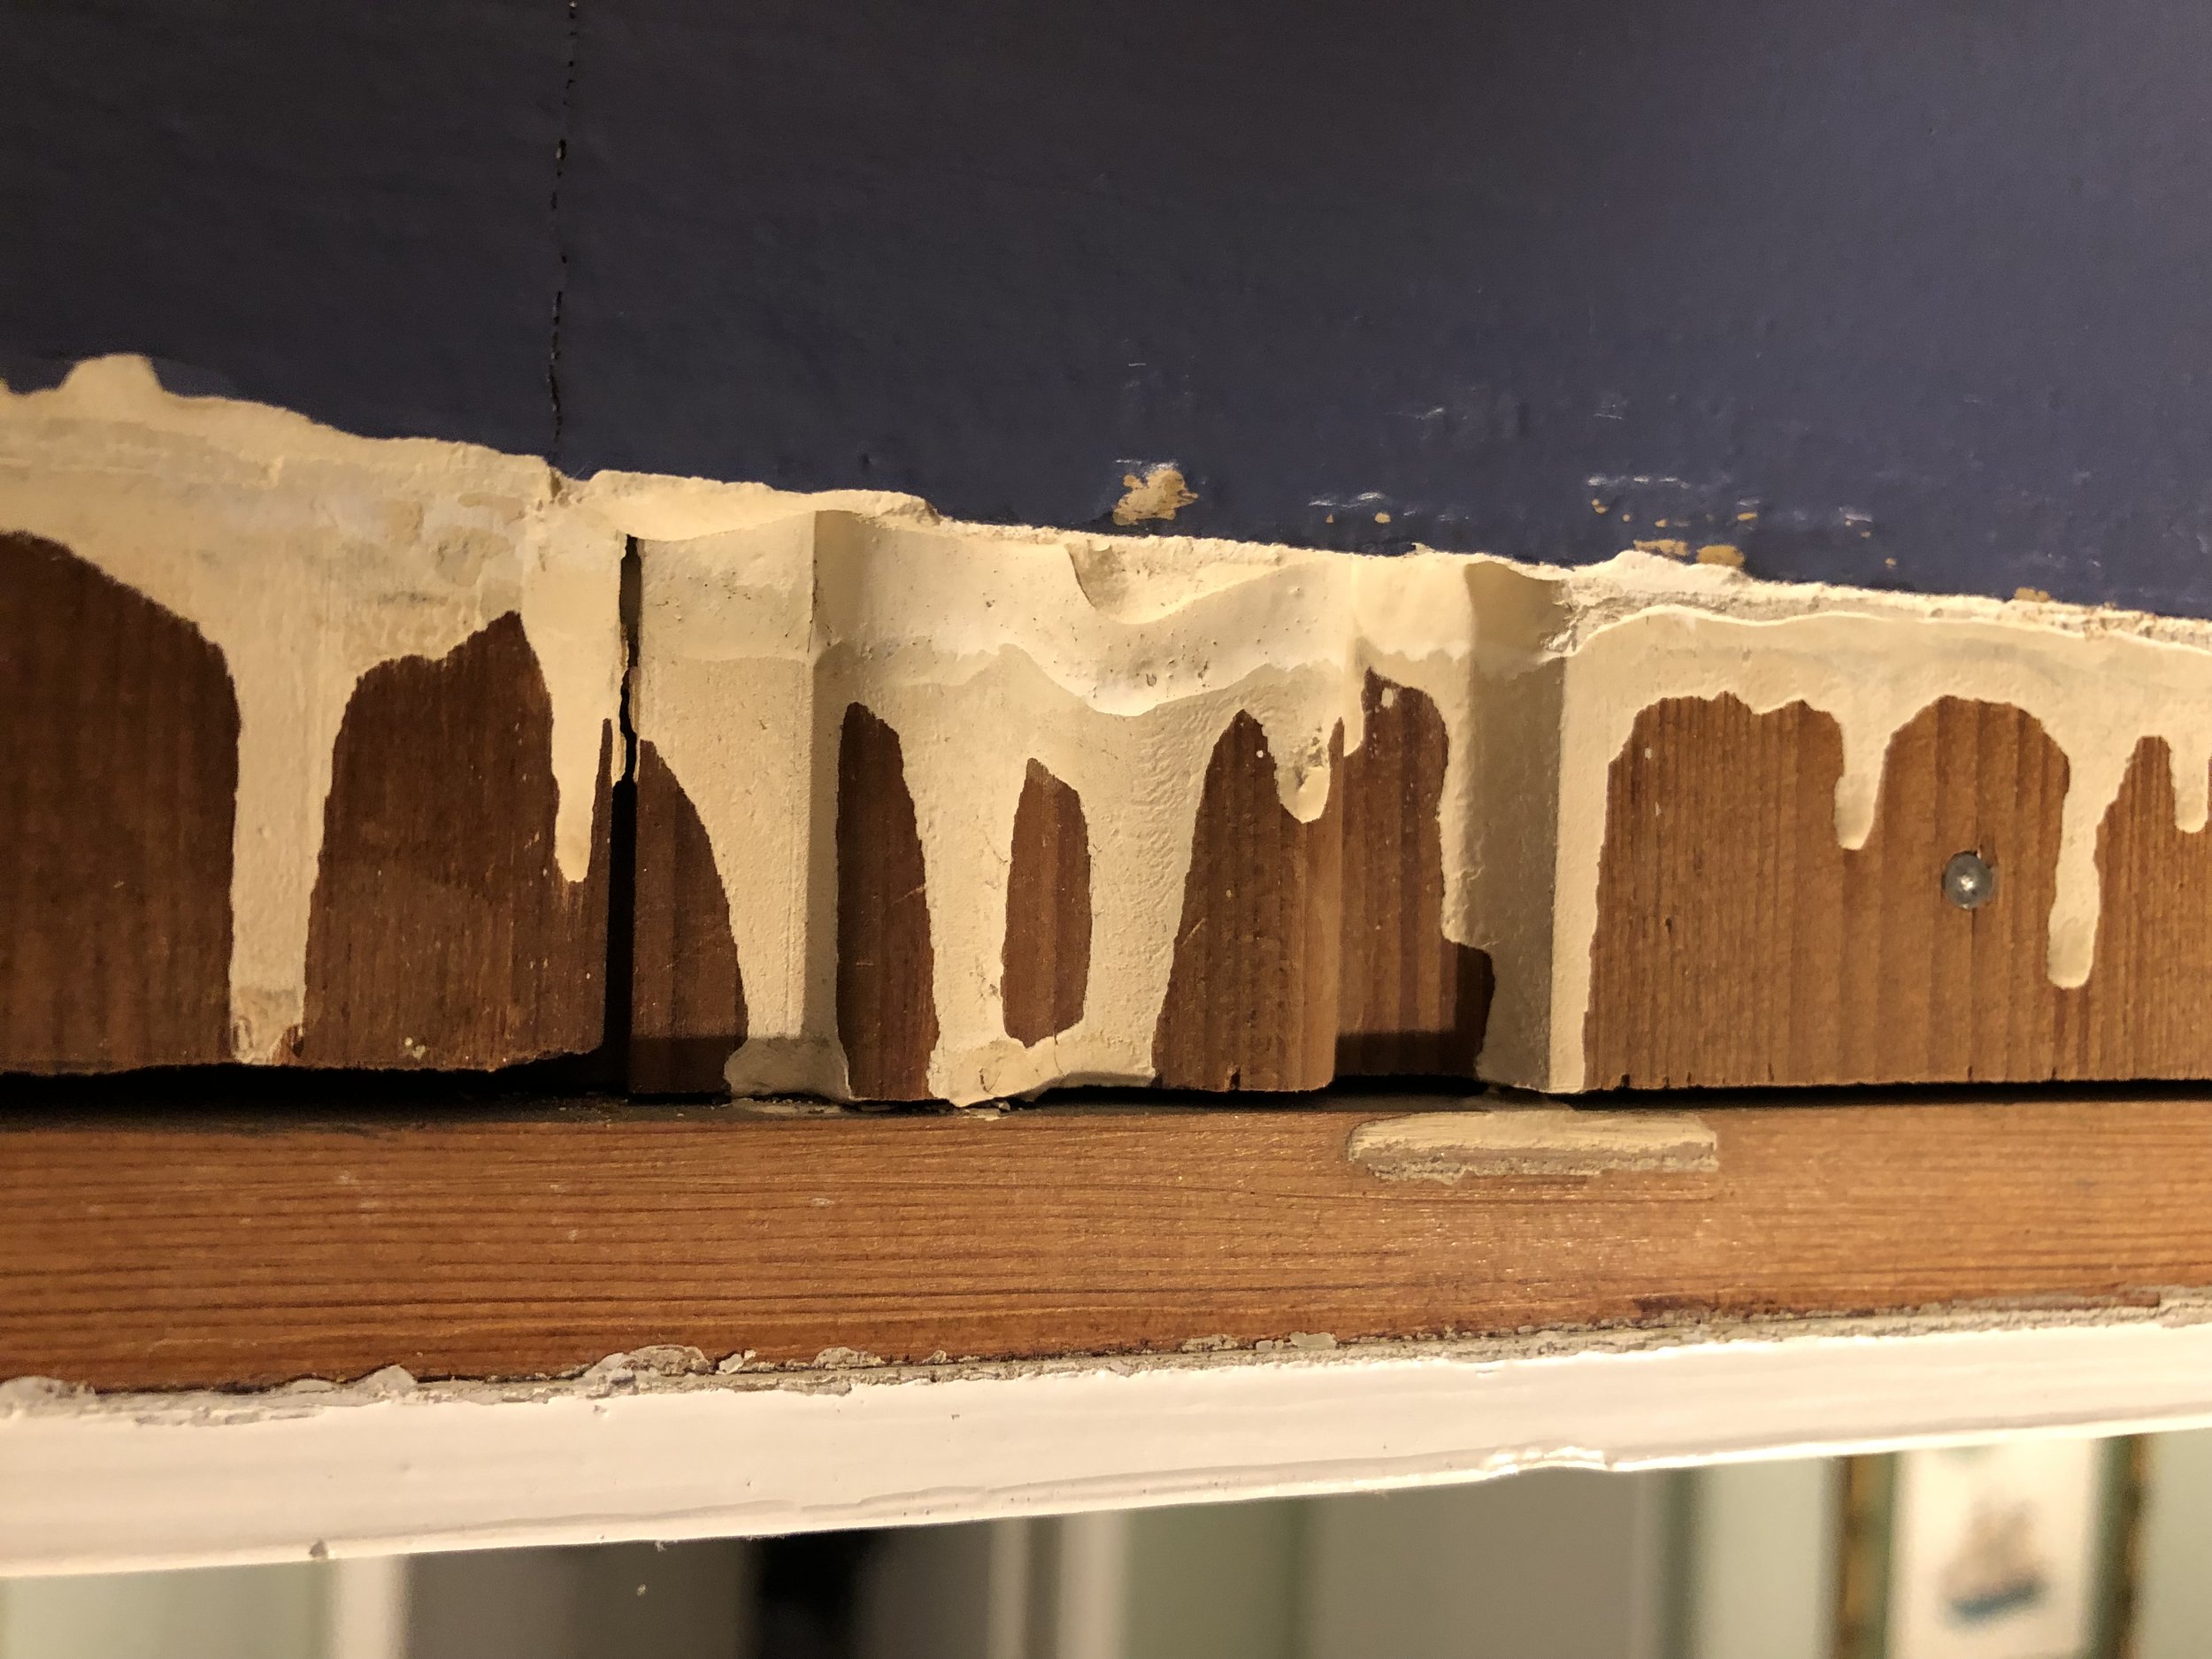
The demolition of the shower took much longer than you might expect from watching HGTV, as the engineer uses a bit more finesse. A pry bar instead of a sledgehammer, so not to create cracks in the walls outside of the bathroom. Then there was the plumbing to remove and cap off.
It was December before all the walls were closed up with new drywall and we called our finish craftsman to tape and mud the walls. Time was closing in on us, as the holidays were rapidly approaching and we had family coming from back east to stay. In order for the mud to dry between sanding and a new layer of mud being applied, it was two weeks.

Finally, I could paint the toilet room and the walls of the main part of the bathroom. We looked less “unfinished” by Christmas, but the toilet was still in the main part of the bathroom and the floors were still not tiled, but more of the old tile was in place and in other places it was taken up and the backboard for the tile was partly in place. This left a very uneven floor, some old tile, some with backboard and some down to the original subfloor from 1938. The floors would have to wait until January when we could get the plumber to come and move the toilet and cut the very old cast iron pipe under the house.

By January, and we needed to get the toilet room finished before the toilet could be moved. This meant the slate floor in the toilet room had to be laid, and baseboards installed. Stenciling at this point was the only thing left to do before the toilet moved.
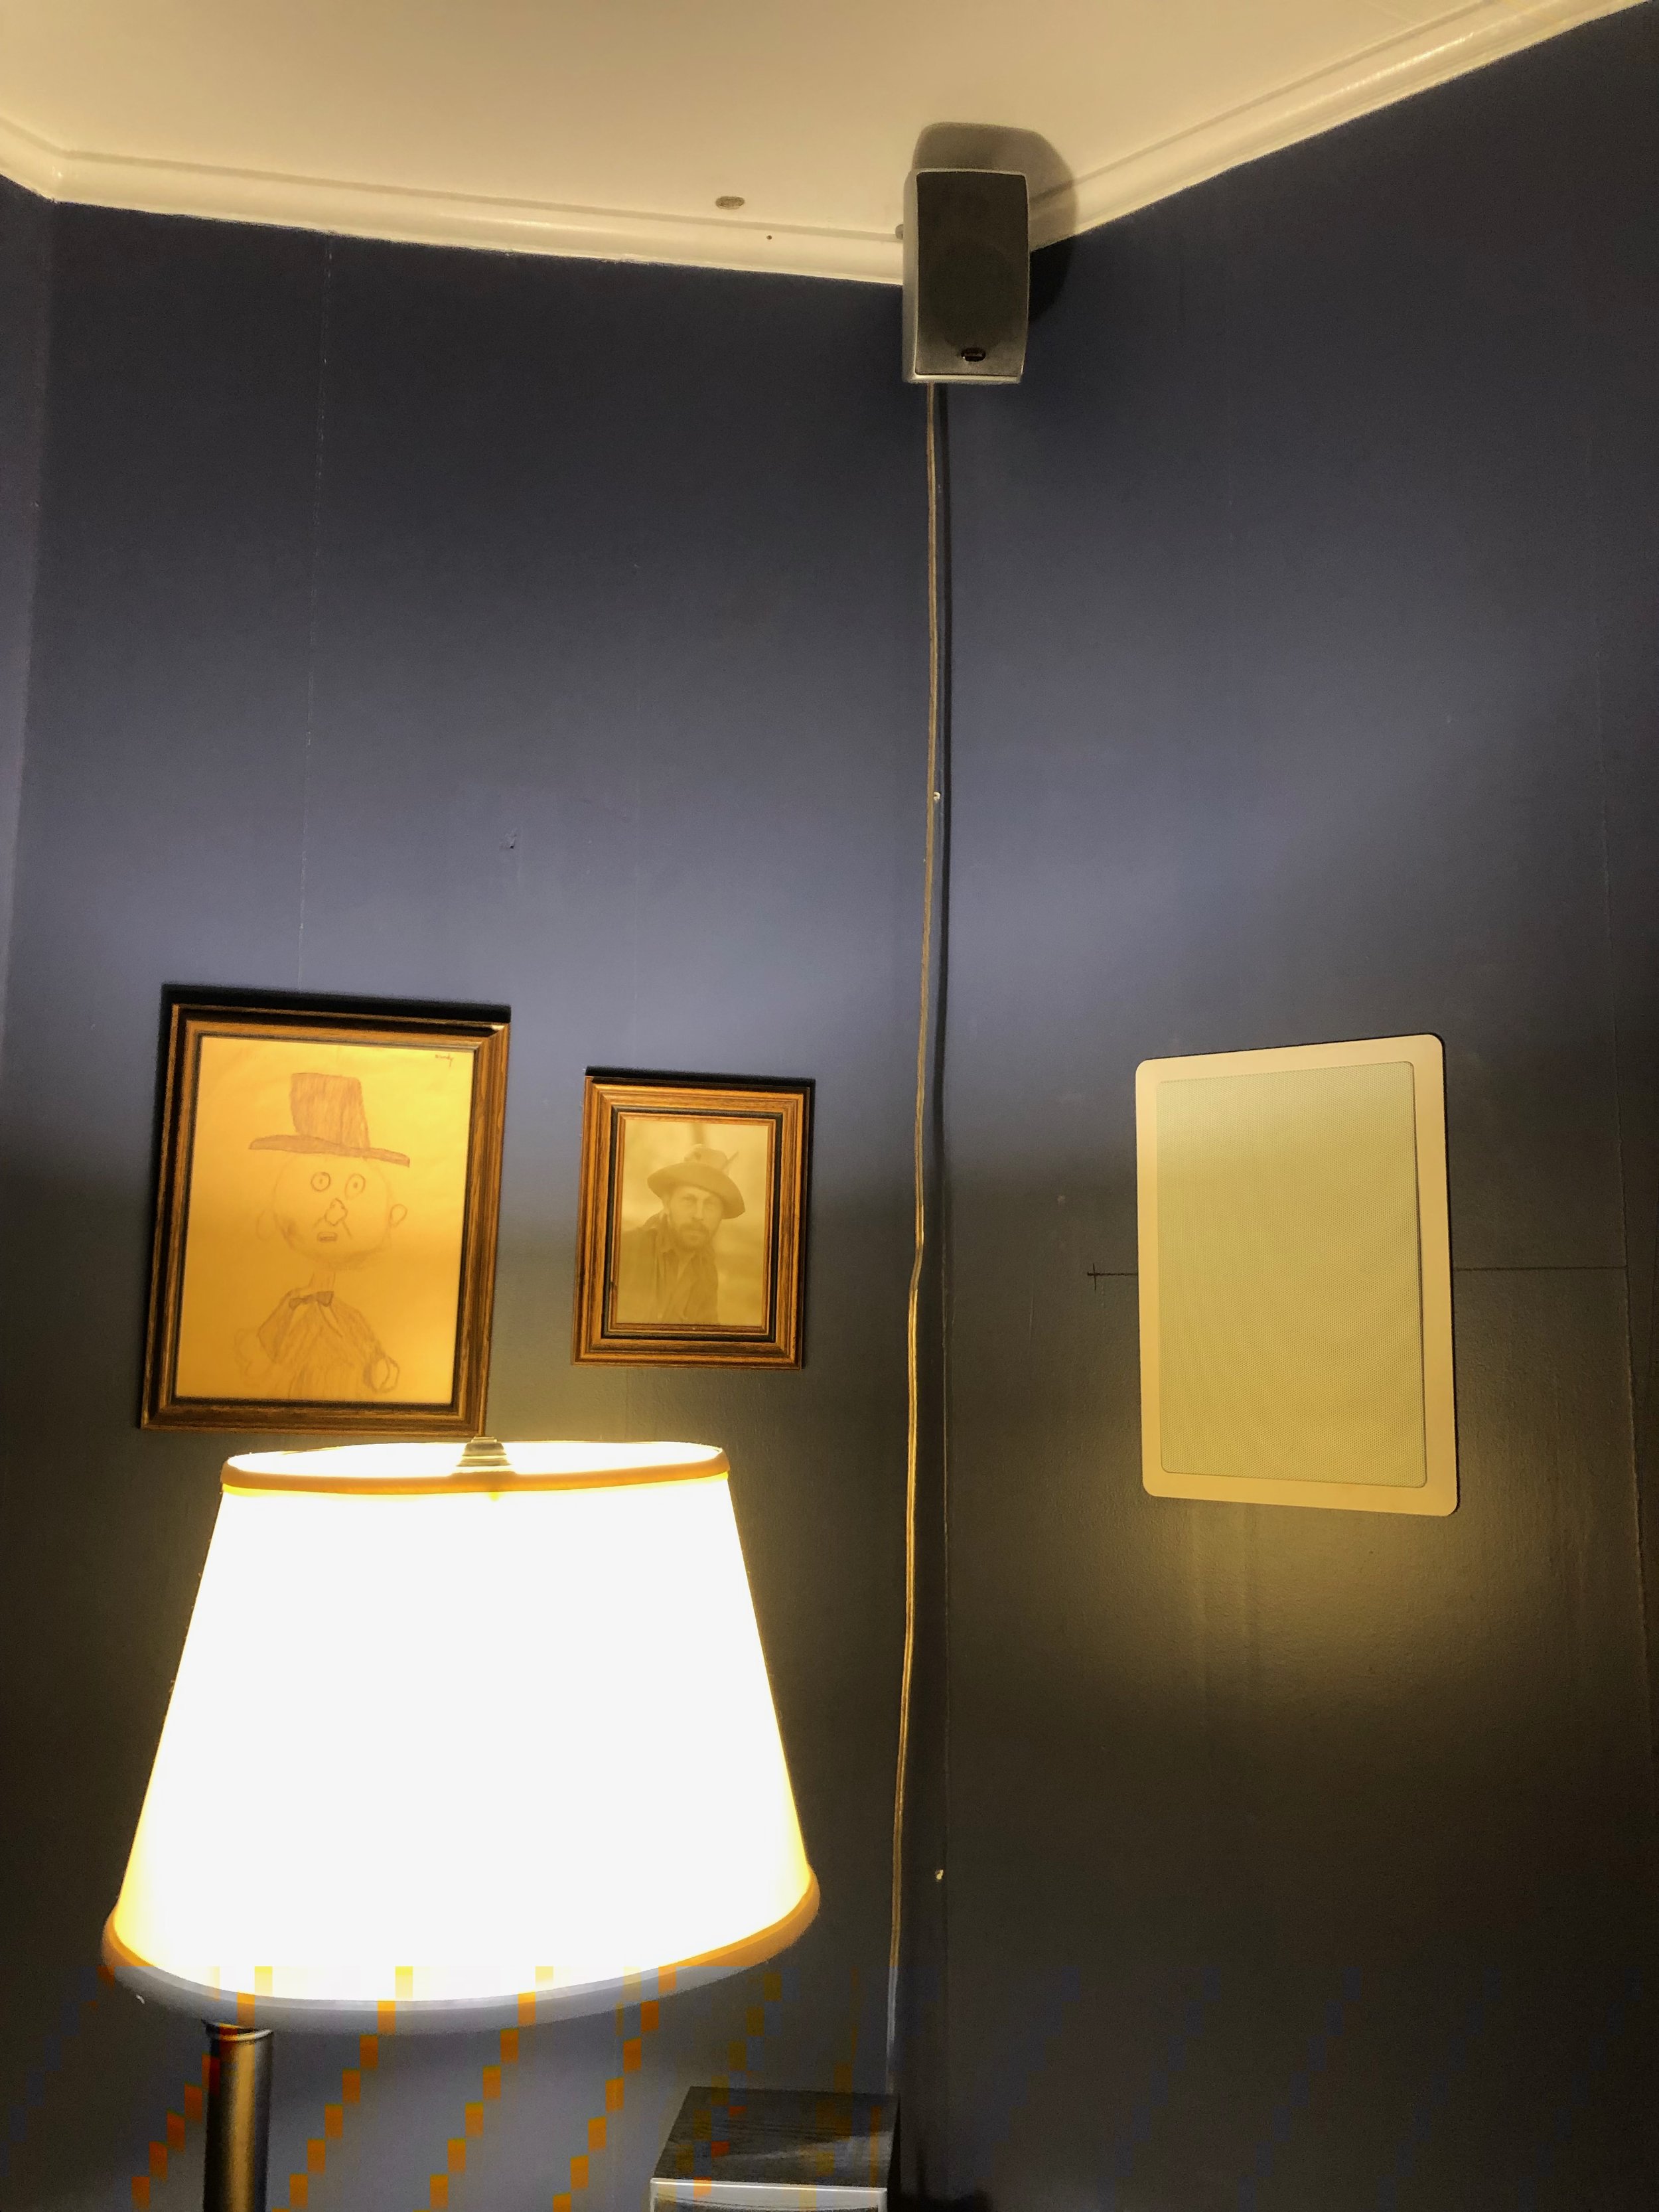
Stenciling took longer than expected, mostly because of our aging eyesight and the subtle difference in color between the wall color and stencil color. Lovely from a design aspect, but miserable on our eyesight. Not to mention two of us, oldsters in a relatively small space. Good thing we’ve had 50+ years to perfect our working style, such as it is.

The room was finally finished, from baseboards to crown moldings, paint and stenciling. Now we wait for the plumber. It was near the end of January and I was so ready for that toilet to be out of the middle of the bathroom.
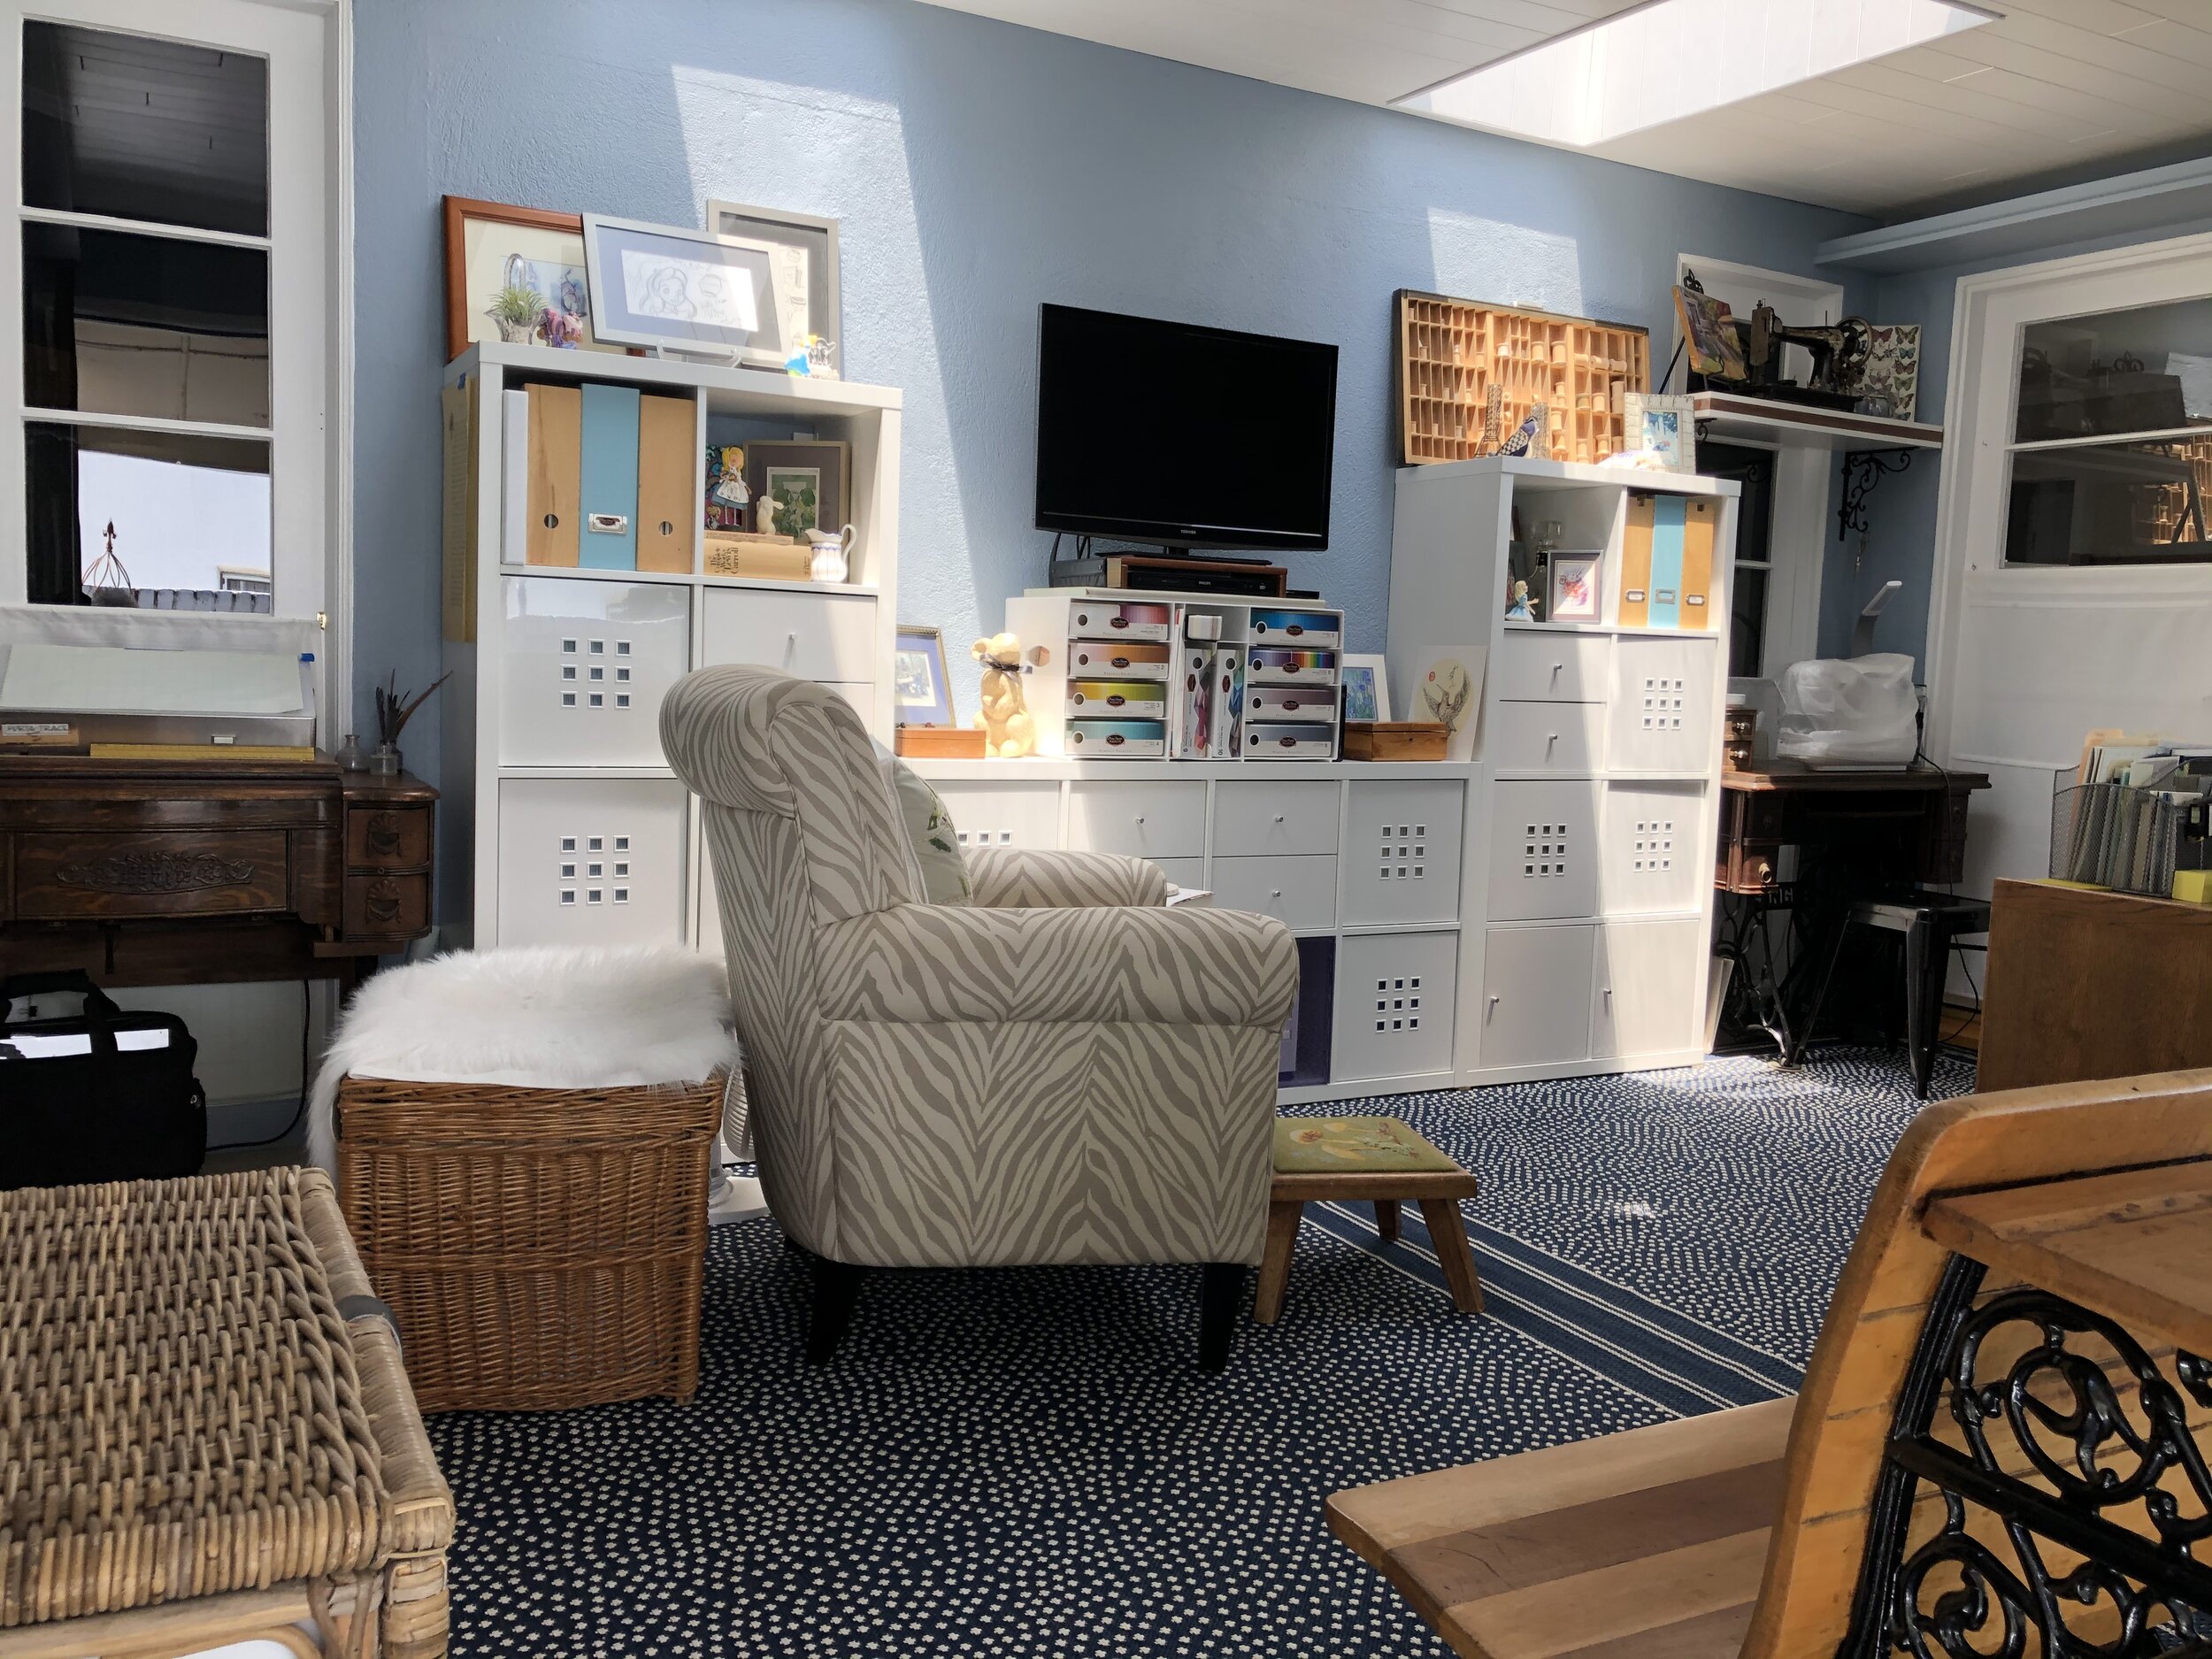
At this point I was certain the moving of the toilet would be my favorite thing, after all, this was the reason for the remodel in the first place. But, come to find out, it was being able to get the left set of drawers in place that was the most exciting. I had purchased dividers for all the stuff that would fill six, full extension drawers. I did have to scout all over the house for where I had put a lot of the stuff for the drawers, the stuff you don’t need on a daily basis. But finally, I could organize the drawers, it was a dream come true. Having the toilet out of the main part of the bathroom was great.
Next: Slate Flooring