• Home
  • About
  • Blog
  • Blog Index
  • Blog History
  • Furniture Before & After
  • Rooms Before & After
  • Contact
  • Furniture For Sale
Menu

Designs Refined

1701 Craig Ave
Altadena, CA, 91001
818 429 8699

Your Custom Text Here

Designs Refined

  • Home
  • About
  • Blog
  • Blog Index
  • Blog History
  • Furniture Before & After
  • Rooms Before & After
  • Contact
  • Furniture For Sale
IMG_3220.JPG

Blog

The 515 Day Bathroom Remodel—Art Deco Accents

July 13, 2022 Linda Hammond

The Art Deco style originated in Paris before World War I, but didn’t make it to our shores until the 1920’s through the 1930’s.  It was the ultimate in the modern aesthetic and was the symbol of luxury and fine craftsmanship.  While Art Deco was predominantly used for office buildings, most notably the Empire State Building and Chrysler Buildings, our Los Angeles Union Station is a fine example of the style.

Residential homes sported furniture pieces and small kitchen appliances, but by the end of the 1930’s and the advent of World War II, the Art Deco style was dimming. 

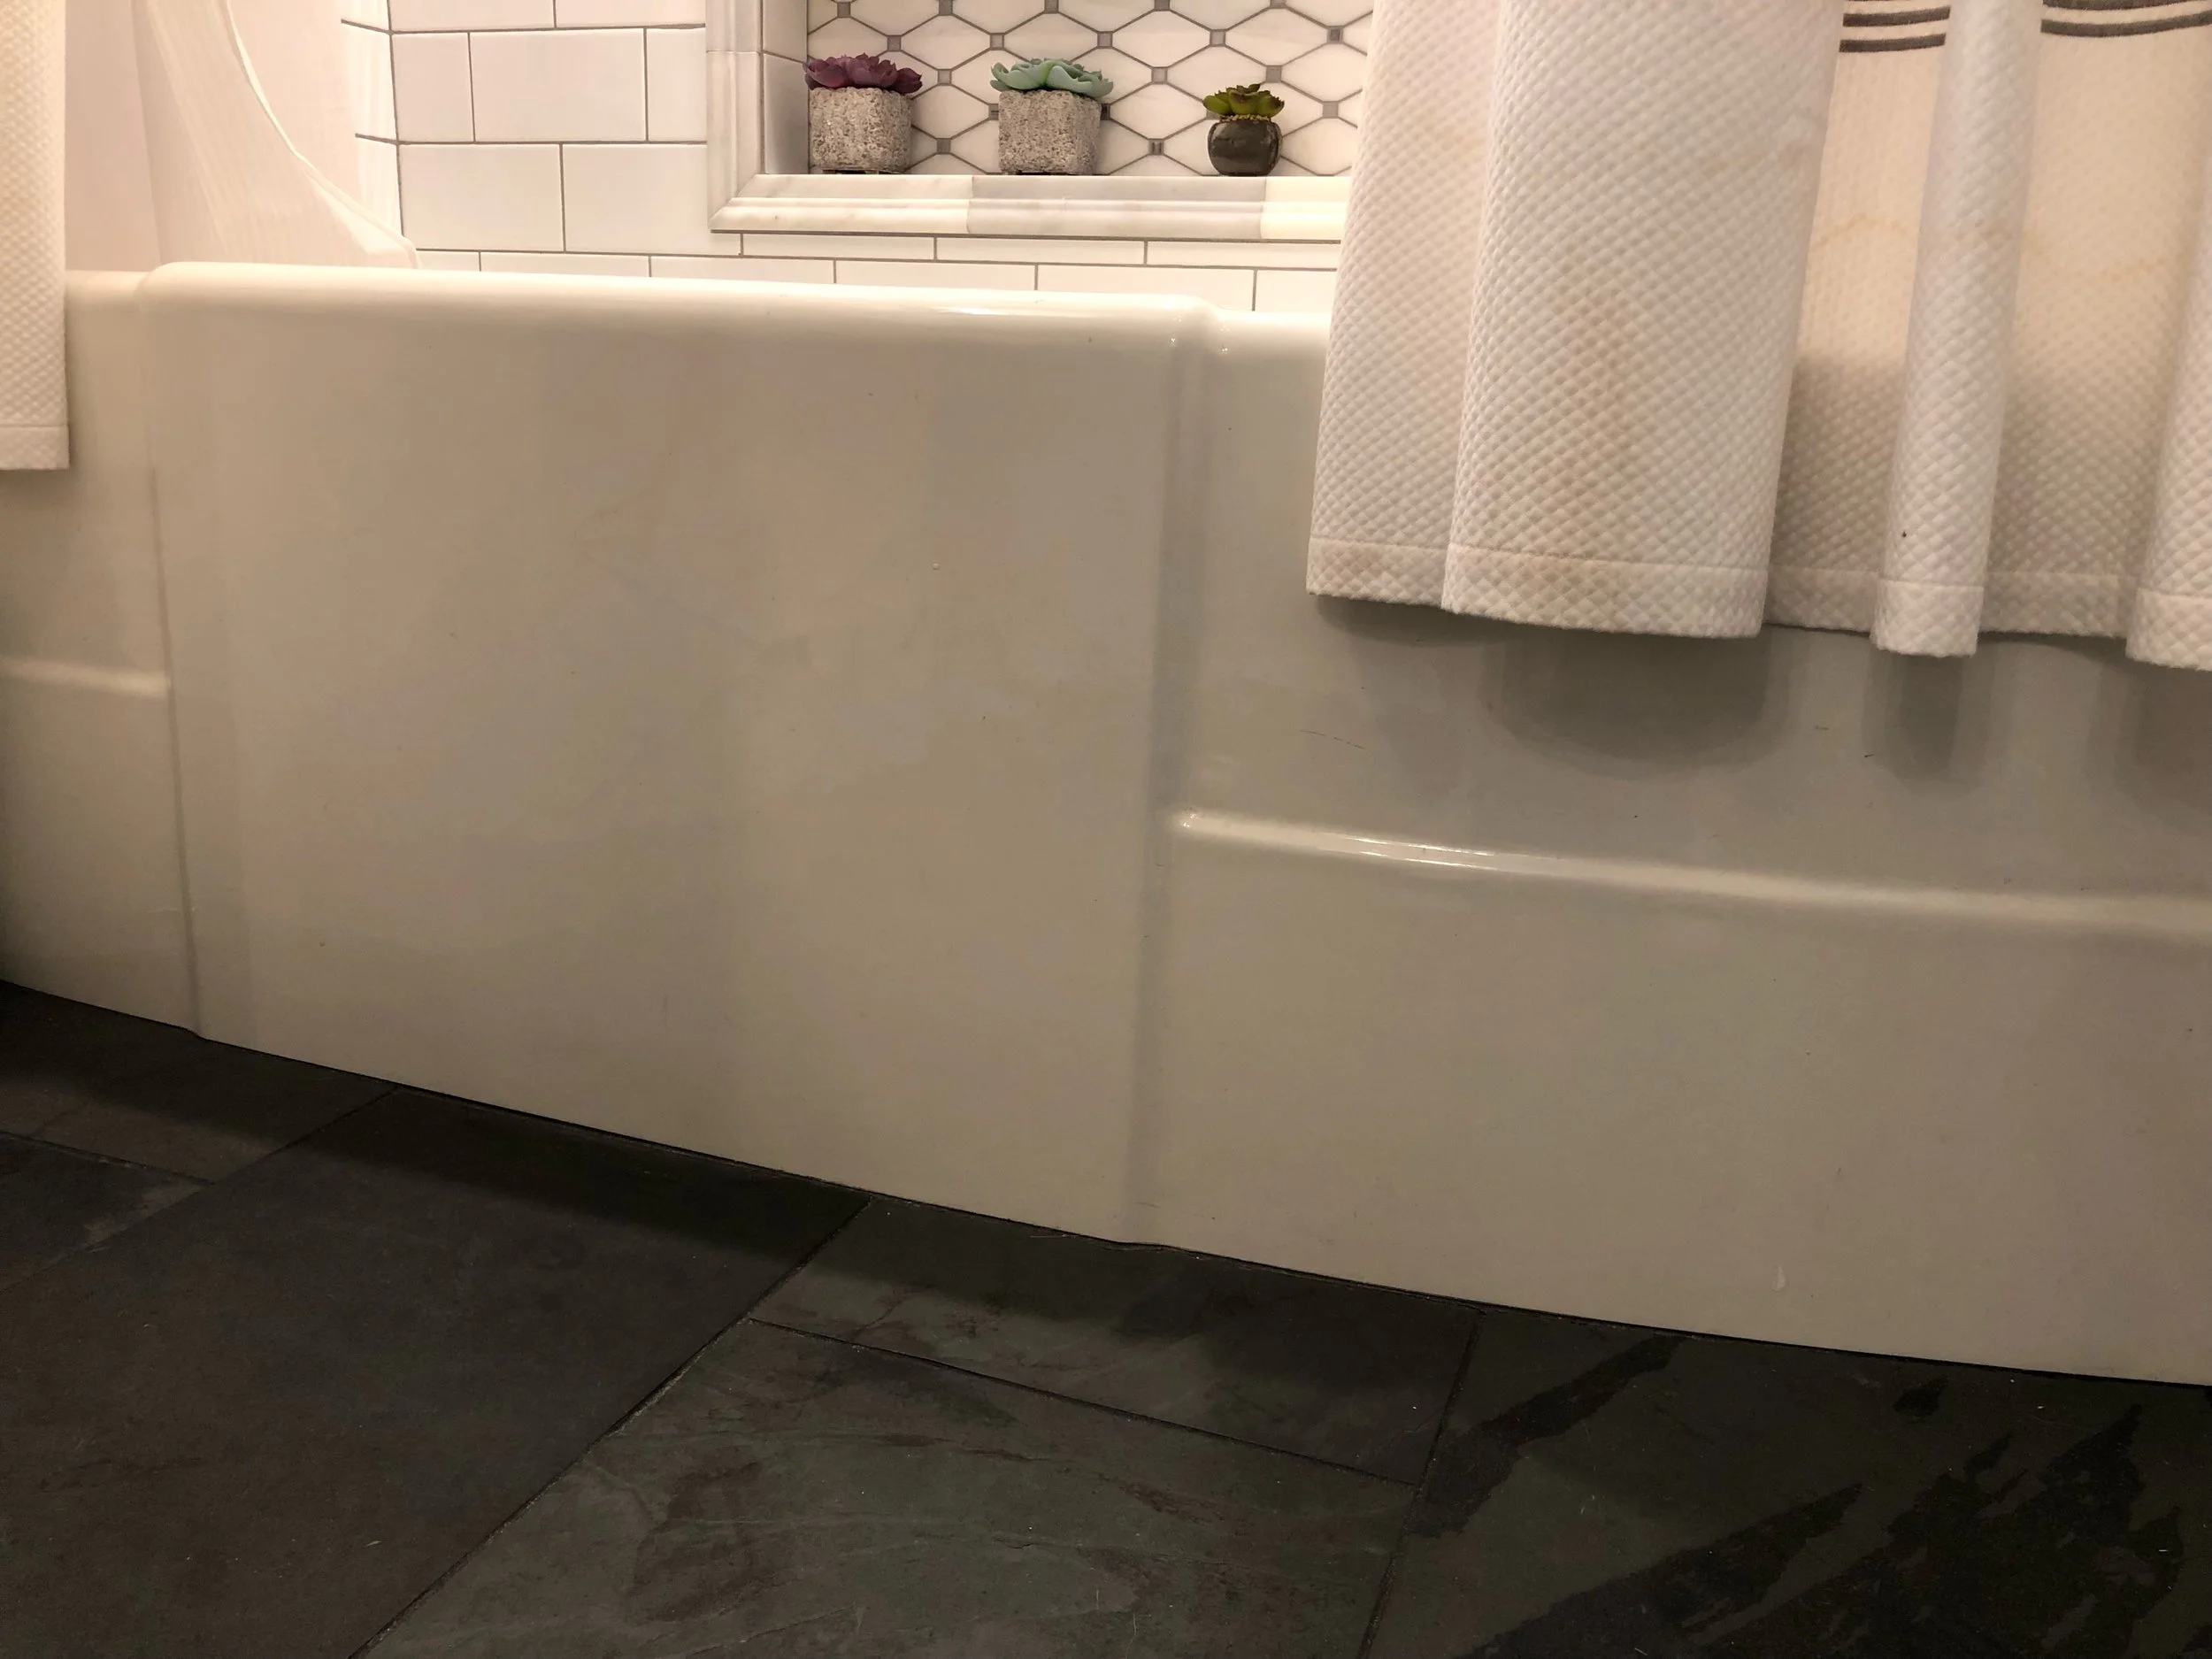
In our 1938 home, the bathtub, and the front door handle set were distinctive of the Art Deco style.  Our house was built in the Modern Traditional style, interior corners are rounded, but the exterior is fairly plain without any curves, geometric details adorn the front porch.

As a prelude to entering our primary bathroom, I moved a 1933 Sunset Cover poster that we framed about 50 years ago.  I always loved the print, and it finally had a proper place.  

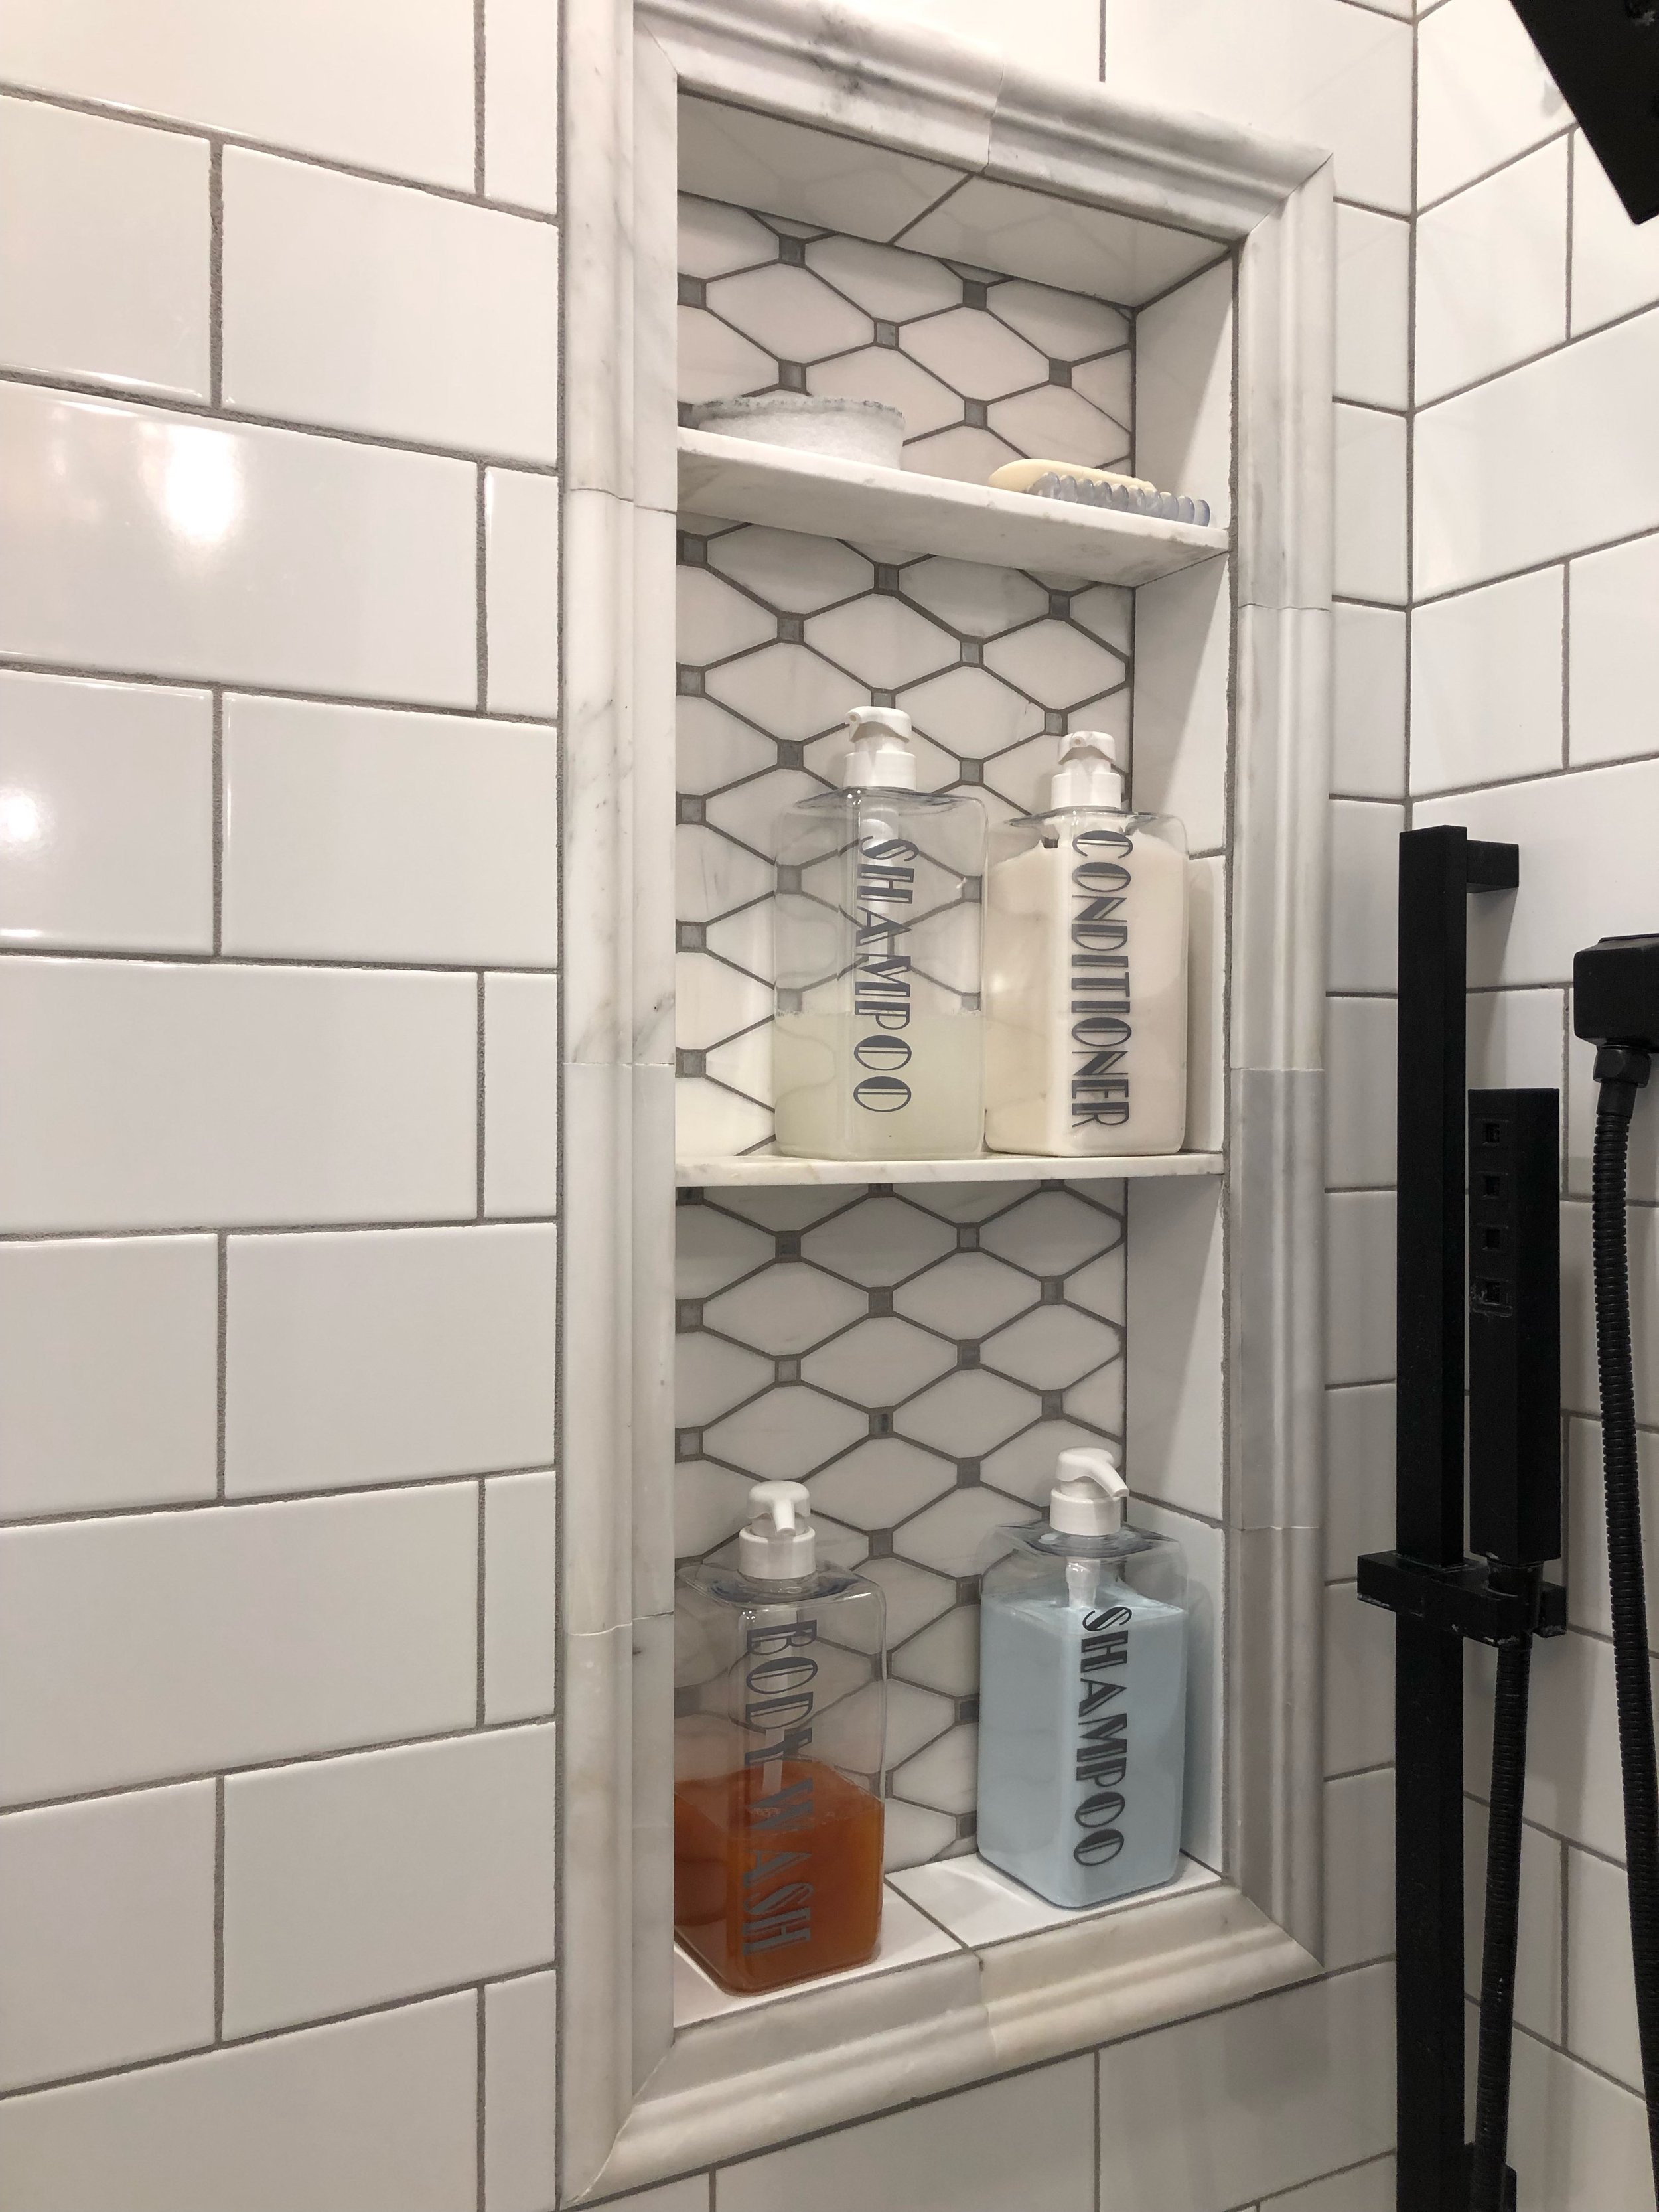
My fixture choices were directed by the simple but elegant style of the 1930’s.  We decided on black finishes and white tiles to coordinate with the dark soapstone countertop and slate floor.  Our splash of expense was on the rhomboid shaped marble for the niches, which reflect the geometry of the era.  I wanted to keep it simple, and let the small details define the room.

The chandelier has a definite Empire State Building look to it, and casts a beautiful pattern on the ceiling, which is painted a different color than the rest of the room.  

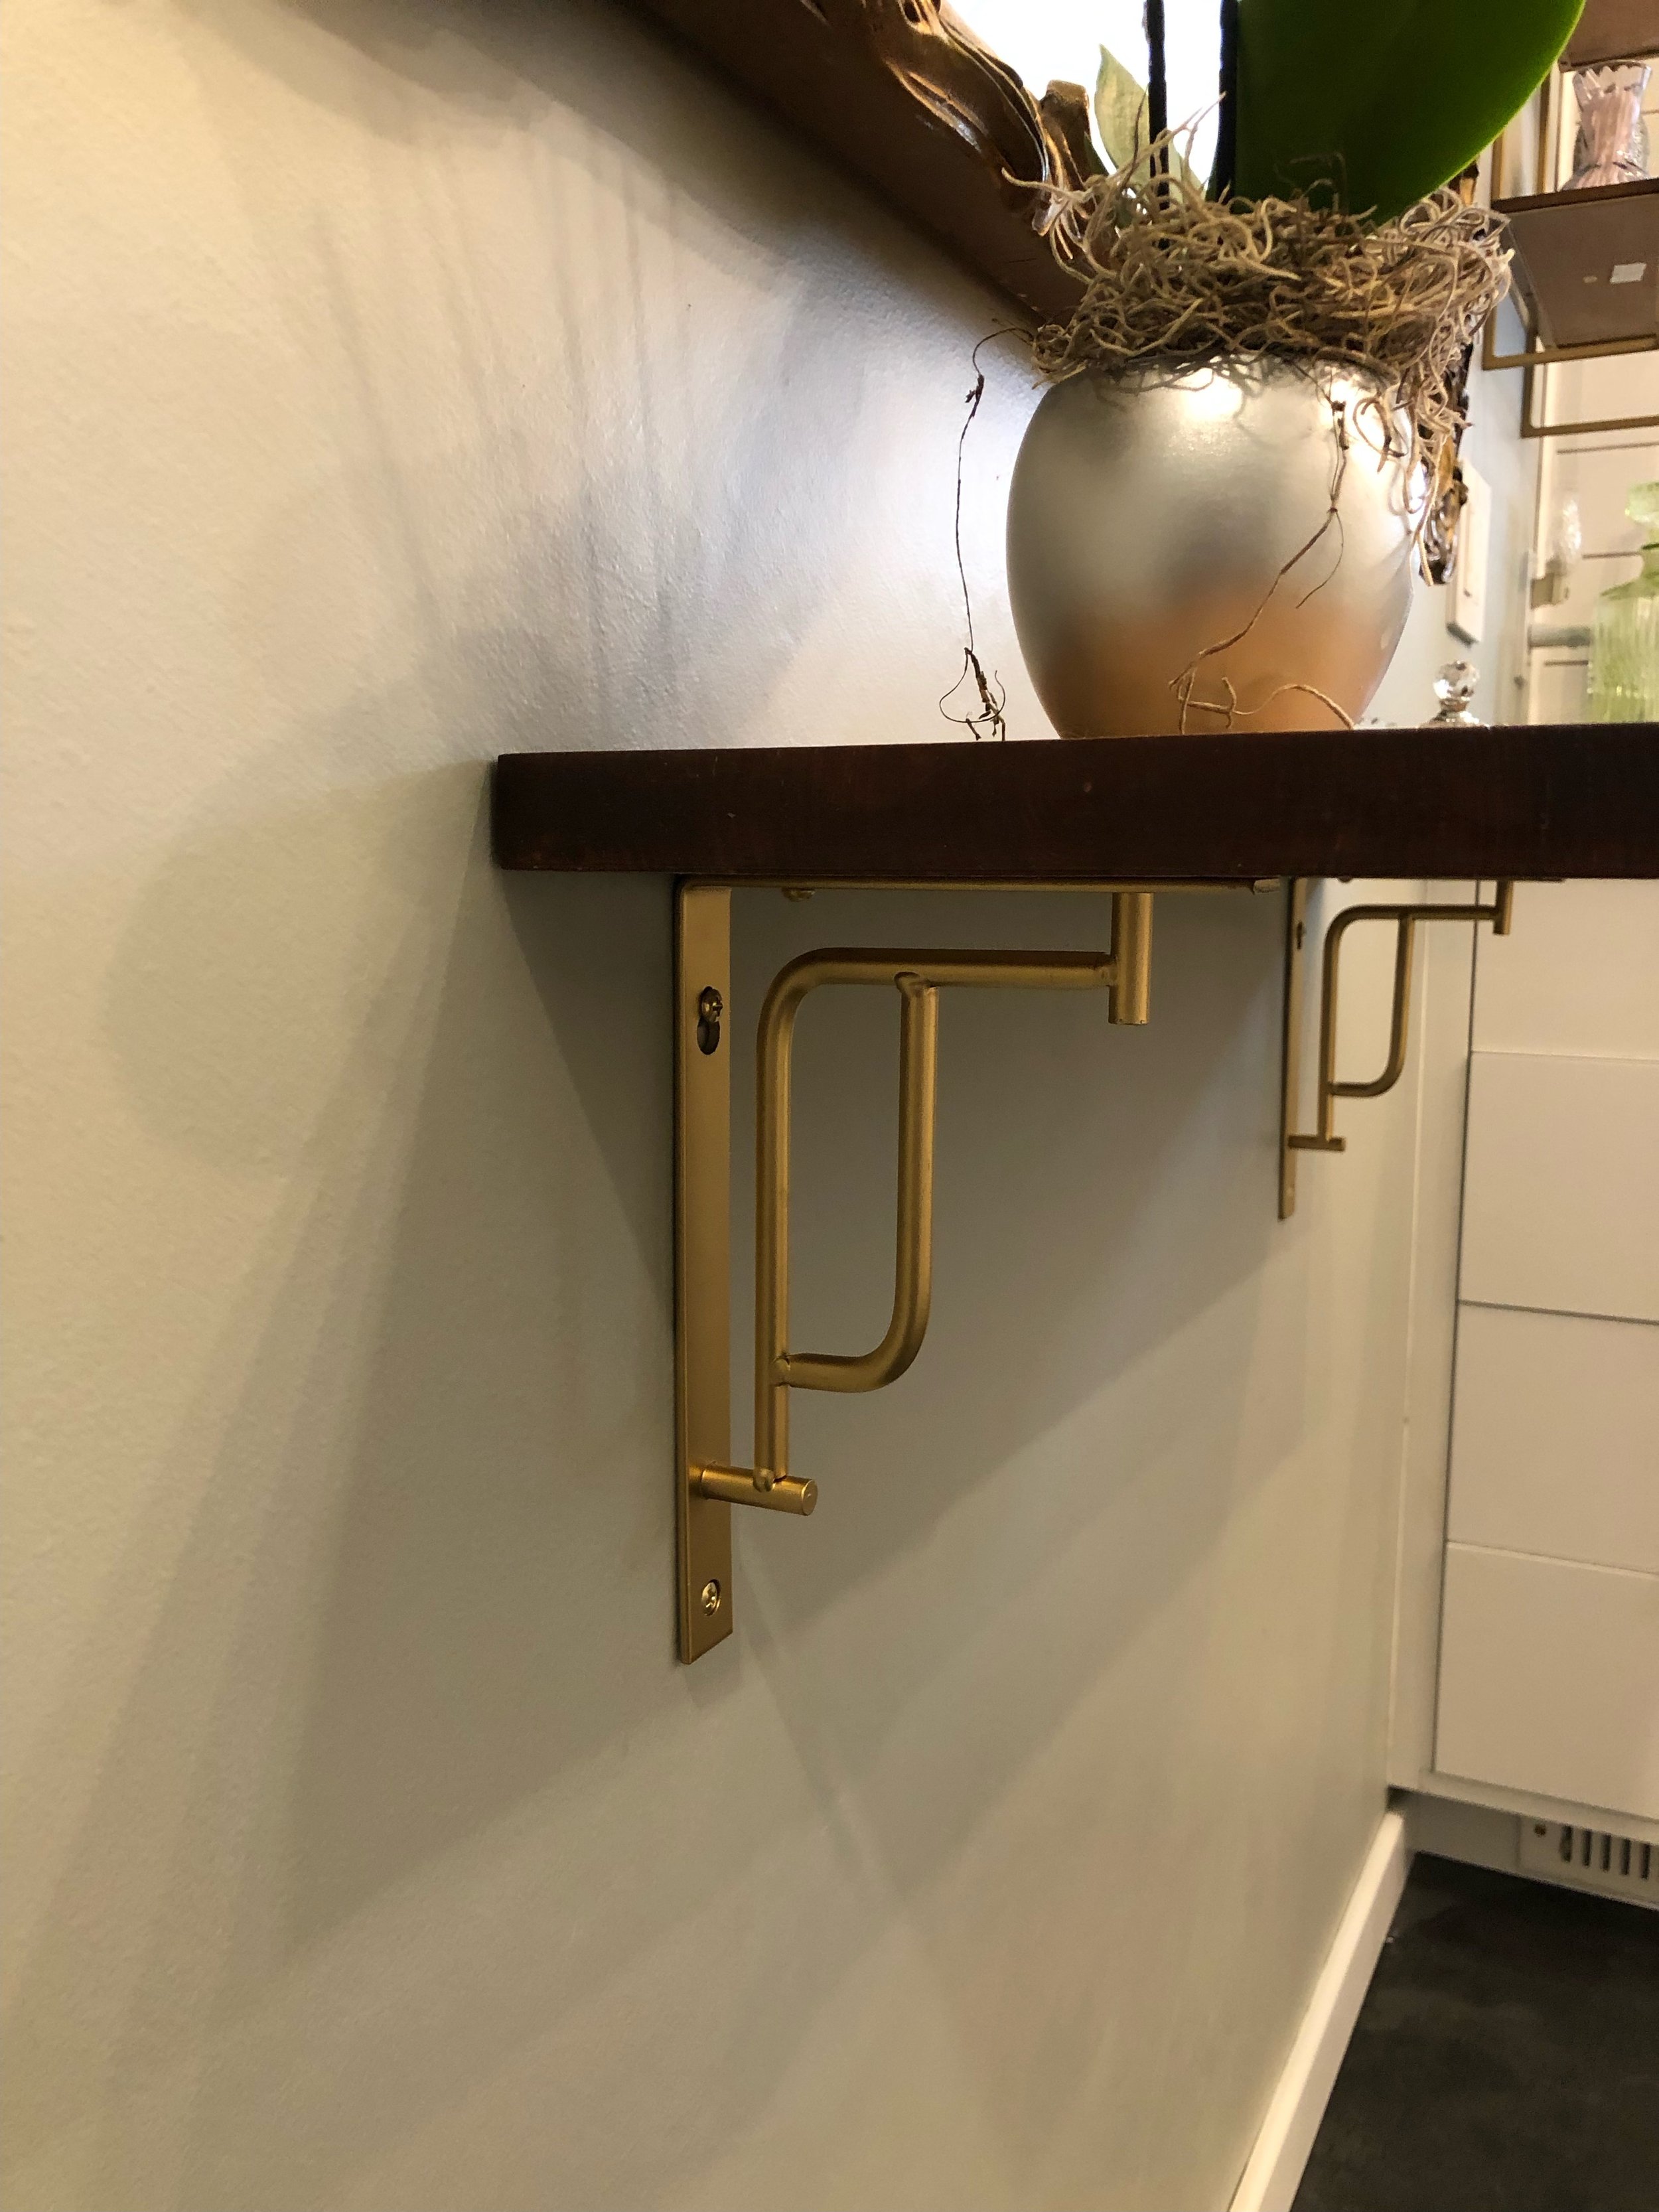
The small live edge shelf that is under the huge mirror, circa 1908, from my aunt and uncle’s house just off the Miracle Mile in Los Angeles, holds all I need.  The brackets are reminiscent of the curved and stacked style of buildings of that design.

As I have mentioned, the tub was the driving force for the bathroom design.  It is resembles the shape of many trains of the era.

The stencil in the toilet room was also inspired by one of the many geometric designs favored in the day.  It resembles a stylized sunrise or elaborate headdress from one of the flashy Broadway Shows.

The X pattern inlay on the cabinet drawers was a nod to the rhomboid shapes in the bath niches.  I left the center panel blank to keep it simple, but wanted the cabinets to have a little extra design interest.

Black and white colors were used in the 1930’s as they complimented the many bright to subdued colors used.  Colors ran from bright turquoise and pink and lots of teal, black and white featured everywhere.  Metallic’s were very popular, you saw them in wall coverings and inlays as well as furniture accents.

The Art Deco era was a fun and creative time.  It was bracketed by the sinuous botanicals from the Art Nouveau and the Arts and Crafts style that brought in more geometrics.  You can see elements of all these shapes in the Art Deco designs.

All of these little touches add just the right amount of interest to an otherwise plain bathroom.  And, the engineer did all the installations, which were tedious at times, but worth the effort.

In bathroom, interior design, natural wood Tags Art Deco Style, Classic period poster, Empire styled chandelier, X pattern on cabinets, rhomboid marble tiles, Old mirror and new live edge shelf
Comment

The 515 Day Bathroom Remodel-Tile and Stone

May 9, 2022 Linda Hammond

Finally some pretty stuff.  The tile had been stored in the tub initially and now it was time for it to be applied to the walls, oh happy day.

However, first there were again many measurements to be made, while the vanity was in place and with the help of son-in-law and a helpful neighbor friend the ninety pound trough sink could be set in place so the stone counter could be set.  Plumbing in the wall had been completed for the two faucets and we had a fully functioning sink again.  We were only without a sink in this bathroom for two days.

The stone fabricator had picked up the soapstone slab, which we had stored for a couple of years in the garage after the kitchen counters had been finished, to be cut to fit the sink opening.  Once the stone masons came and got the slab cut and returned to set and caulk it, we could plan for the tile.

Measurements from the surface of the stone, allowing for grout lines, began and the engineer put a ledger board around the walls to ensure that the tile lines would be consistent all the way around the two adjacent walls encompassing the tub.

We decided the wall that held the sink and two windows would be fully tiled since one of the windows was partially over the tub.  We had taken both the windows out so they could be restored to proper working order.  Which meant they had to be stripped of eighty plus years of paint and the lift systems had to be replaced to function again.  


Once the windows were restored, I was concerned about having a wood window frame inside the shower area, which previously had only been a tub.  I came up with the idea that we could frame out the windows with marble chair rail and a marble window sill.  The niches were all marble and framed out similarly, so why not add the chair rail to the windows.

Naturally, this addition had to be considered before the backer board was installed, so the tile walls would be flush to the chair rail. 

A word about the niches.  We had decided that since the tub and shower were in one place, we would need a niche for the tub as well as for the shower.  The engineer designed a vertical niche to accompany the bottles of shampoo, body wash, etc., and a horizontal niche for the occasional tub soak.  To complete the experience he added a teak shelf that could be placed across the tub to hold a cup of tea or wine, and the niche would be an ideal spot for a scented candle.

The stone for the niches was selected long ago.  I had found a beautiful marble rhomboid shaped tile, while it was a bit of a splurge, it was a relatively small area.  The chair rail framed out the niches as well as the windows.  However, the window framing was a late decision and we needed more. As luck would have it we found just enough to finish the project, as the chair rail was discontinued.


It turned out that the chair rail had to be epoxied to the walls, which turned out to be a multi-day project.  Now that the niches and windows were installed the tile on the walls could begin.  The engineer started from just above the tub at counter height and went up and onto the adjacent wall before finishing below the ledger board.

At this point, we were feeling like we could see the light at the end of the tunnel and we were just under a year into this project, and only had two walls finished.  Albeit those two walls were heavy with plumbing and electrical stuff, and all that tile.  Those two walls held three of the four essential  components of a full bathroom.

Next:  Preparing the toilet room and stenciling

In bathroom, interior design Tags Soapstone, subway tile, teak shelf, rhomboid marble tiles, bathroom, marble chair rail
Comment

Subscribe to Linda's Blog Page

Enter your email address:

Delivered by FeedBurner

Powered by Squarespace