
I have several pieces of furniture that no longer fit my home, and I figured they were likely in need of an update when they didn’t sell on Craigslist or during a yard sale. I decided to give them a coat of paint to see if that would make them more interesting. The first two pieces I have finished, the rest are in a holding pattern waiting their turn at my brush.
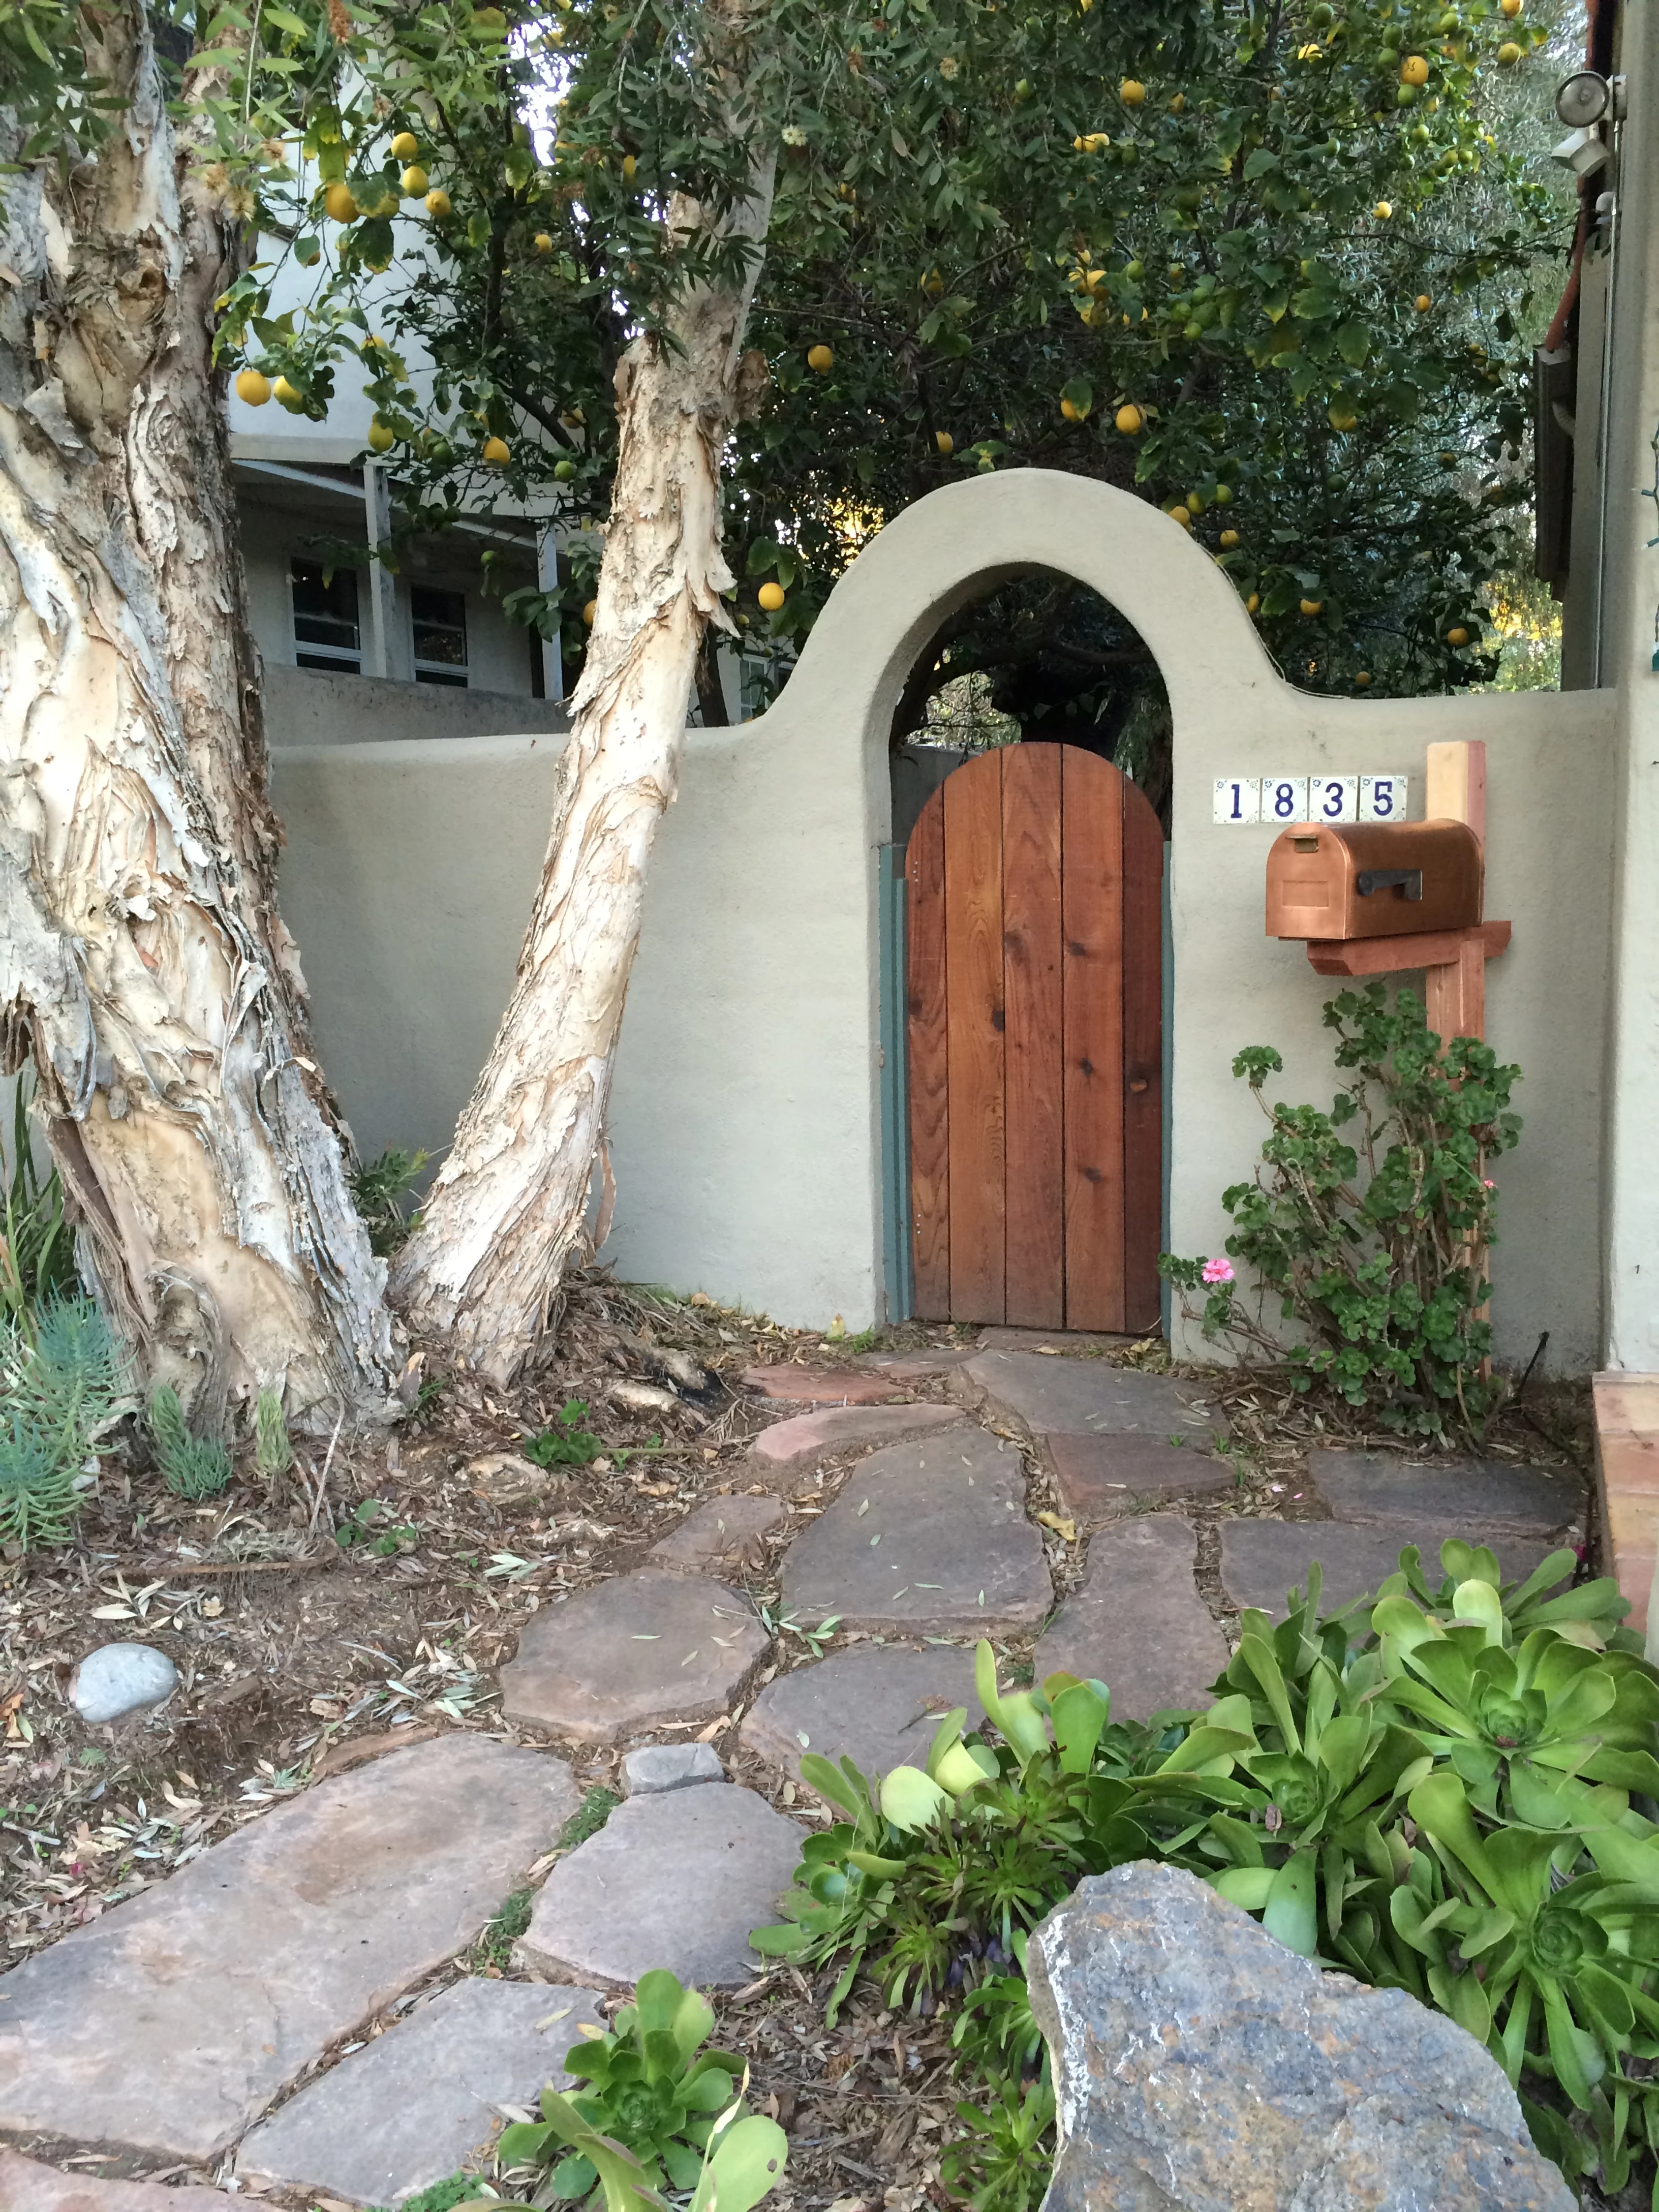
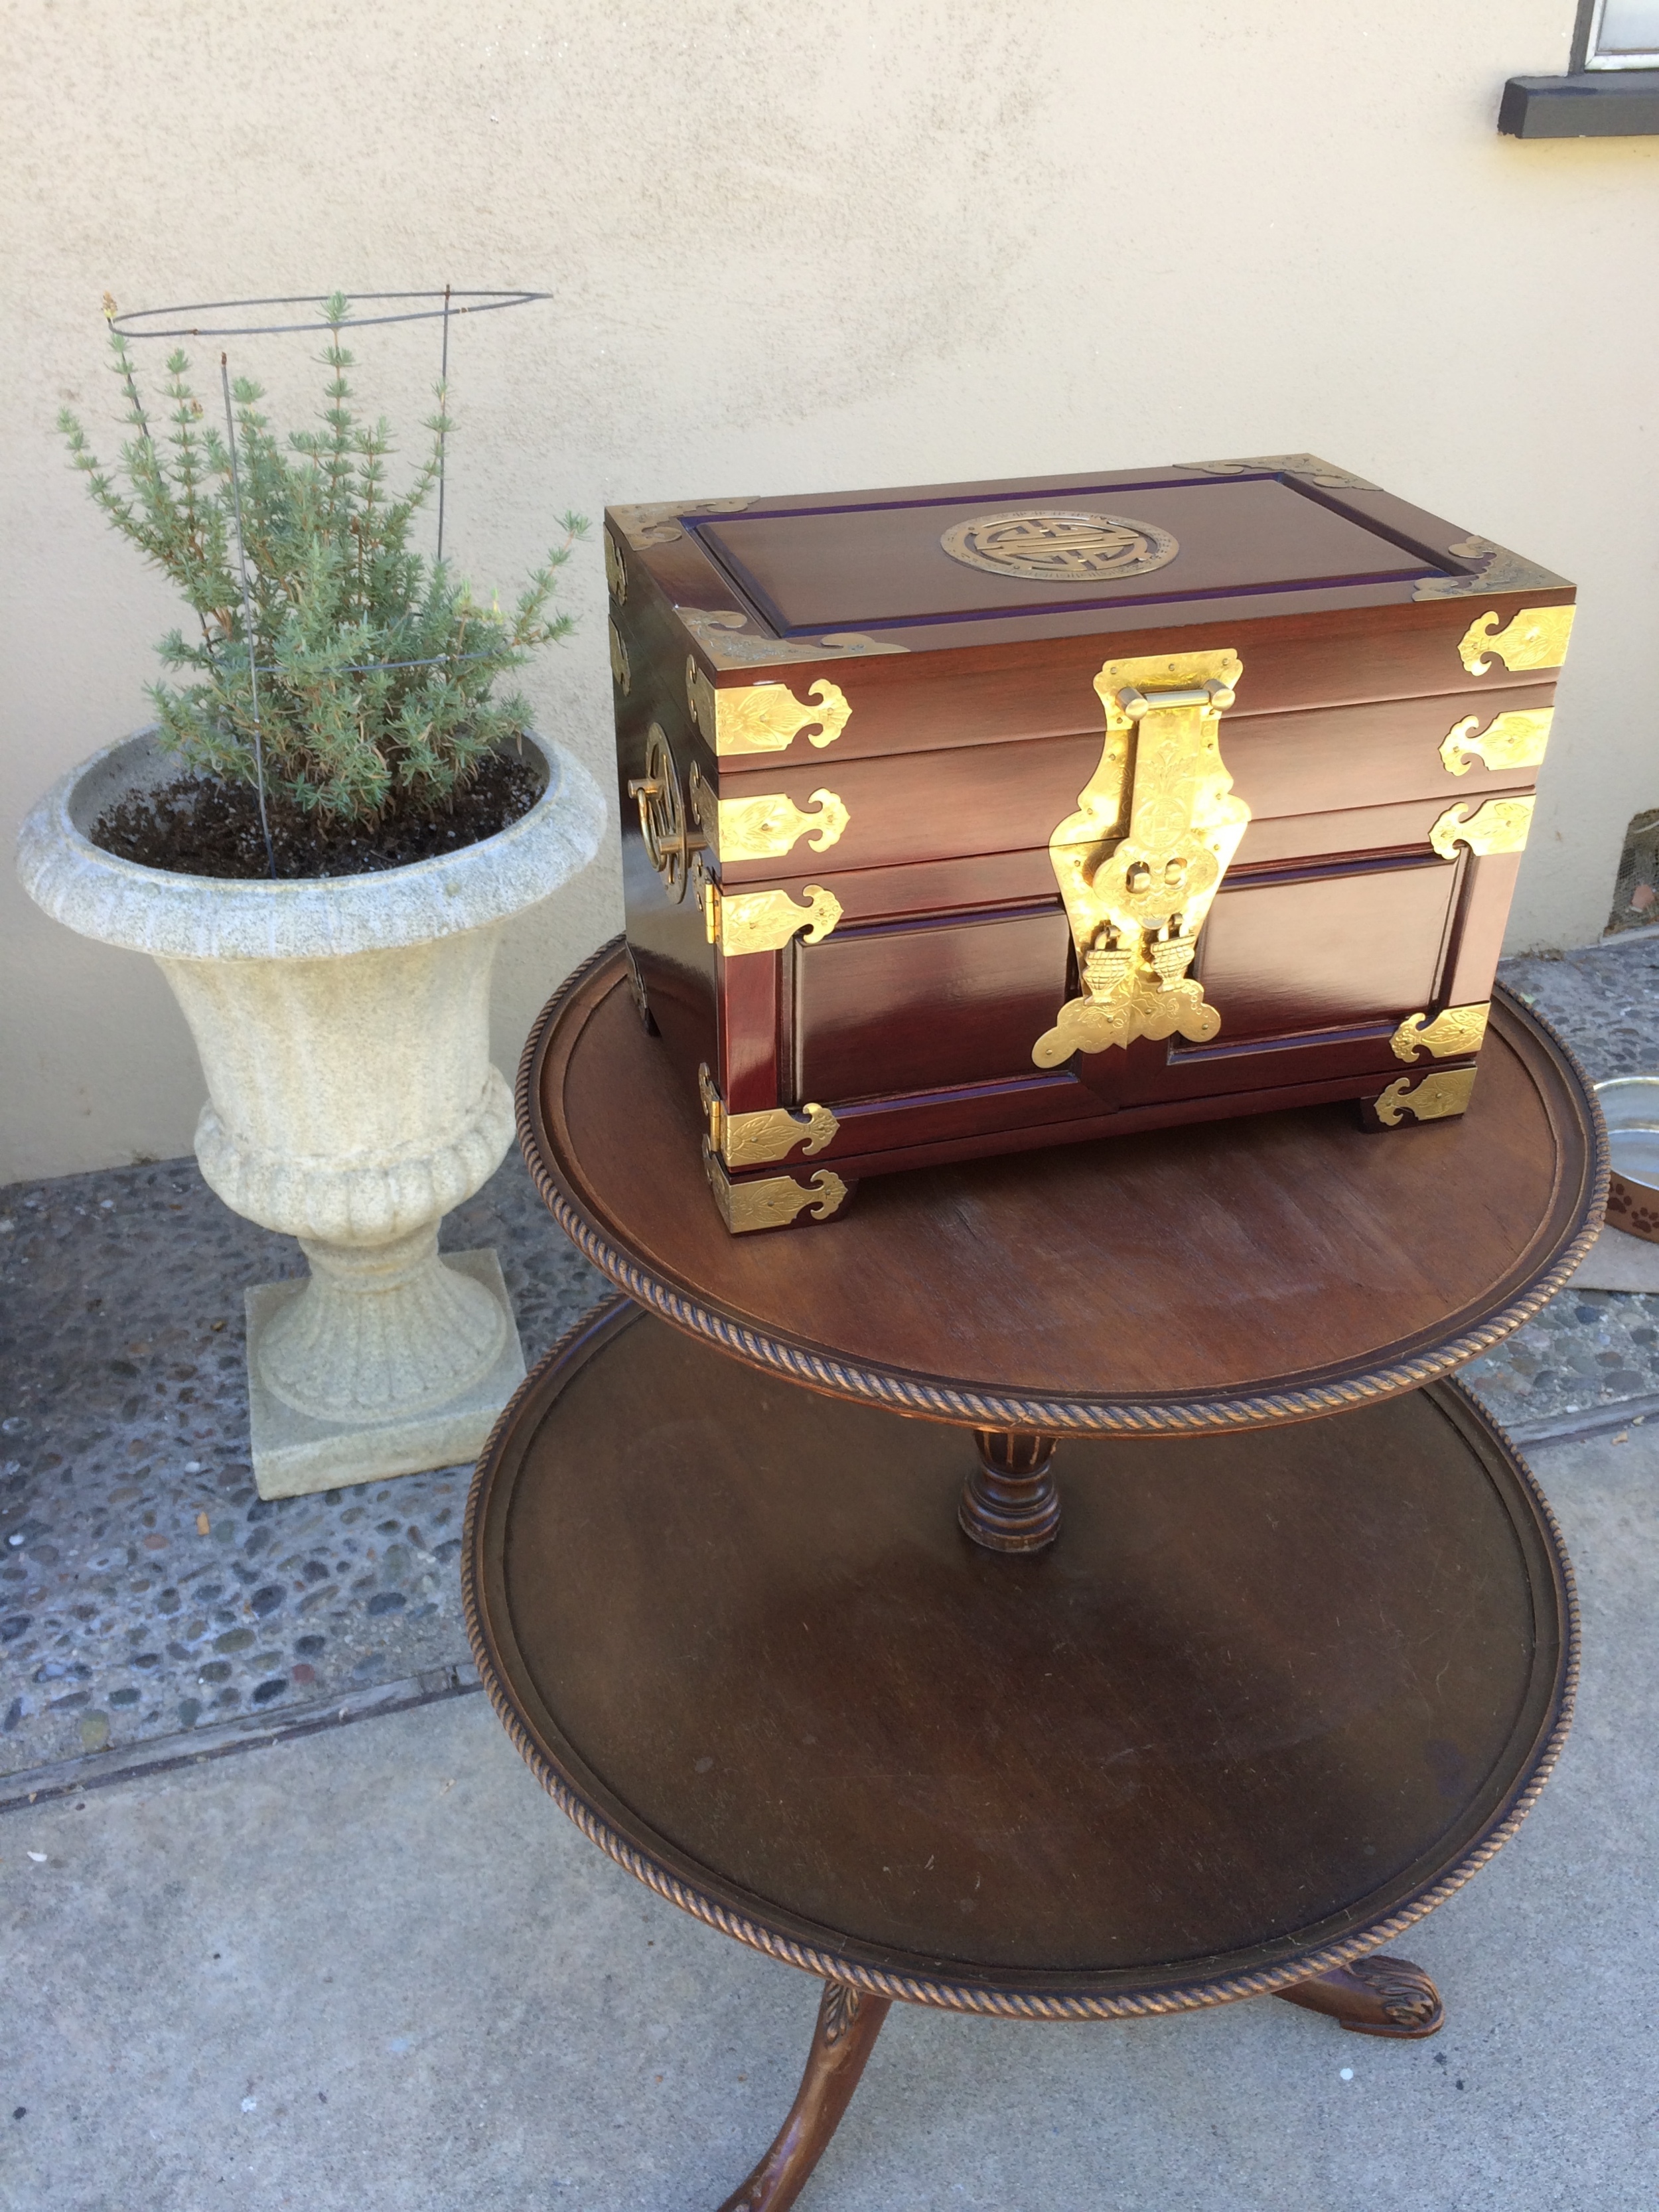
In addition, there was a jewelry box that was given to my daughter by her brother after he spent time in Japan. He did not purchase it overseas, but it reminded him of his time there and thought she would enjoy it. My daughter has caught the decorating bug for me and wanted to incorporate the box somehow into her eclectic, Spanish— style home. Many of my followers are familiar with my mantra, “If you don’t like it, paint it”. So with that in mind, I decided to make a drastic change in the box.
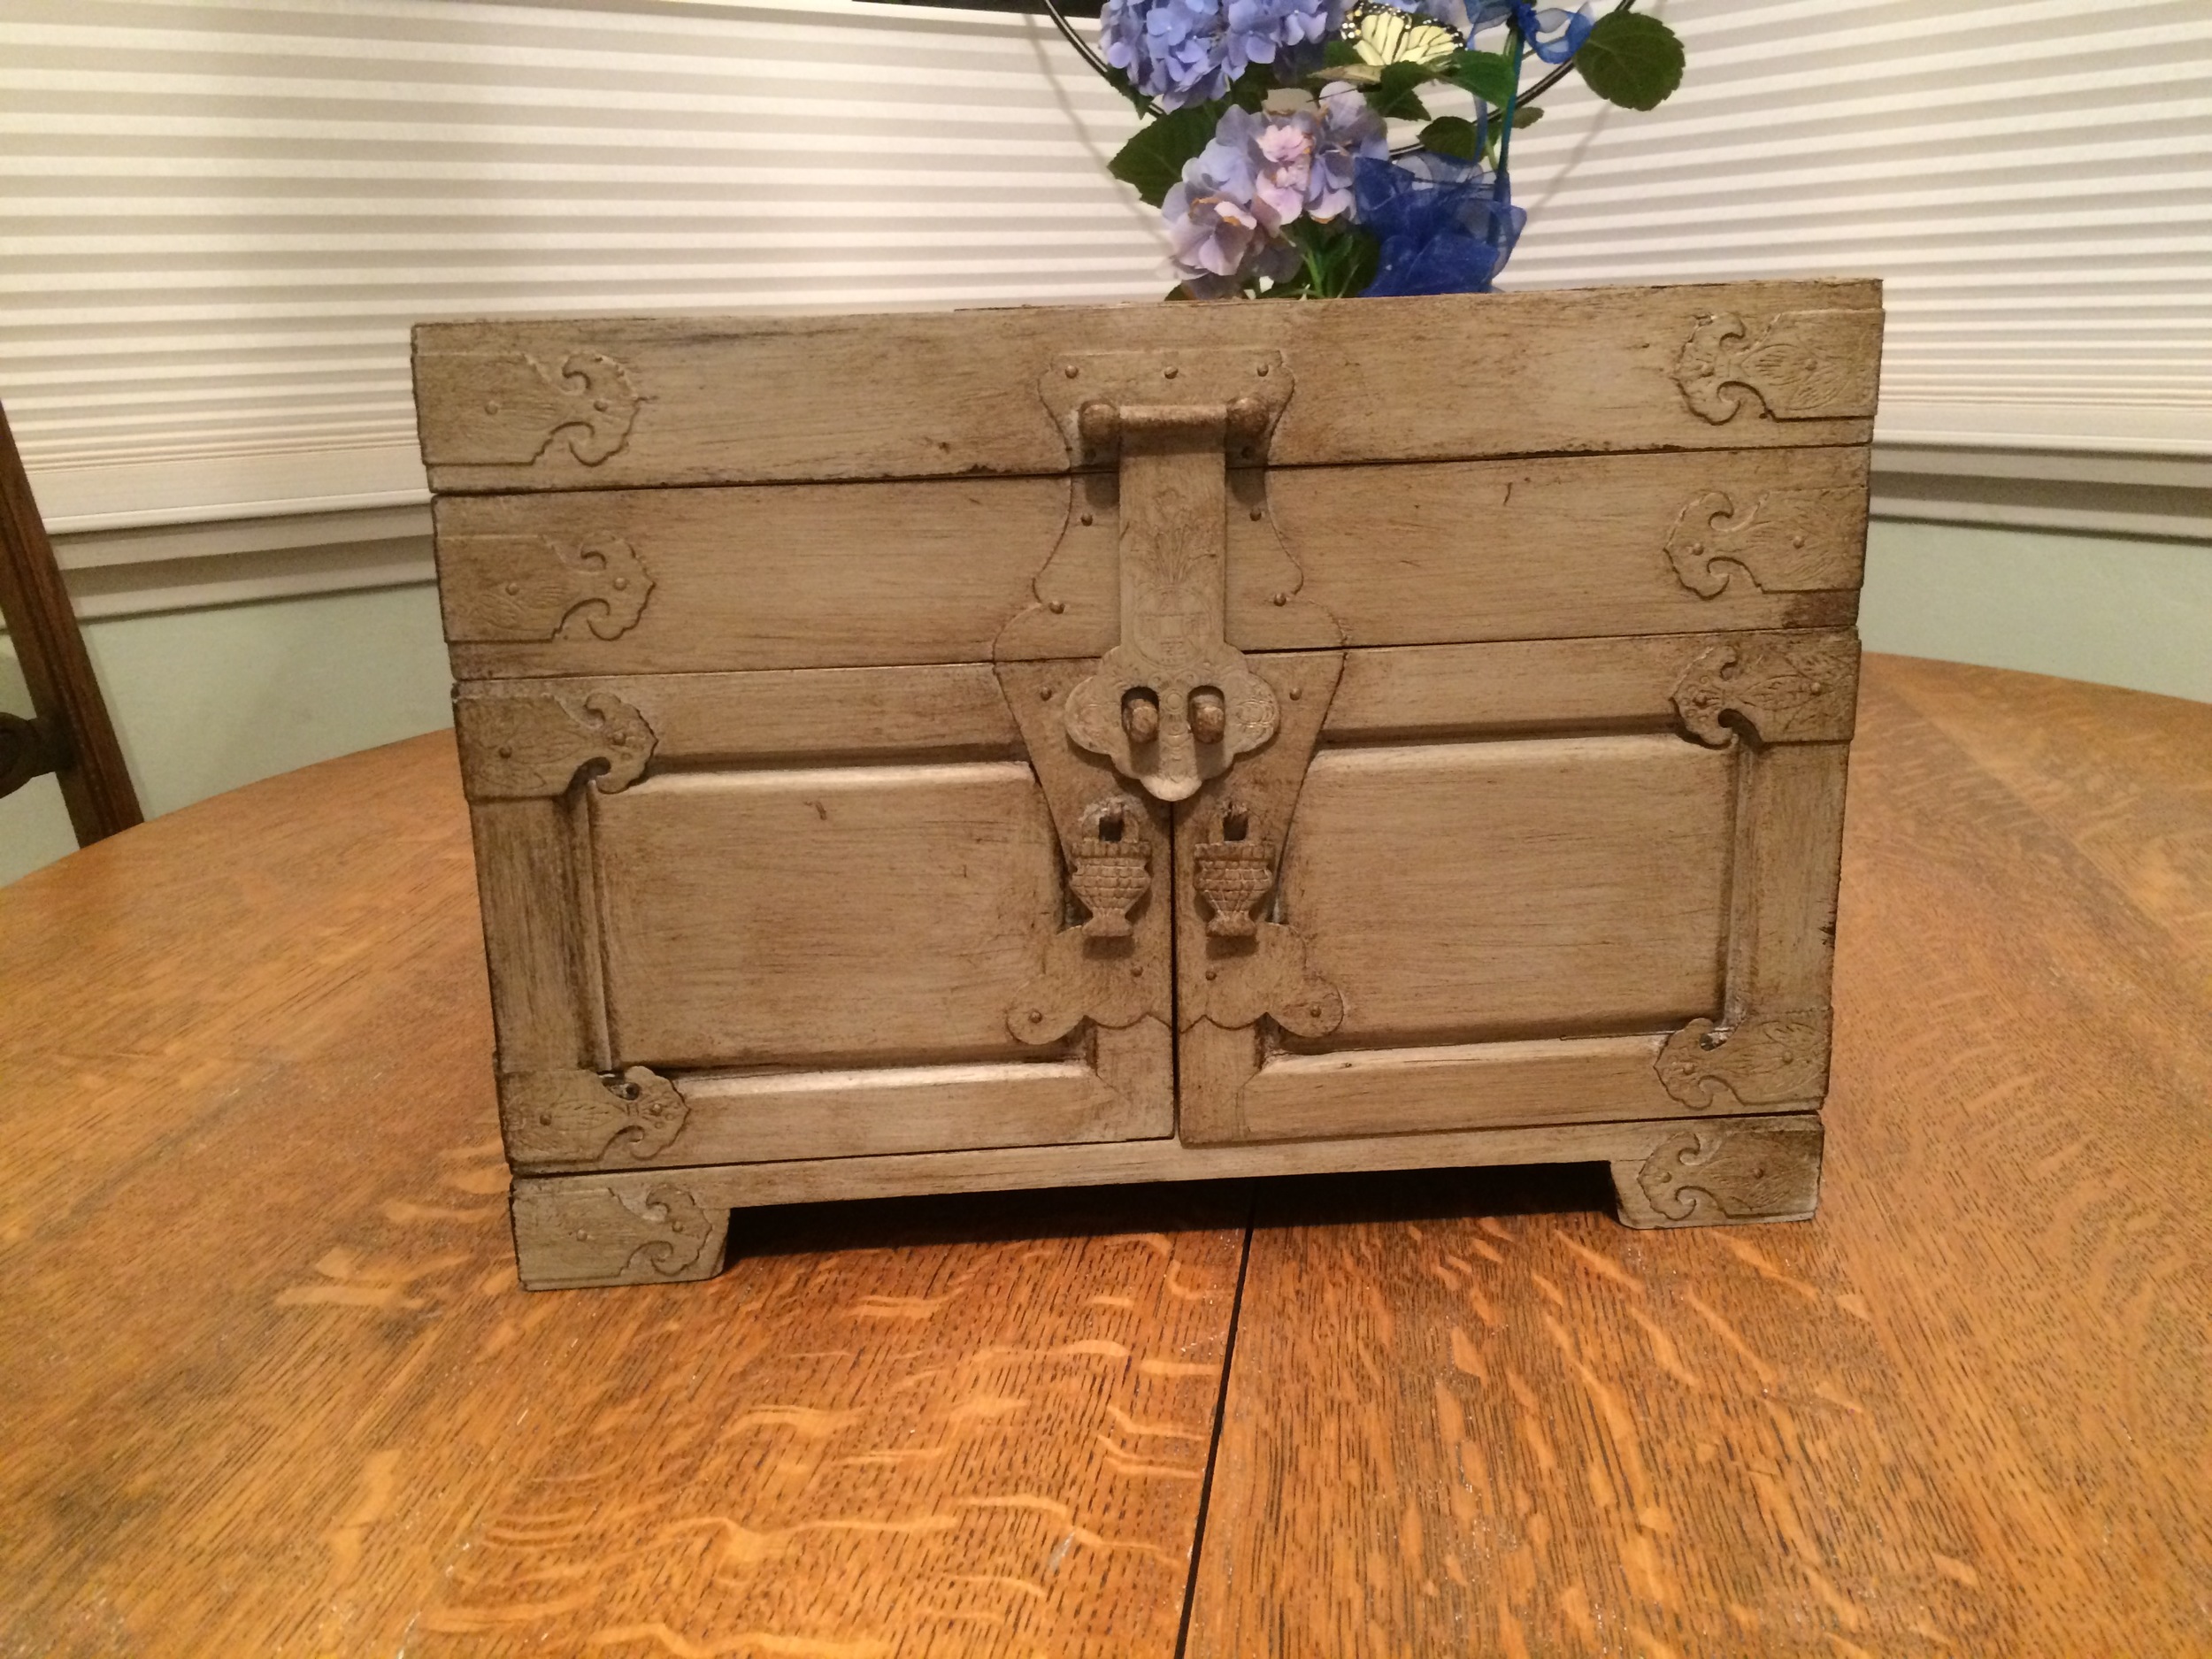

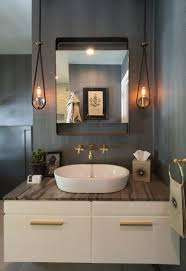
This project will no doubt offend some, while others are happy to know that something can change so drastically with only a can of chalk paint, brush and some clear and dark wax. I proceeded to paint the piece, hardware and all with a soft Paris Gray. It was not all that great looking after the paint went on, so my interest lagged a bit. I wondered if I had made a mistake. The first coat of clear wax, did little to assuage my concerns; but with a coat of dark wax applied, I could see the possibility of it fitting into my daughter’s Spanish cottage. Once I had buffed the final coat of wax, I called my daughter over to see if the change; to say she was shocked would be an understatement. After a month of careful purging in nearly every room of her house, I knew the box would have to be useful to find a home in her home. It did! The main bathroom has a cabinet that will hold this large box, and it now contains contact lenses— all lined up on the left and right side of one of the little drawers; it is easy to tell which to pick up, even without glasses. The rest of the little drawers are suitable for tweezers and other little things that can get lost in a larger drawer. The gentleman of the house seems quite pleased with this new addition and all its possibilities.

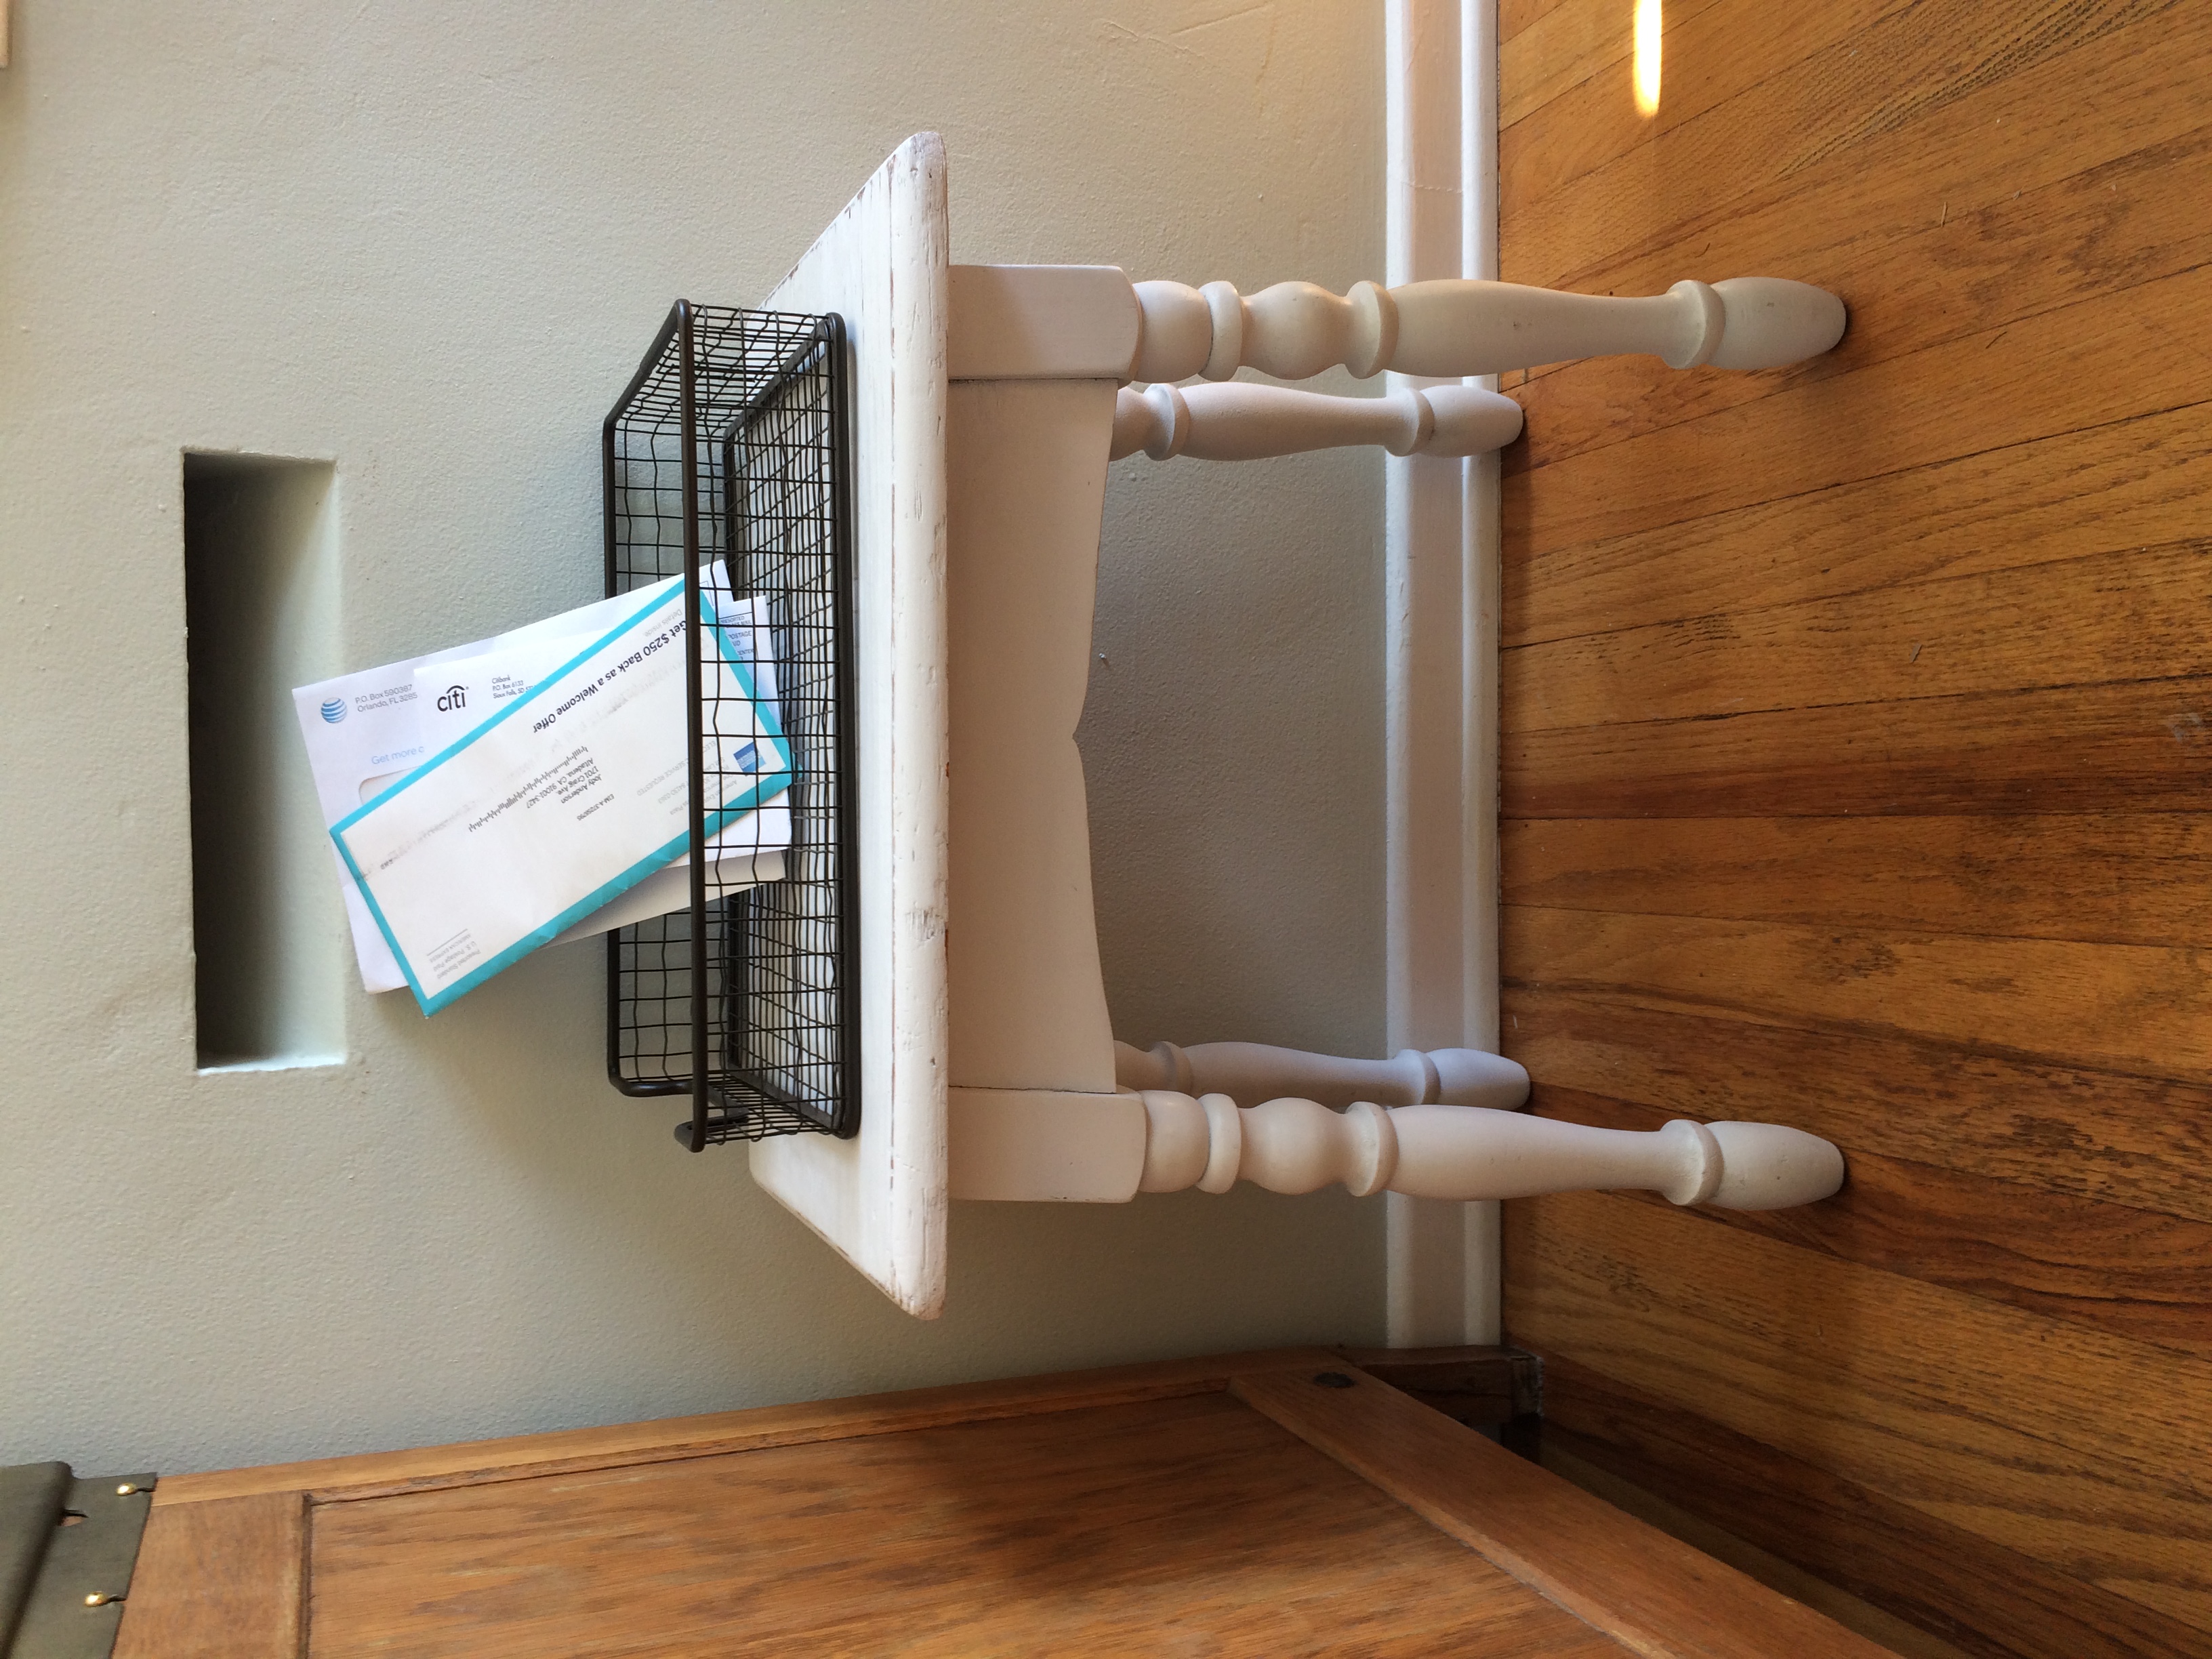
Another piece, I worked on is similar to a piece I did for a client last year, a two-tiered end table from another generation. I had used it as a side table next to my bed; it held all of the necessities: the land phone, my glasses, pad and pen, and a ton of books, along with the bedside lamp. It suited me and the room well, but I just don’t have the room for it in this house, so now it is painted in the same soft Paris Gray, but I used a bronze glaze on the top to give it some depth. The glaze is easier on my hands.

I find this kind of work not only rewarding, but fun, I simply plug in my headset and listen to the latest book downloaded from the Library and go to work, hopefully giving new life to something old and tired.